I recently tried finger painting for the first time (as an adult, that is). I can’t believe it took me so long to do it! I’m not the kind of person who’s bothered by getting their hands dirty, so it’s not like I’d been avoiding doing it.
But now I’ve done it once, I keep trying to think of ways to use this fun technique. After all, I don’t see why toddlers should have all the fun!
If there’s one thing we adults need to do, it’s embrace our inner child. That’s especially true when it comes to creativity.
Finger painting is great for abstract paintings and for designs that don’t have a lot of detail. It’s an easy way to create flowers, trees and clouds.
It’s also nice to control the paint directly. With finger painting, you don’t have a paintbrush or other tool in between your hand and the paint.
Sign up for my monthly emails of creative tips, tutorials and DIYs and get 31 free creative prompts!

You can unsubscribe at any time
The best paint to use
The key to finger painting is not to be stingy with the amount of paint you use. This is one of the most important things to bear in mind to keep it fun and not frustrating.
For that reason, it’s probably best if you don’t use your most expensive paints. This is especially true when you’re first playing around with the technique.
I use acrylic paints as that’s what I have and it’s my favourite medium. But craft paint and poster paint would work too.
I’m not sure how well it would work with a more fluid paint, as you need to be able to scoop up the paint and hold it on your fingers.
Something like watercolour would just run right off. I think you’d just end up recording your fingerprints on the page rather than building up colour!
Different mediums and surfaces will also give different effects. Experiment with what you have in your art supplies (or your kids’ art supplies!) to see what you can come up with.
Safety tips
It might be best to wear gloves, especially if you’re not sure if the paint you’re using is potentially harmful, or might stain your skin.
If you’re using non-toxic paints designed for finger painting, then just go for it! But if you’re in doubt or your skin is particularly sensitive, I’d recommend you wear gloves.
Now we’ve dealt with that, let’s get onto the four ways you can use finger painting in your artwork.
1. Flowers
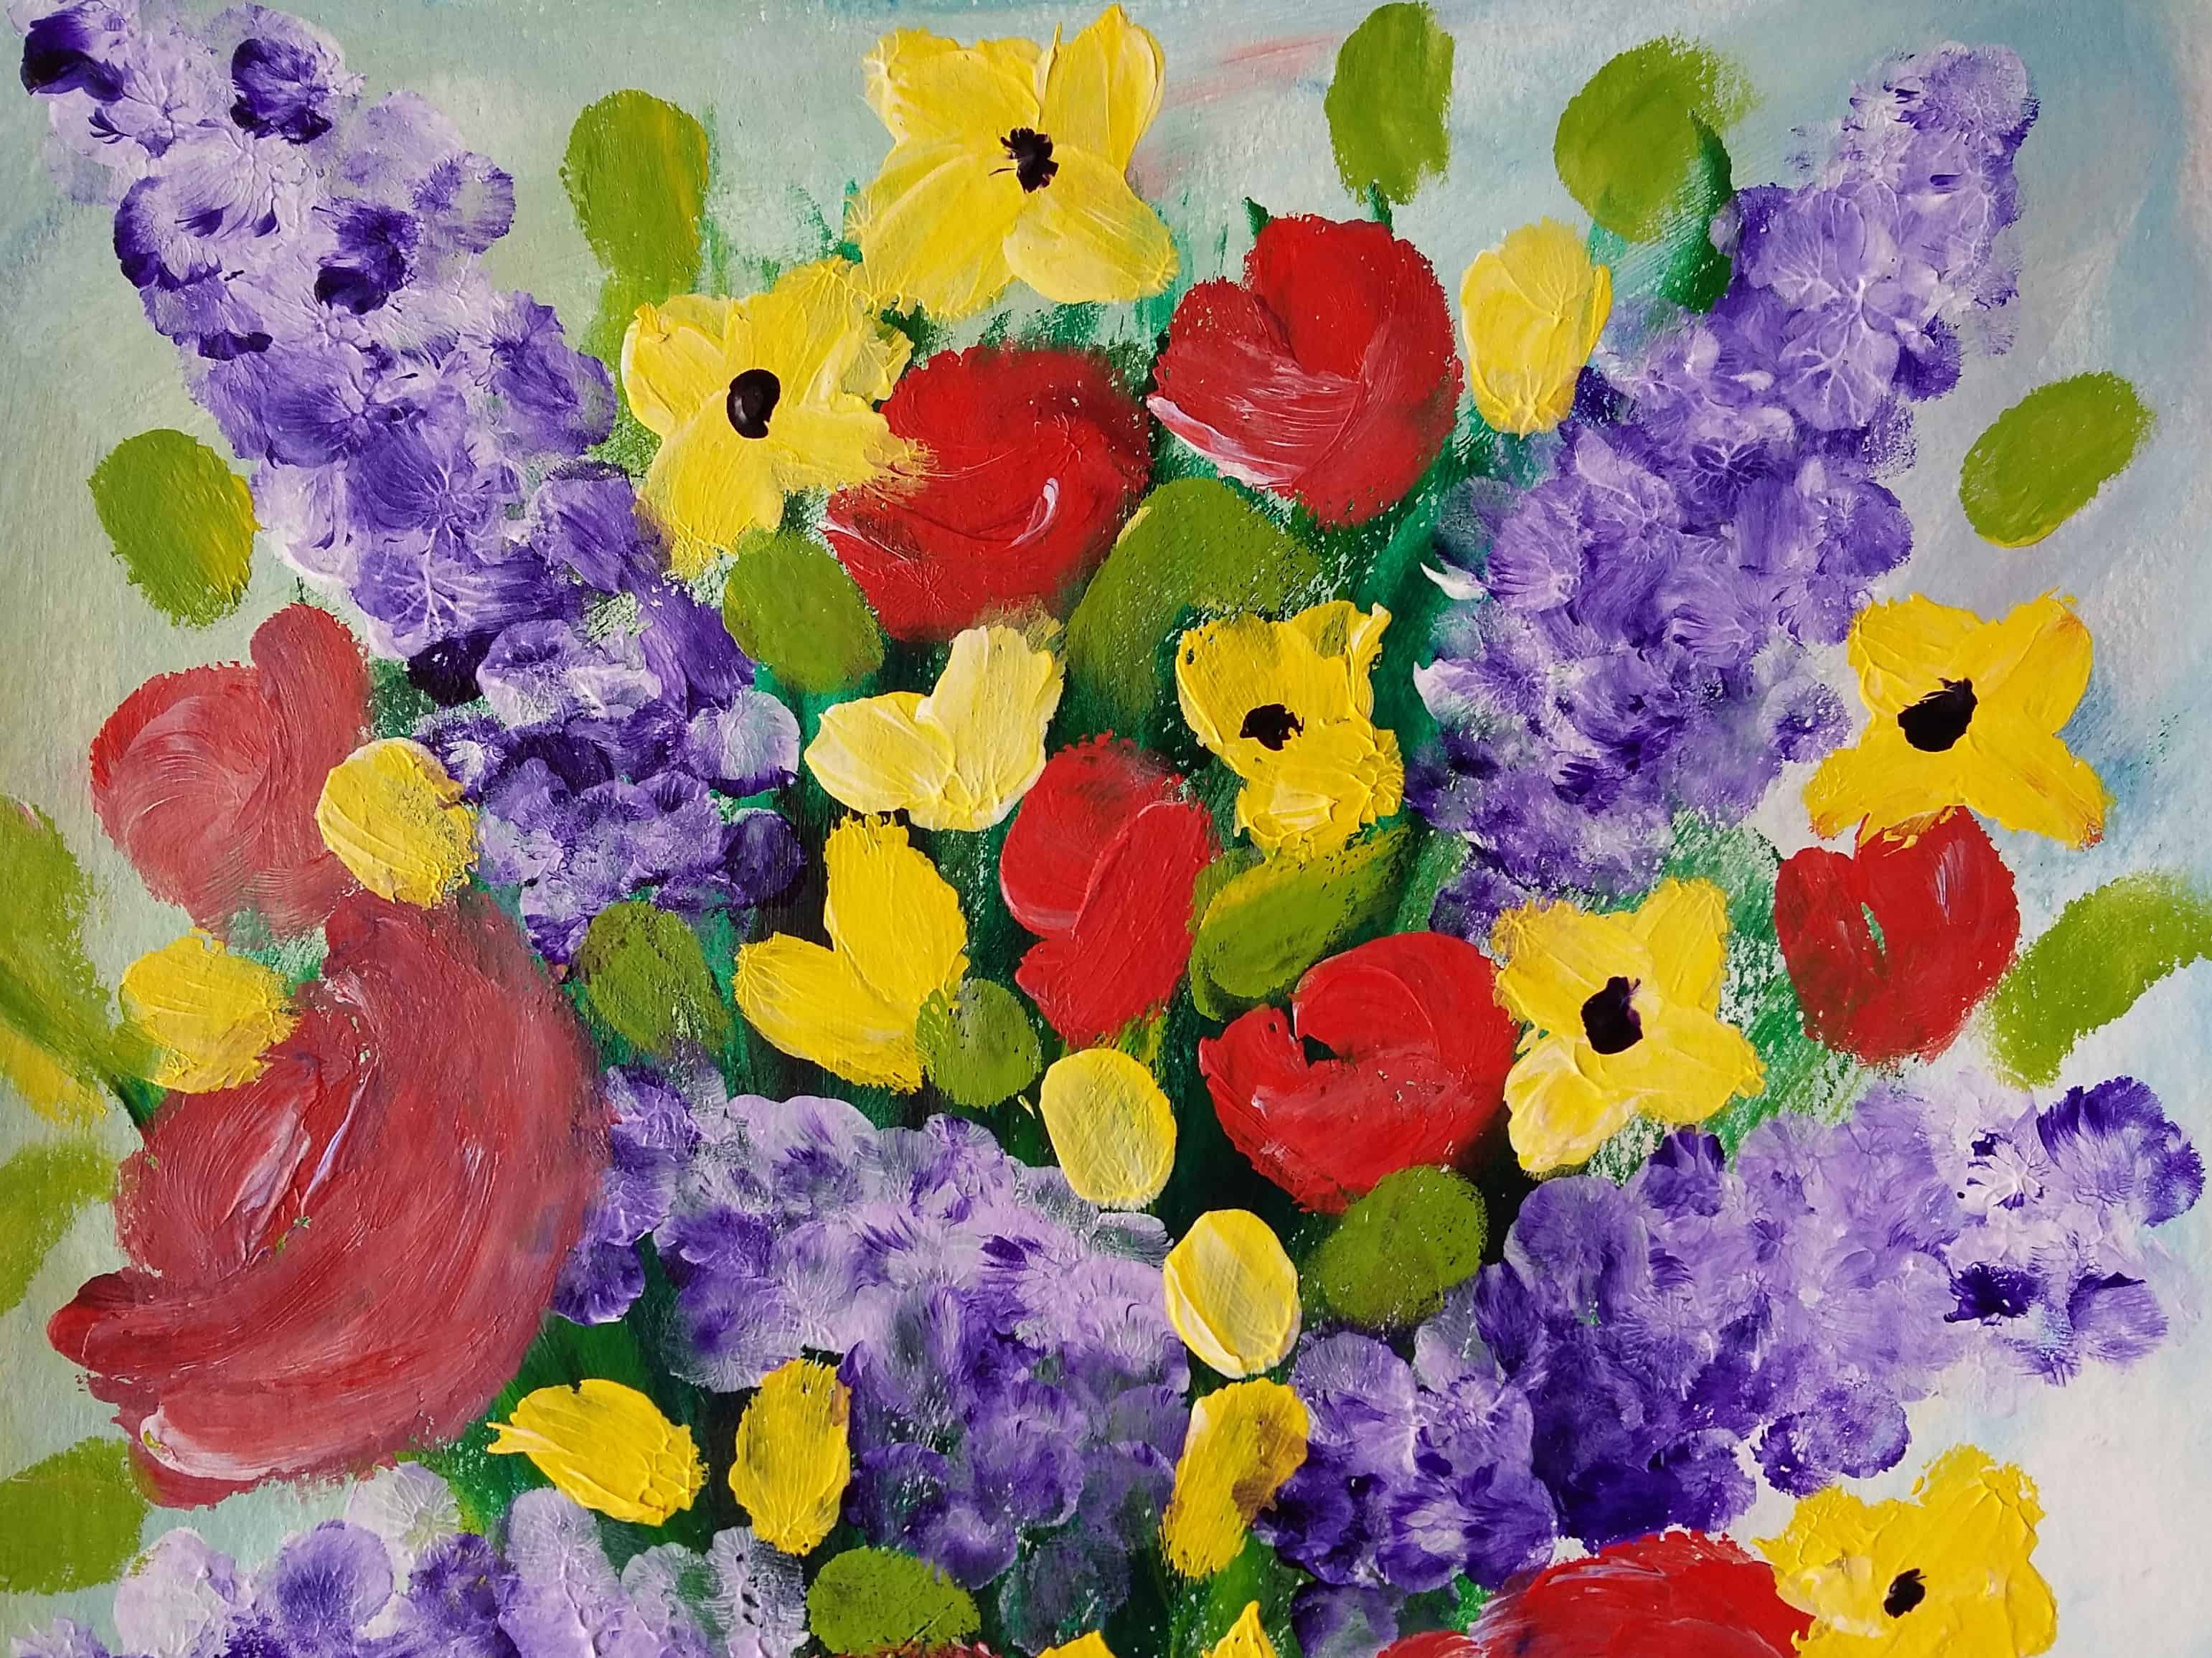
It was this tutorial on YouTube from Painting with Jane that got me back into finger painting in the first place. It’s also how I painted the flowers in the picture below.

There are many techniques you can use to paint flowers, depending on the kind of flowers you’re painting.
A fingertip is enough for some tiny flowers. Others require a whole fingerprint, and a swoosh of paint can indicate larger blooms.
Check out Jane’s video above for exact techniques.
2. Trees
Grab some brown paint — a couple of different shades if you have it to keep it streaky and a bit more realistic — and stroke down the page to make the trunk.
Use brown paint on one finger to make branches going up and out, and some coming off to the side too.
When that’s all dry, put three slightly different shades of green on your index, middle and ring fingers. Then tap them onto the page to make the greenery of the tree.
Try and shape it around the branches so your tree doesn’t end up looking like a green lollipop!
Pick up more paint often, and don’t worry if the different greens mingle slightly — it’ll make it look more realistic.
3. Clouds
Finger painting is a great way to paint clouds, and it can actually produce a very realistic effect.
It’d be easy to grab the white paint and get stuck in, but clouds are rarely just white.
Even the big, fluffy “cotton wool” clouds aren’t entirely white. There’s often a little grey shadow underneath which will help give the clouds shape in your painting.
And at different times of day, like sunrise or sunset, clouds can turn pink, yellow, or orange.
Start by grabbing some white paint and working it onto the page with circular motions to create the shape of the cloud. Try not to make it too uniform in shape, and be generous with the amount of paint you use.
While it’s still wet, work a tiny bit of grey into the bottom portion of the cloud, to give it a bit of shadow.
4. Art journal page background
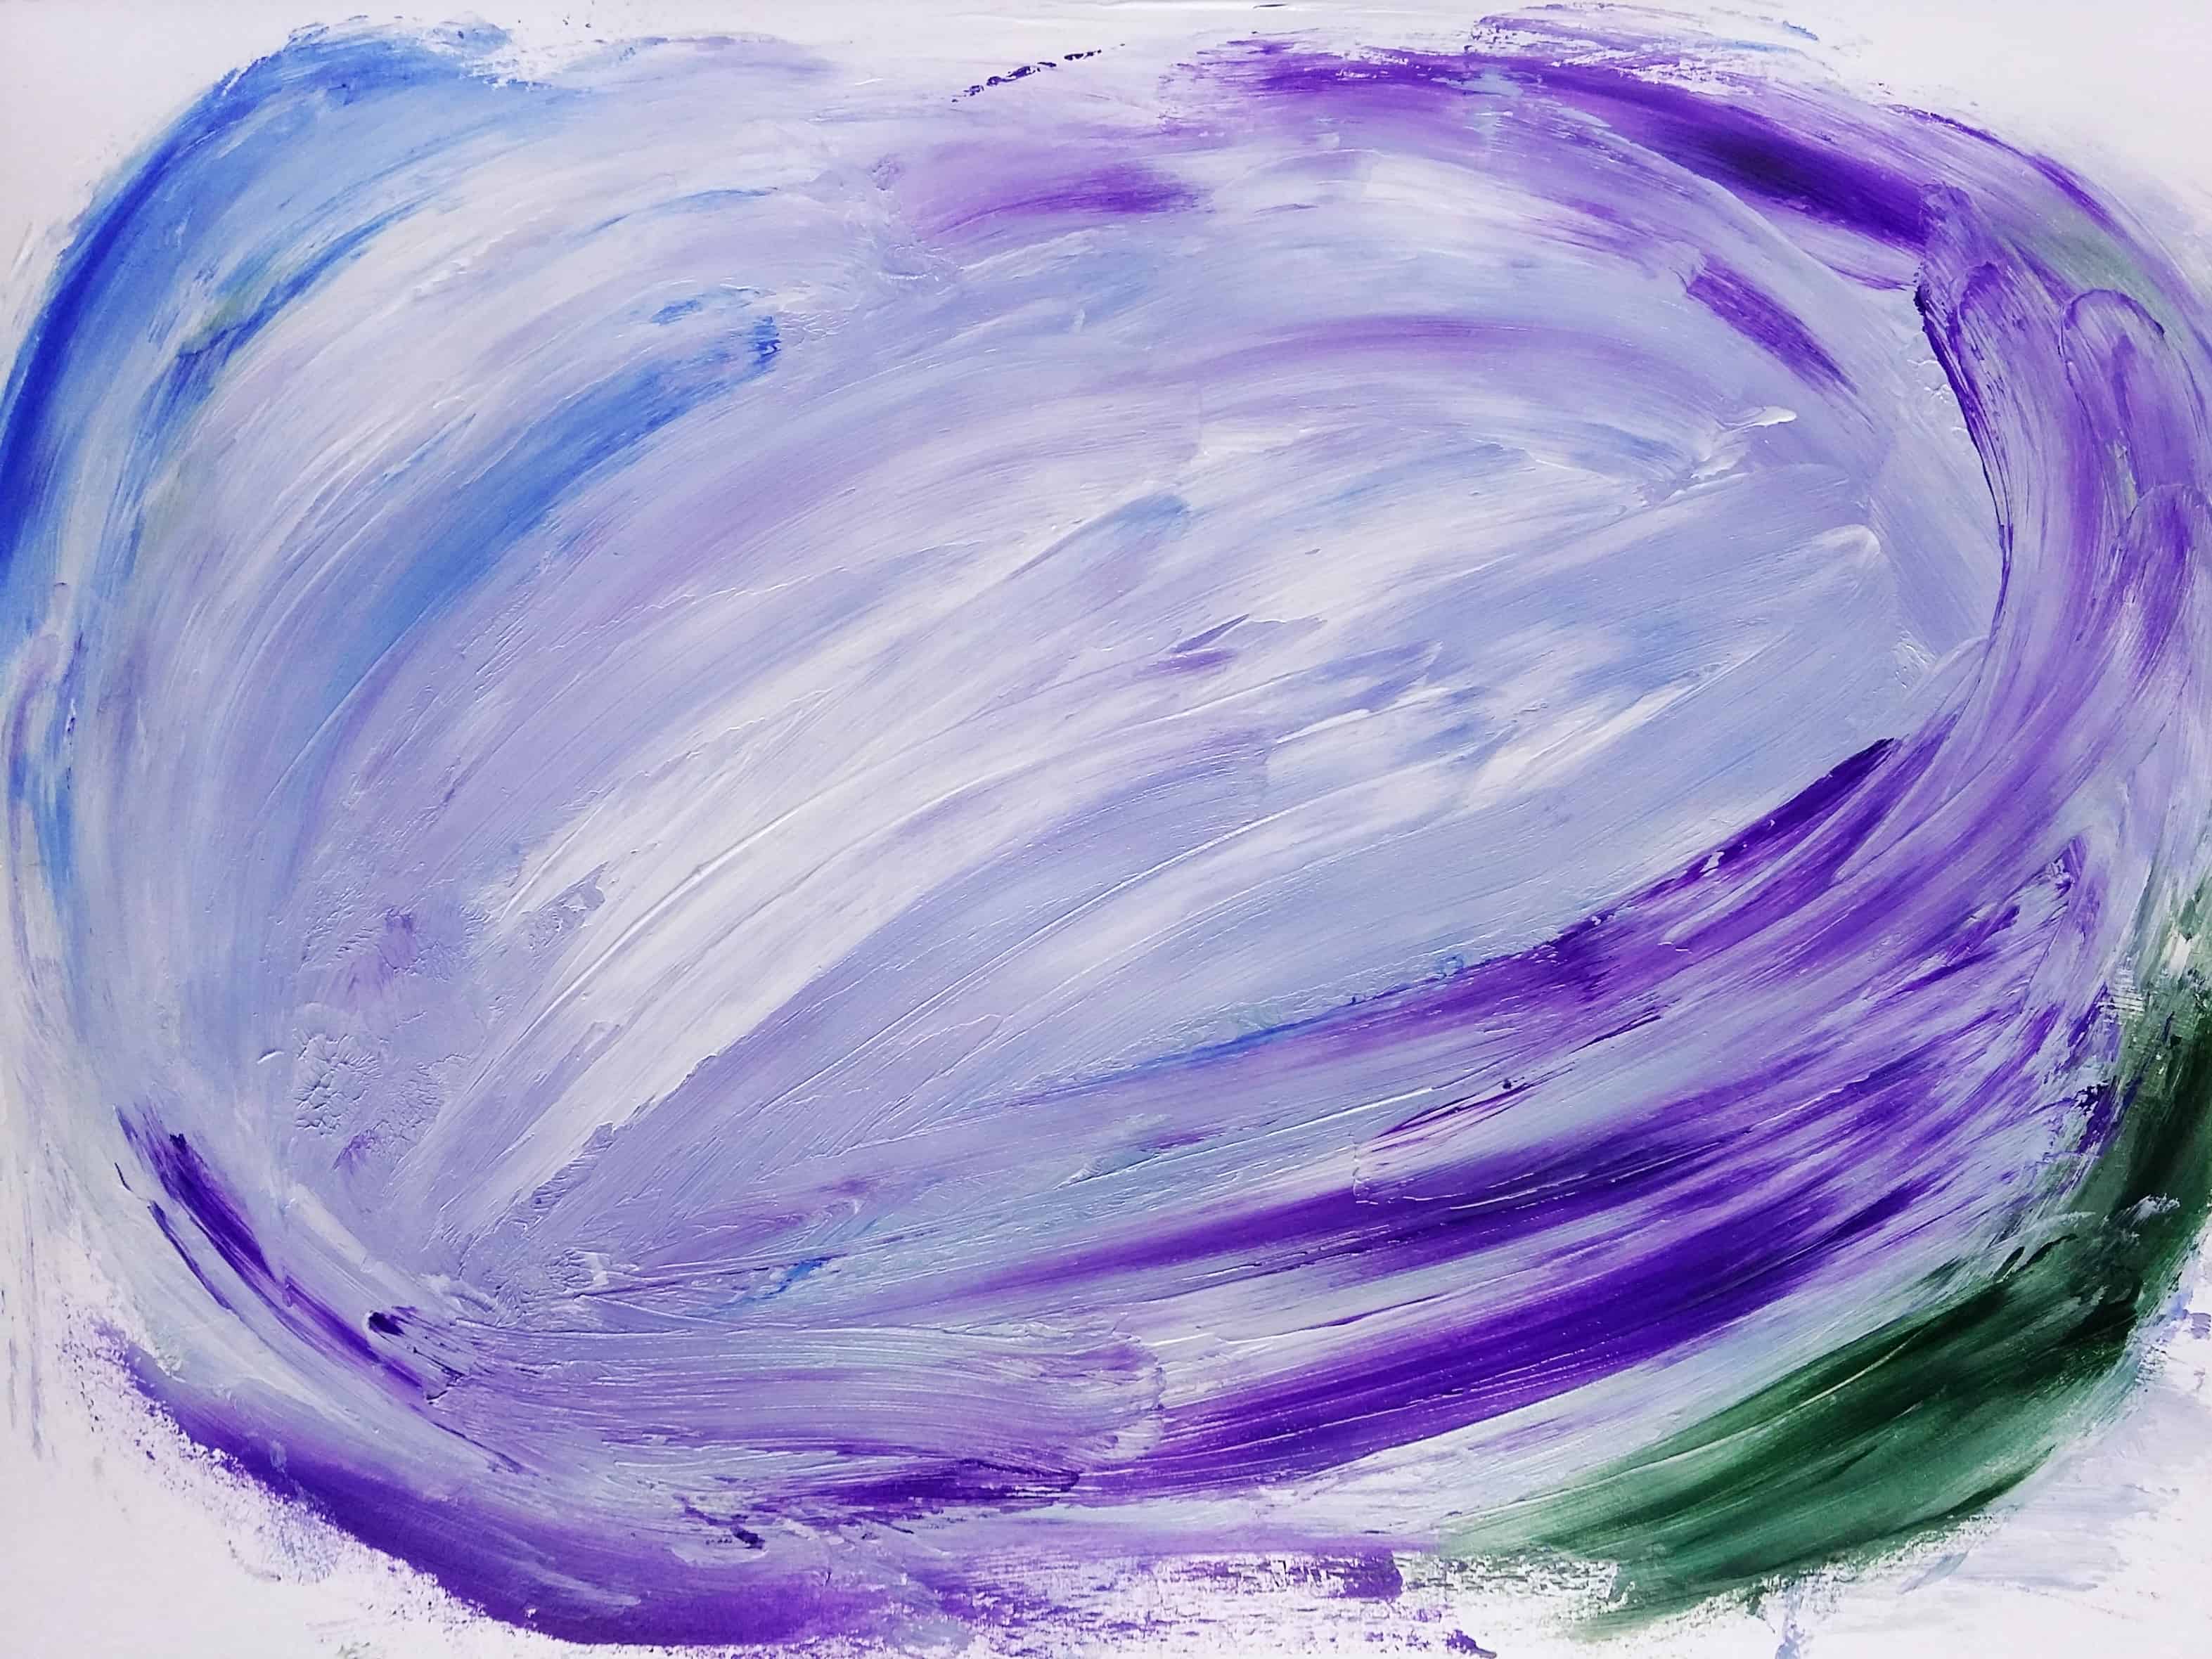
Finger painting is also great for covering large spaces, and it’s really satisfying to smear the paint over a larger area. So why not try it next time you want to create a background in your art journal?
Start by choosing a few colours that will look great streaked and marbled together. Depending on how bold you want your background to be, you could use mainly white paint with a touch of a couple of colours with a bit more punch, like red and blue.
If you’re using red and blue, for example, touch one finger into the red lightly and another in the blue, then pick up a lot of white with both fingers.
You don’t need to worry about mixing it, as we want that streaky effect. Then all you have to do is smear it onto the page.
The more you work it, the more the colours will mix, so be mindful of the effect you’re aiming for.

I hope I’ve persuaded you to have a go at finger painting if it’s not something you do already.
I’d love to hear if you have any other ideas for ways to use finger painting in your artwork. Leave a comment below if you do!
Sign up for my monthly emails of creative tips, tutorials and DIYs and get 31 free creative prompts!

You can unsubscribe at any time
About Stacey

I’m Stacey and I’m a blogger, abstract artist and freelance writer. My aim is to help busy people feel inspired and get more creative with tutorials, hints and tips.
I live in Cardiff with my partner and dog, and in my free time you’ll find me hiking, reading, painting or sampling a craft beer or two.


Many thanks for the advice! I’m always too scared to try different types of artwork, although I have always enjoyed art, I’m worried about messing it up! Any ideas for getting over this would be greatly appreciated, thanks again, Ali
Hi Ali, thanks for your comment! Have you seen this blog post? That might help a little. Otherwise, my best advice is to start simply, and just play around with the kinds of marks and effects you can achieve with a new type of medium or artwork. When you’re experimenting, you can’t go “wrong” as such, and it might help to take the pressure off a little. Hope this helps — good luck!