I love spring flowers, and we see lots of different kinds where I live in south Wales: hyacinths, bluebells, tulips… and the one that might just be my favourite, the daffodil. So today, I thought I’d show you how to draw a daffodil.
Although it looks pretty complicated, with the centre that protrudes out from the rest of the flower, it’s actually deceptively easy. Saying that, it’s best to draw your lines lightly at first so you can redo them if you need to.
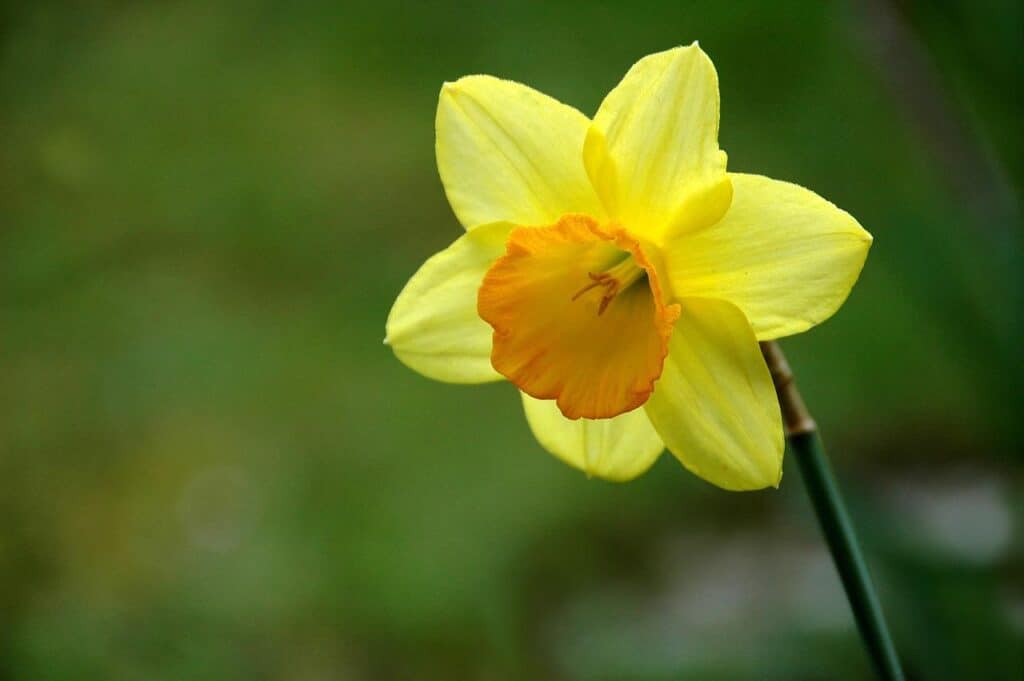
I based my drawing on this reference photo:
Sign up for my monthly emails of creative tips, tutorials and DIYs and get 31 free creative prompts!

You can unsubscribe at any time
How To Draw A Daffodil Step-By-Step
Supplies needed
- Sketchbook or other paper
- Pencil
- Eraser
- Coloured pencils/markers/watercolour pencils to colour it (optional, but I love my Reeves watercolour pencil set for this kind of project)
- A black pen for the outline (again this is optional, but I love my Derwent Graphik Line Maker, size 0.5)
Step one
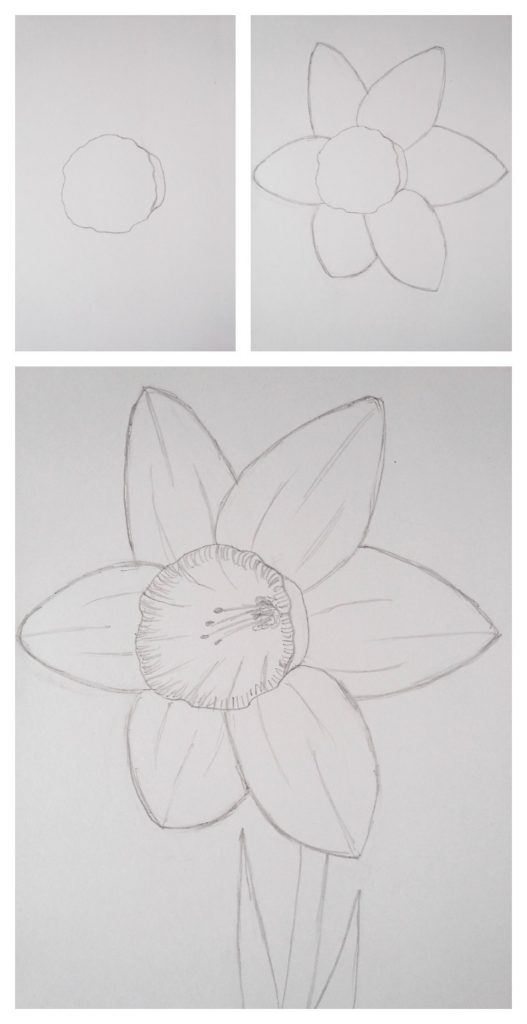
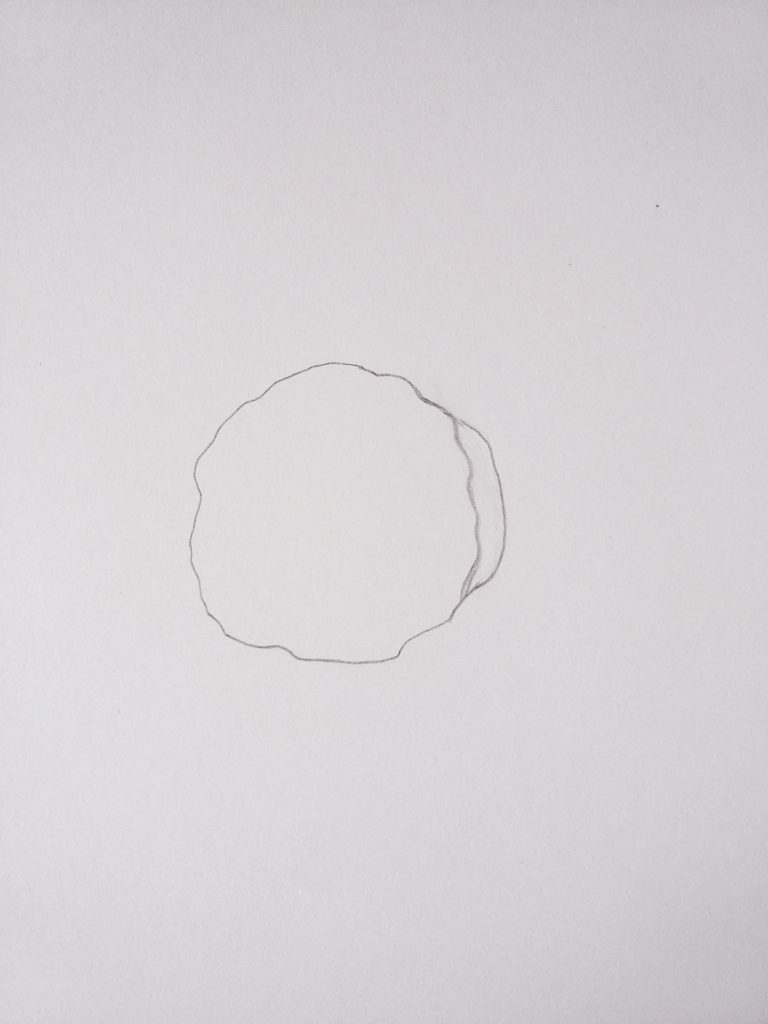
Start off by drawing the large circle that makes the opening of the “trumpet” in the centre of the flower. Don’t worry about drawing a smooth, even circle — a wobbly line looks more natural anyway!
Draw a backwards C just to the right of the first circle, to make the base of the trumpet where it joins the rest of the flower. This puts the flower head at a slight angle, which helps with perspective.
Step two
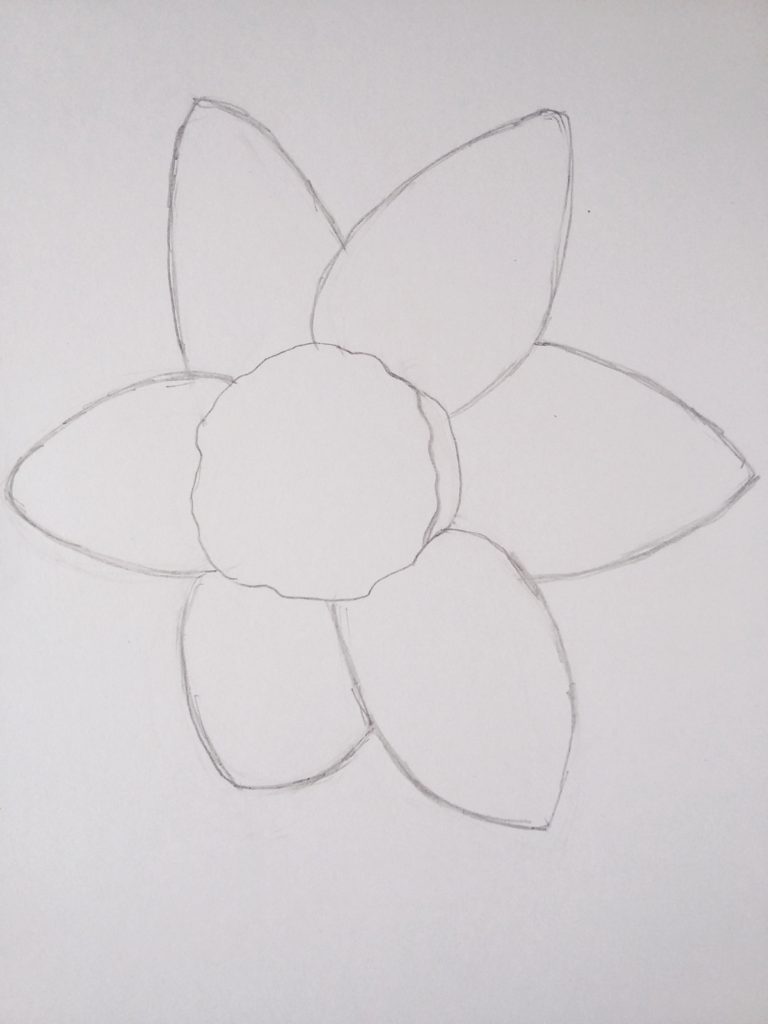
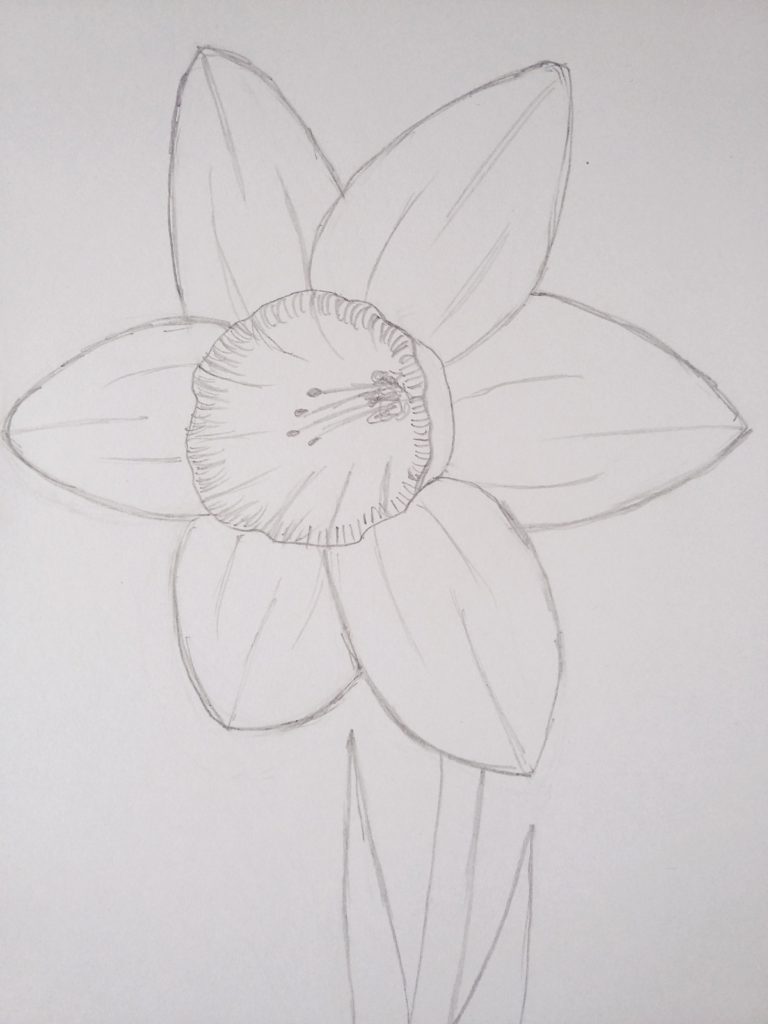
We’re now going to sketch in the six petals, which are basically a curved V-shape (upside down, right way up, or on its side, depending on which petal you’re drawing).
Four of them are very slightly larger than the other two, to allow for perspective. The two lower petals on the left are the smaller ones.
Draw them all in, overlapping them slightly as in the reference photo.
Step three
We need to add a few finishing touches now. Start by adding two parallel lines for a simple stem and a couple of leaves. Daffodil leaves are long and thin, finishing in a point.
Add a soft line down the centre of each petal, starting at the point and finishing roughly halfway down. This adds a little texture.
Draw other lines on either side of this central line, but this time, start each one at the base of the petal and go up a short way.
Add in the stamen by drawing three or four lines with a little dot on the end in the centre of the trumpet.
Finally, to give it a bit of shape, add a few longer lines running from the end of the trumpet down inside and lots of shorter ones around the opening.
Step four (optional)
Now you’ve learnt how to draw a daffodil and your pencil drawing is complete. You can now choose to colour it and/or go over the outline with a black pen. It’s entirely up to you!
For two more drawing tutorials with a spring feel, check out How To Draw A Sheep And Lamb and How To Draw A Hare!
About Stacey

I’m Stacey and I’m a blogger, abstract artist and freelance writer. My aim is to help busy people feel inspired and get more creative with tutorials, hints and tips.
I live in Cardiff with my partner and dog, and in my free time you’ll find me hiking, reading, painting or sampling a craft beer or two.

