
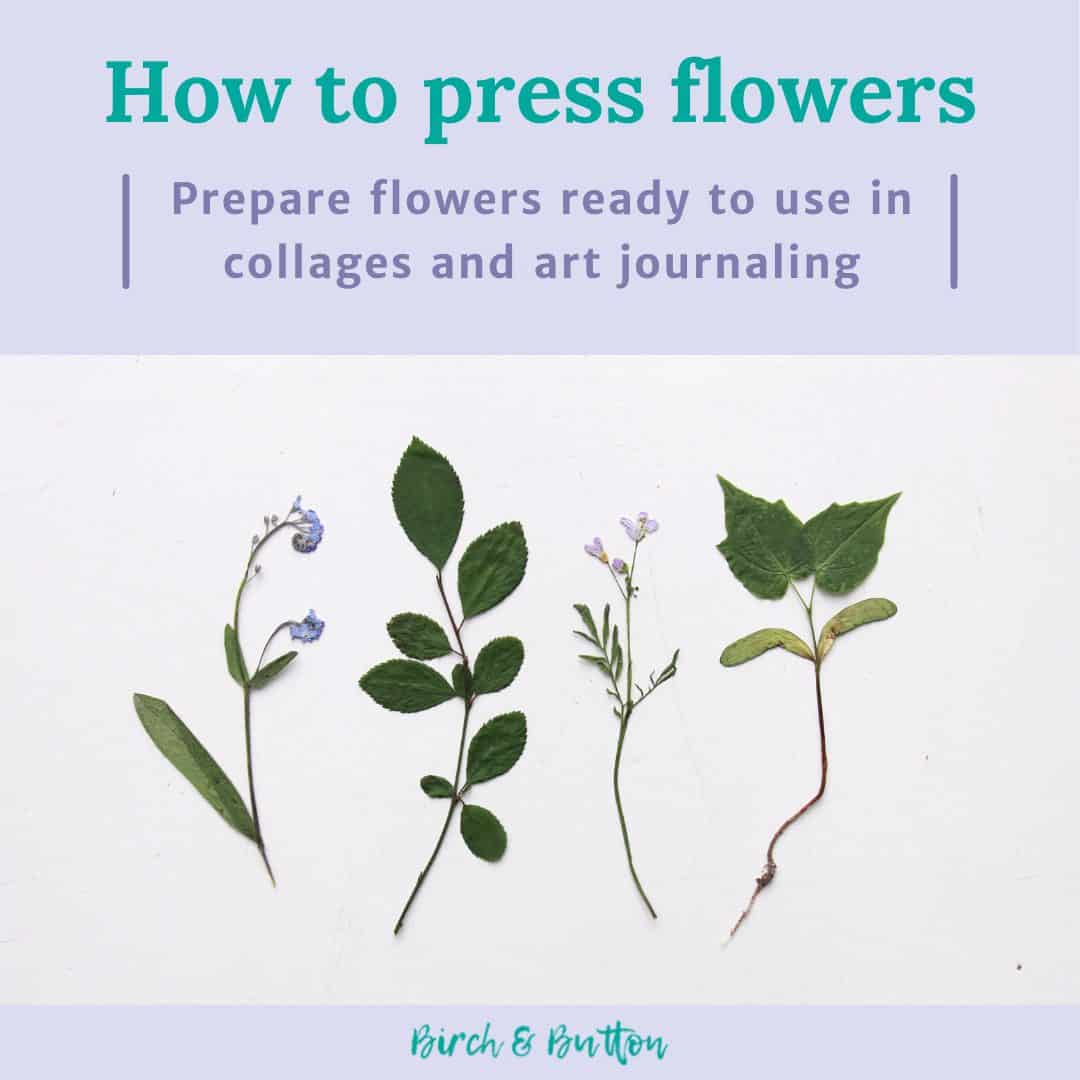
If you want to make the most of the blooms in your garden over the coming months, why not press some and dry them out to use in future collage and art journaling projects? Read on to learn more about how to press flowers step-by-step.
First things first — you could use a bought flower press. I was actually given one of these as a present a couple of years back.
It’s basically just two pieces of wood with a bolt and wingnut in each corner, so you could very easily make your own if you felt like it.
As useful as a flower press is, it’s really not necessary. And you know my motto: use what you have. So with that in mind, two heavy books works just as well!
Aside from that, all you need is a few sheets of paper. Regular printer paper is fine, as is newspaper.
It might seem natural to use absorbent kitchen paper, but it’s best to avoid using textured paper. This is because there’s a chance the texture could imprint onto the flowers as they dry, which would ruin the effect.
You could even slide the flowers between the pages of a book, and then place another book on top to add some extra weight.
Just be sure you don’t mind sacrificing the book you choose to press the flowers in, since its pages are likely to crinkle up due to the moisture in the flowers.
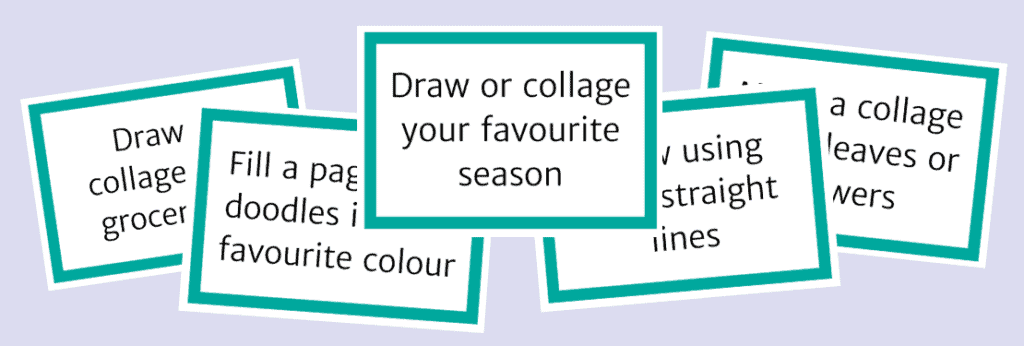
Sign up for my monthly emails of creative tips, tutorials and DIYs and get 31 free creative prompts!
You can unsubscribe at any time
The best flowers for pressing
For the best results, there are a couple of things you need to think about when picking flowers to press.
Firstly, how delicate or solid is the flower? More delicate flowers and those with only one row of petals will press better than thicker ones with multiple layers of petals.
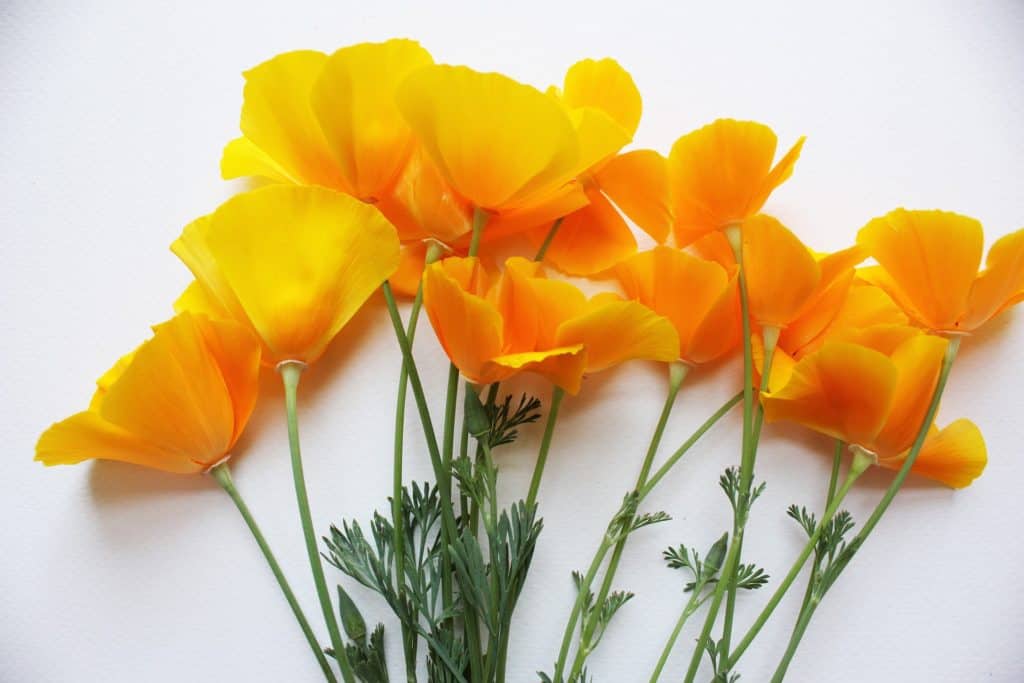
The next thing is to bear in mind how brightly coloured the flower is. Flowers lose a little of their colour and vibrancy when they’re dried, although this colour loss can be reduced by drying flowers as quickly as possible. So it’s best to choose flowers that are as brightly coloured as possible.
Flowers that press well include:
- Pansy
- Larkspur
- Cosmos
- Viola
- California poppy
When you pick the flowers, make sure they’re dry. This means letting the morning dew dry out, and not picking flowers immediately after rain.
You should also choose blooms that are whole and unblemished to ensure the dried flower is as pretty as possible.
Check out my post on picking natural objects for use in crafts for a few more hints and tips.
How To Press Flowers
Supplies needed
- A selection of flowers
- Some printer paper
- A couple of heavy books
Step one
Place a piece of paper on top of a book and put the flowers face down on top. Put another piece of paper on top, and another book or two on top of that.
Place each item down carefully so as not to disturb the flowers.
Step two
Put the stack of books somewhere they won’t be disturbed for two weeks.
The ideal place is somewhere slightly warm, as this will speed up the drying process. If your boiler is in a cupboard, this is an ideal location. Otherwise, anywhere in the house will do just fine.
Step three
After two weeks, remove the books and lift the top sheet of paper carefully. If the flowers are dry, remove them from the paper.
Do this very carefully as the dry petals will be extremely delicate and prone to breaking.
If the flowers aren’t dry yet, replace the paper and books and check again in another week or so.
Place the pressed flowers in an airtight bag and store out of direct sunlight until you’re ready to use them.
How to use pressed flowers
Dried flowers are a great addition to your art supplies or craft stash as they can be used in so many different ways:
- They look great as part of a collage
- They’re a perfect addition to a spread in your art journal, especially a seasonal one
- They’re fantastic for making quick but pretty cards
- They make a great addition to stationery
- You could also make your own dried flower art by arranging them in a frame. Either use a regular frame or try one with glass in the front and the back. (I think that second option would look fab!)
I’ve also seen that it’s possible to press flowers in the microwave, but I’ve not tried that before. If you have, could you share in the comments how it went for you?
In the meantime, have fun pressing flowers and be sure to get creative with the kinds of projects in which you might use them 😊
About Stacey

I’m Stacey and I’m a blogger, abstract artist and freelance writer. My aim is to help busy people feel inspired and get more creative with tutorials, hints and tips.
I live in Cardiff with my partner and dog, and in my free time you’ll find me hiking, reading, painting or sampling a craft beer or two.