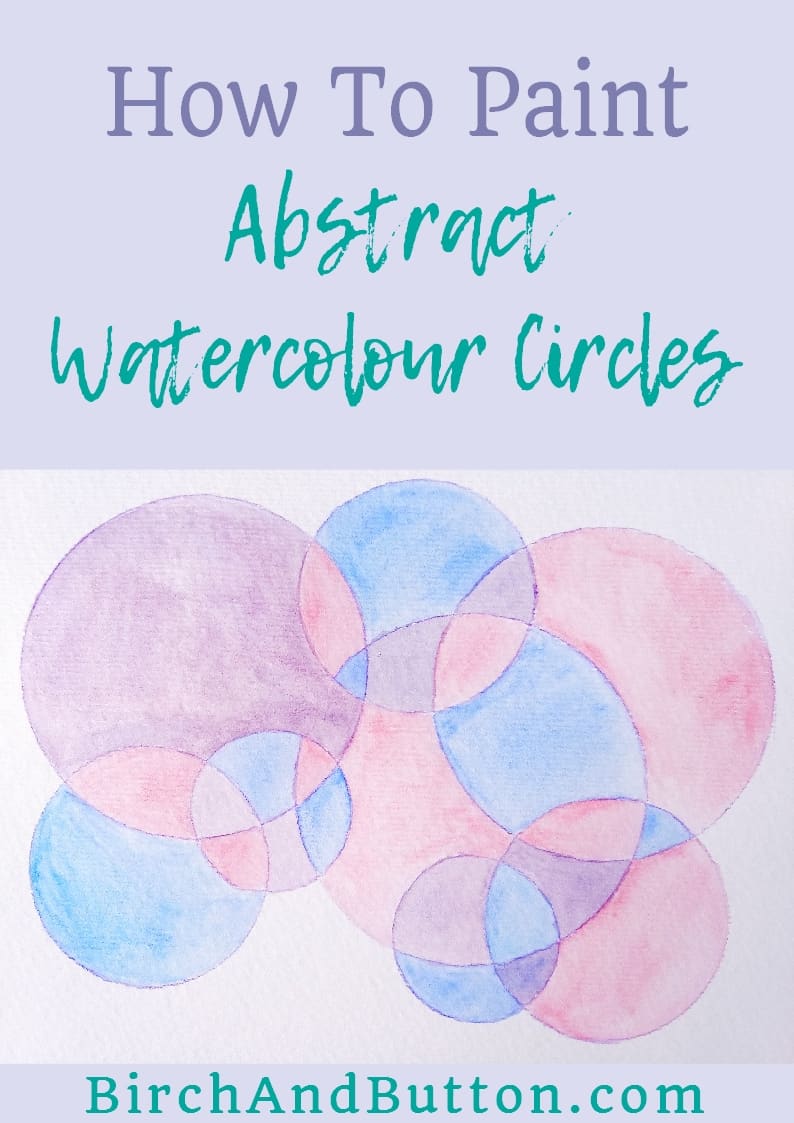
This abstract watercolour circles painting is easy to customise and make as large or a simple as you like. It’s also very easy to customise the colours to fit in with your favourite colour scheme. Read on for the step-by-step tutorial.
Today we’re going to be painting an abstract watercolour that looks so effective but is actually super easy to do!
I first saw the idea for this project on another blog that no longer exists, so this tutorial isn’t my idea but rather my version and the steps I took to complete this painting.
This is the sort of project that could be as large or small as you like, and as simple or complicated as you like. You could use two colours or 10, and as many different sizes of circles as you like – or just one.
You could also colour the circles with watercolour pencils rather than paint, then apply the water afterwards. Try painting a couple of different versions and see which one you prefer.
I planned out the colours I was going to use in advance and drew the circles with a watercolour pencil that contrasted nicely with the watercolours I had decided to use. That way, I could blend my circles into the paint nicely and wouldn’t end up with any ugly pencil lines afterwards.
If you only have a regular graphite pencil, press as lightly as you can so you don’t end up with strong lines – unless you want that effect, of course.
In the past I’ve found it difficult to erase graphite pencil lines from the watercolour paper I use, and I didn’t want this to spoil the effect I was trying to create.
So let’s take a look at how to create this abstract watercolour circles painting.

Sign up for my monthly emails of creative tips, tutorials and DIYs and get 31 free creative prompts!

You can unsubscribe at any time
How to paint abstract watercolour circles
Supplies needed
- Circular items you can draw round
- Watercolour paper (or other thick paper/thin card)
- A watercolour pencil (I used one from my set of Reeves watercolour pencils)
- Watercolour paints (I used my Winsor & Newton Cotman Watercolour Paint set)
- A brush (I used Pentel Aquash Brush pens)
- Some water
Step one
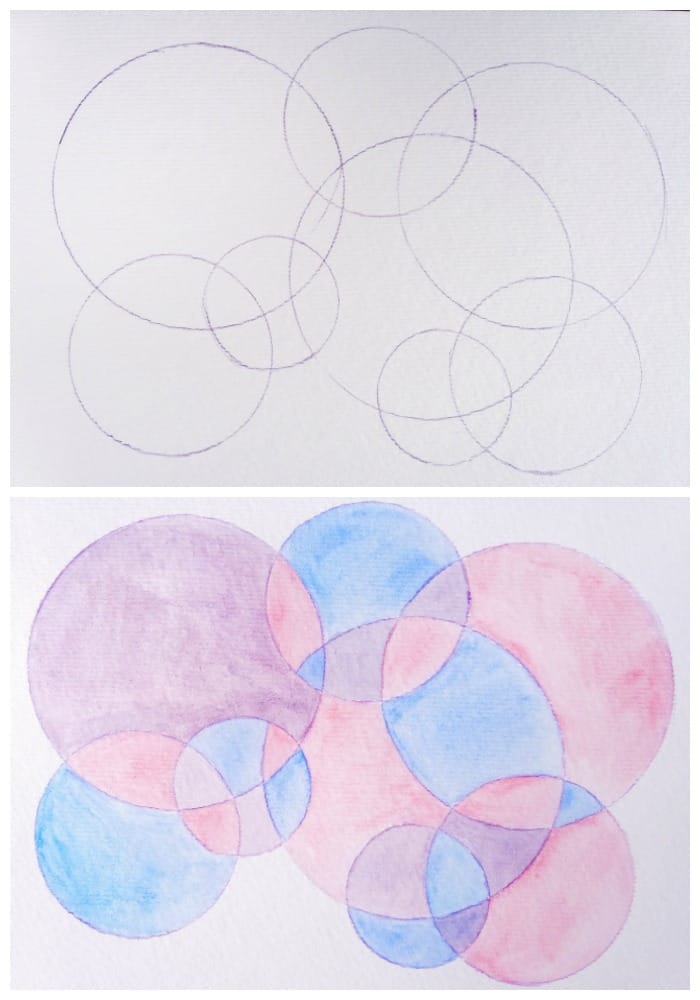
Use the watercolour pencil and the circular items to draw a series of overlapping circles randomly on the page.
Make sure the circles cross over at lots of different points so you have different sections to paint, and try to vary the size of the various sections to make it as interesting as possible.
Don’t worry if you slip with the watercolour pencil – you can see that this happened to me in the photo below. This is easy enough to blend out with water when you’re painting.

Step two
Start painting the sections with one of your watercolours. I dampened the area first with my brush, making sure I dampened the line a little too so it would blend with the paint. Then carefully fill in the section with the watercolour.
Continue working with one colour until you’re happy you have enough sections in that colour. I tried not to paint two neighbouring sections the same colour. Leave the first colour to dry for a few minutes.
Step three
Repeat step two with your second colour. You might find two colours are enough to fill in your entire painting, or you might like to use a third, which is what I did. Whatever you decide to do, try to leave it until the paint is almost dry before painting with another colour, otherwise the colours might bleed together.

About Stacey

I’m Stacey and I’m a blogger, abstract artist and freelance writer. My aim is to help busy people feel inspired and get more creative with tutorials, hints and tips.
I live in Cardiff with my partner and dog, and in my free time you’ll find me hiking, reading, painting or sampling a craft beer or two.

