
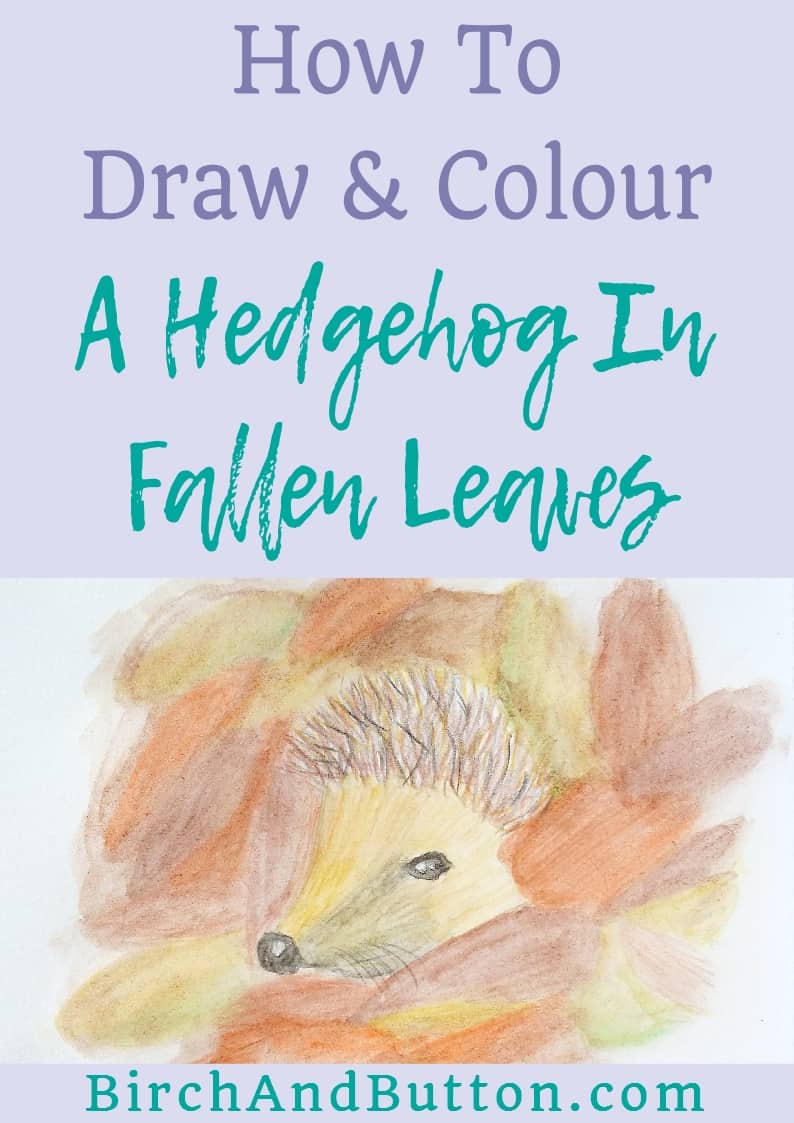
Embrace autumn with me by following along with my drawing tutorial. In this blog post, I’ll teach you how to draw a hedgehog and then how to add colour to your doodle with watercolour pencils. Read on for the step-by-step instructions!
The leaves are starting to fall here and the nights are drawing in. It feels like autumn is well and truly here. And I know not everyone feels like me, but autumn is one of my favourite seasons.
So with that in mind, today I’m embracing autumn with a drawing tutorial for a hedgehog poking his nose out of a pile of leaves.
I was playing around doing some sketches based on the cutest photo I stumbled across on Pinterest when it dawned on me that this is a super simple drawing project.
If you’ve ever felt daunted by drawing projects in the past, this is a great place to start since half of the hedgehog is buried by leaves!
So grab a pencil and paper and let’s get started…
Sign up for my monthly emails of creative tips, tutorials and DIYs and get 31 free creative prompts!
You can unsubscribe at any time
How To Draw A Hedgehog
Step one
Draw a circle for the hedgehog’s nose.
Step two
Draw a vertical line that starts off straight and then curves to meet the circle.
Step three
Draw another line, fairly straight, out from the right of the circle.
Step four
Draw another short curved line starting roughly halfway along the straight line. The hedgehog’s snout should be starting to take shape now.
Step five
Draw another very faint line, roughly halfway between the two lines coming out of the circle. This will help to give the snout a bit of shape and give you an idea of where to place the eye.
Step six
To the right of the very faint line, and slightly below it, draw in the hedgehog’s eye. This is kind of like a slightly squished egg shape resting on its side.
Step seven
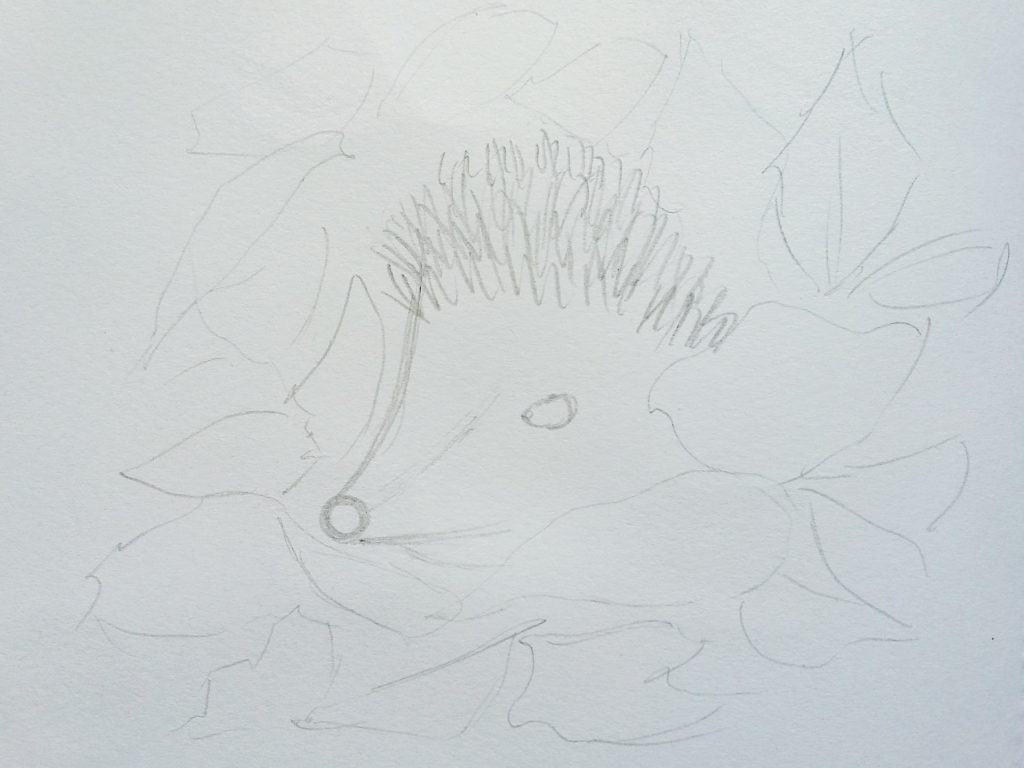
Now we need to add in the spikes, which I drew as a series of straight lines.
Step eight
Finally, add in the leaves. The leaves are all sorts of random shapes, and I drew them in very faintly as I want to add colour to the drawing while leaving the background indistinct.
How To Colour A Hedgehog With Watercolour Pencils
My tip for this is to work quickly and freely and don’t worry about “perfect”. When I look at my hedgehog, I see things I could change.
I’m sure you know as well as I do that I could tweak this sketch for hours and still find something I want to change. But I’ve decided I actually like him just as he is!
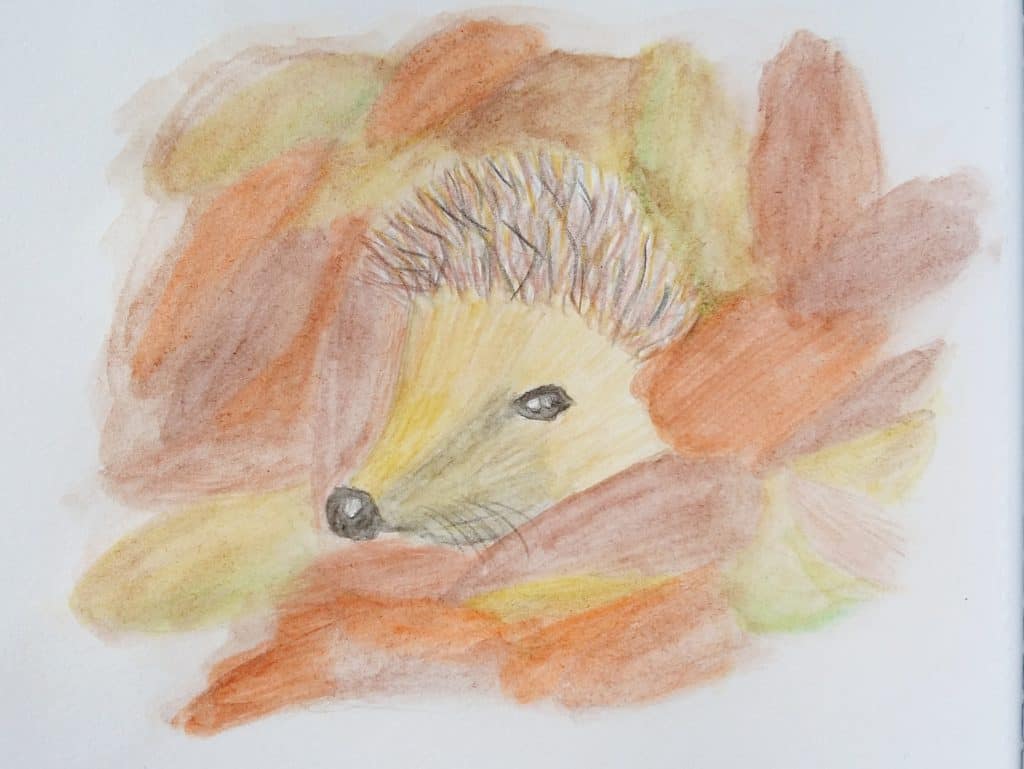
So grab your watercolour pencils and let’s get started! I used a black pencil, two shades of brown, yellow ochre, mid green and orange.
Step one
Colour the whole face yellow ochre, going in the direction of the fur. Add some brown to the top of the face near the spikes, and a little black on the side of the face between the eyes and the nose.
Blend the colours out with water and a small brush, working from lightest to darkest.
Step two
Colour the eye and the nose with black, leaving a little spot of white for a highlight. Blend out the eye and nose.
Step three
Next, we’ll colour the leaves with some patches of brown, orange and ochre, adding a little green to the ochre patches where the leaves haven’t quite turned. Blend them out with water to create an indistinct background.
If it seems too bright, go over all the leaves with a layer of brown when it’s dry and blend again with water. I left the pencil marks from my initial drawing as it gives more of a sketchbook feel, which is what I was going for.
Step four
Now for the spikes. Using the yellow ochre and the two brown pencils, do a series of lines as the spikes. We won’t blend this out, so make the lines fairly strong.
Add a few black lines too, but not too many.
Step five
When the face is dry, add some faint, wispy whiskers with the black pencil.
And there you have it, that’s how to draw a hedgehog poking his nose out of some leaves!
Let me know in the comments how you get on with this drawing project.
About Stacey

I’m Stacey and I’m a blogger, abstract artist and freelance writer. My aim is to help busy people feel inspired and get more creative with tutorials, hints and tips.
I live in Cardiff with my partner and dog, and in my free time you’ll find me hiking, reading, painting or sampling a craft beer or two.