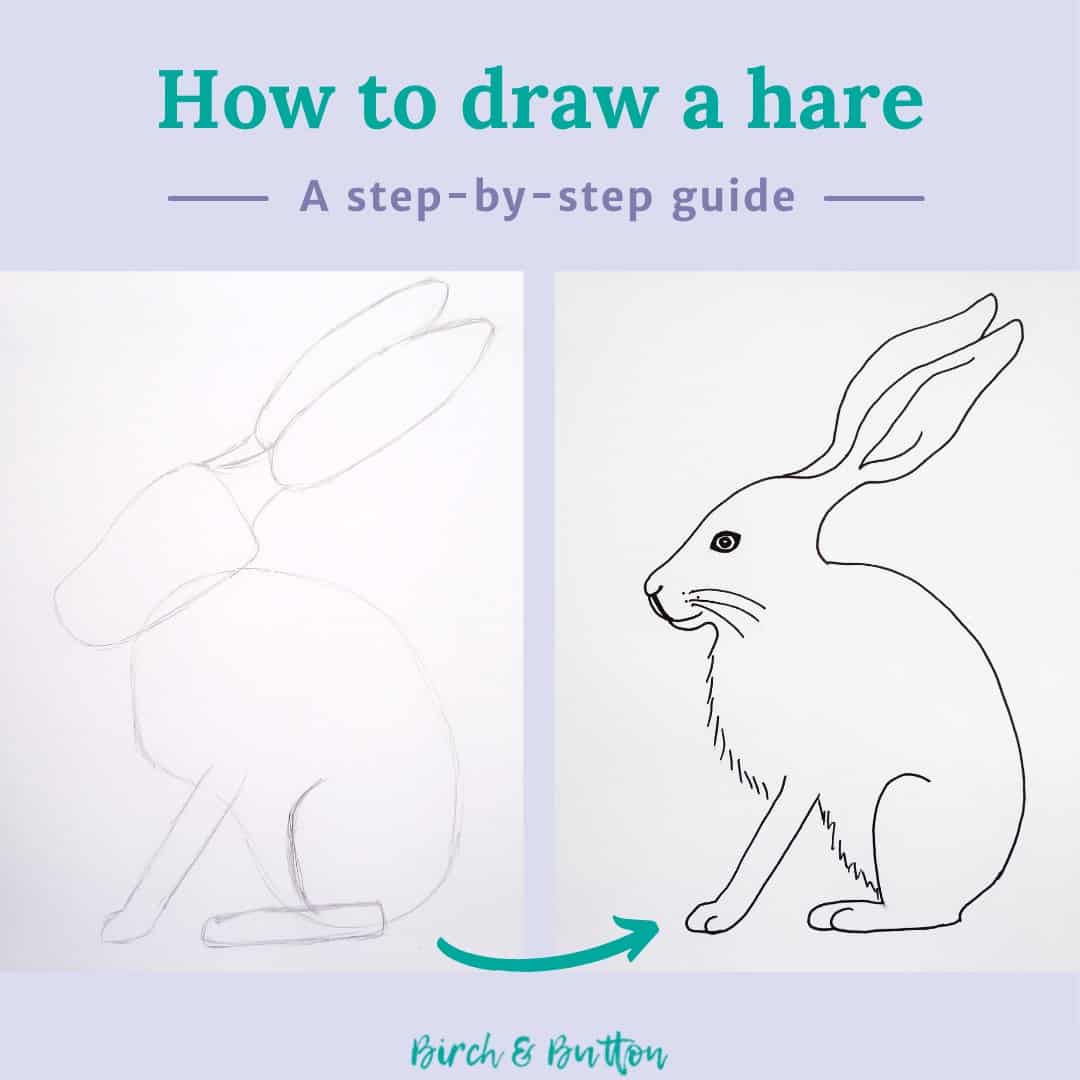
Since spring is around the corner, this tutorial is all about how to draw a hare. And it’s actually easier than you might think, especially when it’s broken down into simple shapes. Read on to learn how to draw a hare step-by-step.
As it’s now March, it seemed kind of appropriate to make a hare my latest step-by-step drawing tutorial. Do you know that phrase “as mad as a March hare”?
If you don’t, you might have heard of the March Hare as a character in Lewis Carroll’s Alice’s Adventures In Wonderland. He’s the Hatter’s buddy and is present at the tea party scene.
Anyway, supposedly hares get a little loopy and excitable during March. I guess this has something to do with spring being just around the corner…
(Speaking of drawing tutorials with a spring flavour, you might also like to check out How To Draw A Daffodil and How To Draw A Sheep And Lamb!)
All of this is a long-winded way of explaining exactly why today’s blog post is about drawing a hare. We’re drawing a hare because it’s March. There.
This, like many drawing projects, is relatively simple when you break it down into simple shapes.
The shape is quite rabbit-like, but hares have bigger bodies and longer legs and ears. The hare is basically the rabbit’s bigger, stronger, and faster cousin.
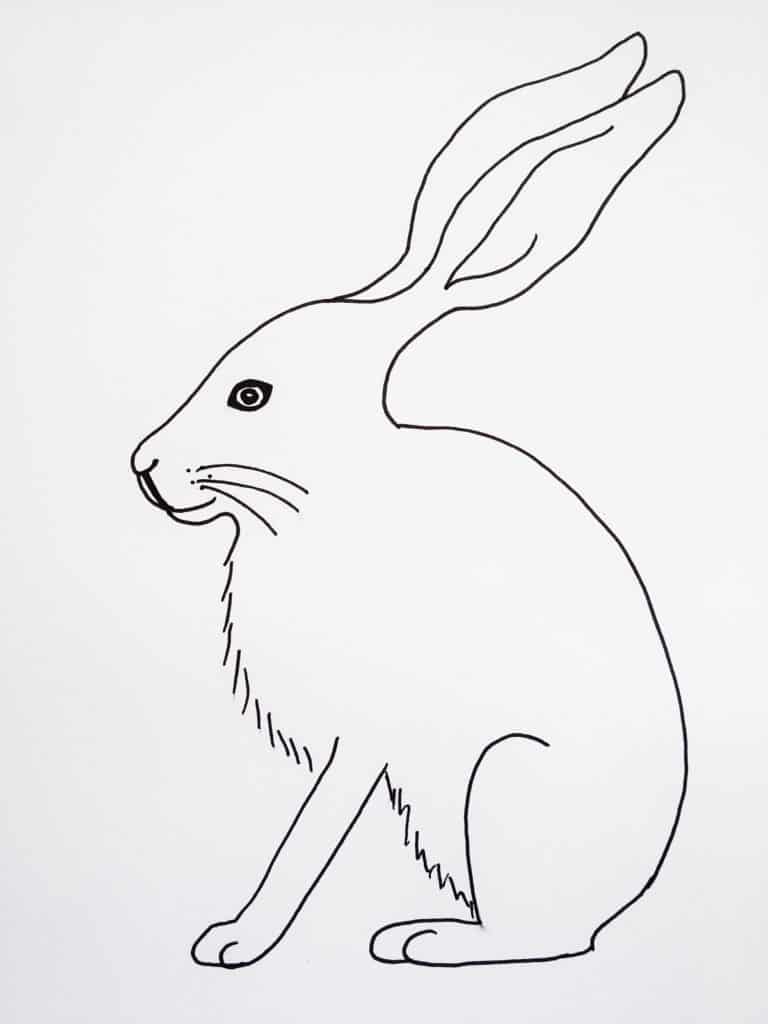
The eagle-eyed among you will notice that my final hare is different to the step-by-step images. This is because I had a little bit of an accident when outlining with the black pen, so I had to start again.
At the time I was a bit annoyed, until I decided my final hare was cuter than the first one I drew, so it’s not a complete disaster! 😅
Sign up for my monthly emails of creative tips, tutorials and DIYs and get 31 free creative prompts!
You can unsubscribe at any time
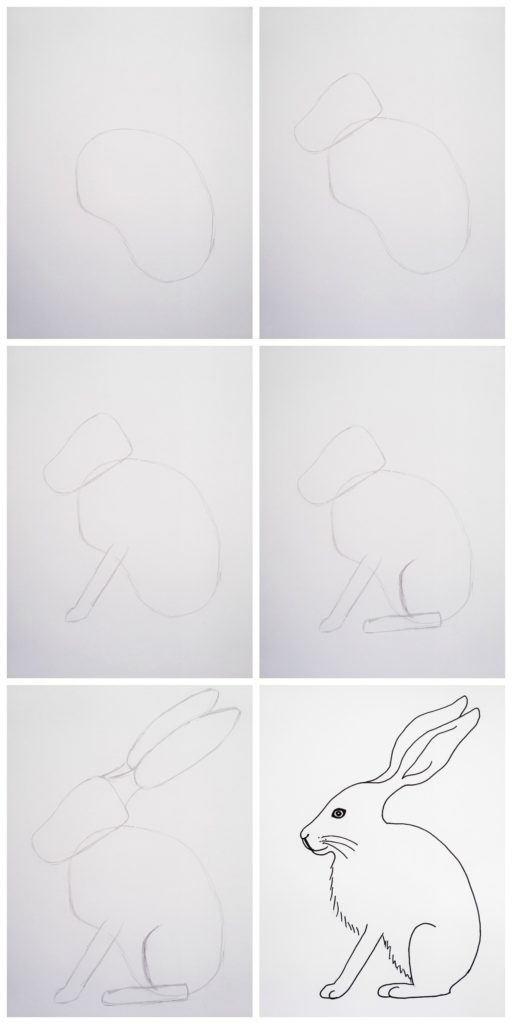
How to draw a hare step-by-step
Step one
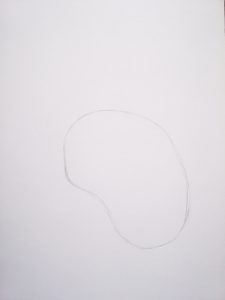
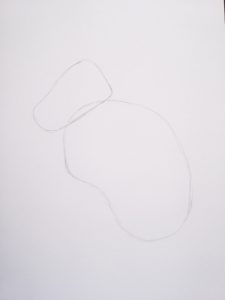
Start by drawing a kidney-bean shape for the body.
Step two
The shape of the head is basically a rounded off rectangle that tapers slightly at the nose end. Draw this at the top of the kidney bean shape, overlapping it very slightly.
Step three
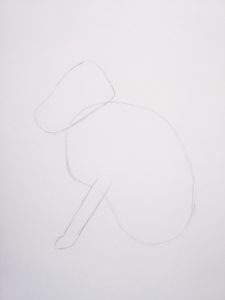
For the front leg, draw two parallel lines roughly a third of the way down the body. Round the end of the leg off to make a foot.
Step four
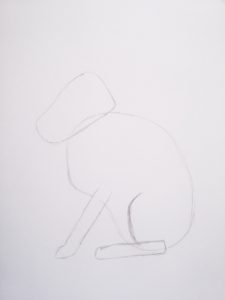
The next step is to draw the back leg and foot. The basic shape of the foot is a rectangle with rounded corners.
Then all you need to do is draw a curved line from this rectangle into the kidney bean shape to suggest the shape of the leg.
Step five
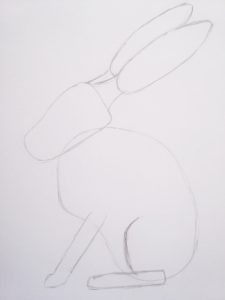
The hare’s ears are about one and half times the length of its head. Draw an elongated egg shape and attach it to the head with two curved lines. Repeat to make a second ear.
Step six
Now we need to add some features to the hare’s face.
Draw a tiny curved line for the nose, with a line extending down from it and curving round to make a mouth.
The eye is mostly round, but slightly elongated at either side. Add a large black dot in the centre to make the pupil.
Draw three curved lines for whiskers.
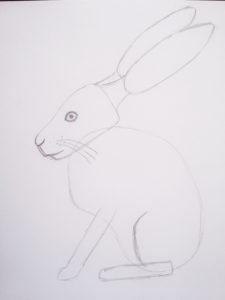
Step seven
Go over the outline of the hare, rounding off the corners and making the lines flow. Make the chest and tummy look furry with broken lines.
Then your hare is all finished, ready to colour or shade as you like!
- Related: How To Draw A Sleepy Fox
About Stacey

I’m Stacey and I’m a blogger, abstract artist and freelance writer. My aim is to help busy people feel inspired and get more creative with tutorials, hints and tips.
I live in Cardiff with my partner and dog, and in my free time you’ll find me hiking, reading, painting or sampling a craft beer or two.

