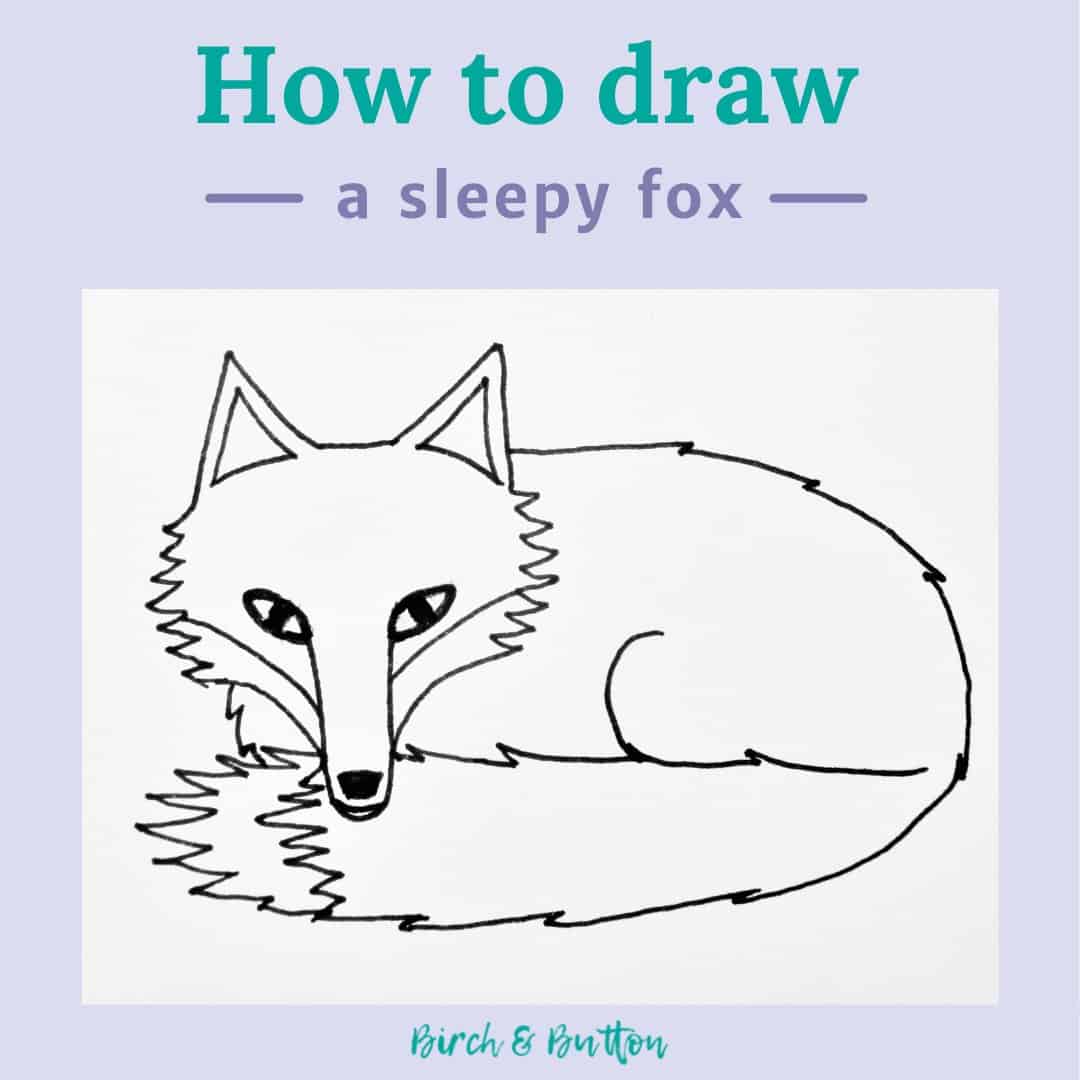
Today I have a photo tutorial taking you through the process of how to draw a curled-up, sleepy fox.
I think this is such a cute image, and it’s relatively simple to draw too. As I’ve not gone for an overly realistic image, it’s easy to style it up and make it your own.
- Related: How to draw a cute penguin
If you’ve not drawn much before, give it a go! The important thing is not to worry if your lines are wobbly or scruffy. Practice really helps here, and over time you’ll develop your own drawing style.
So grab a pencil and some paper and let’s get drawing…
Sign up for my monthly emails of creative tips, tutorials and DIYs and get 31 free creative prompts!

You can unsubscribe at any time
How to draw a sleepy fox
Step one
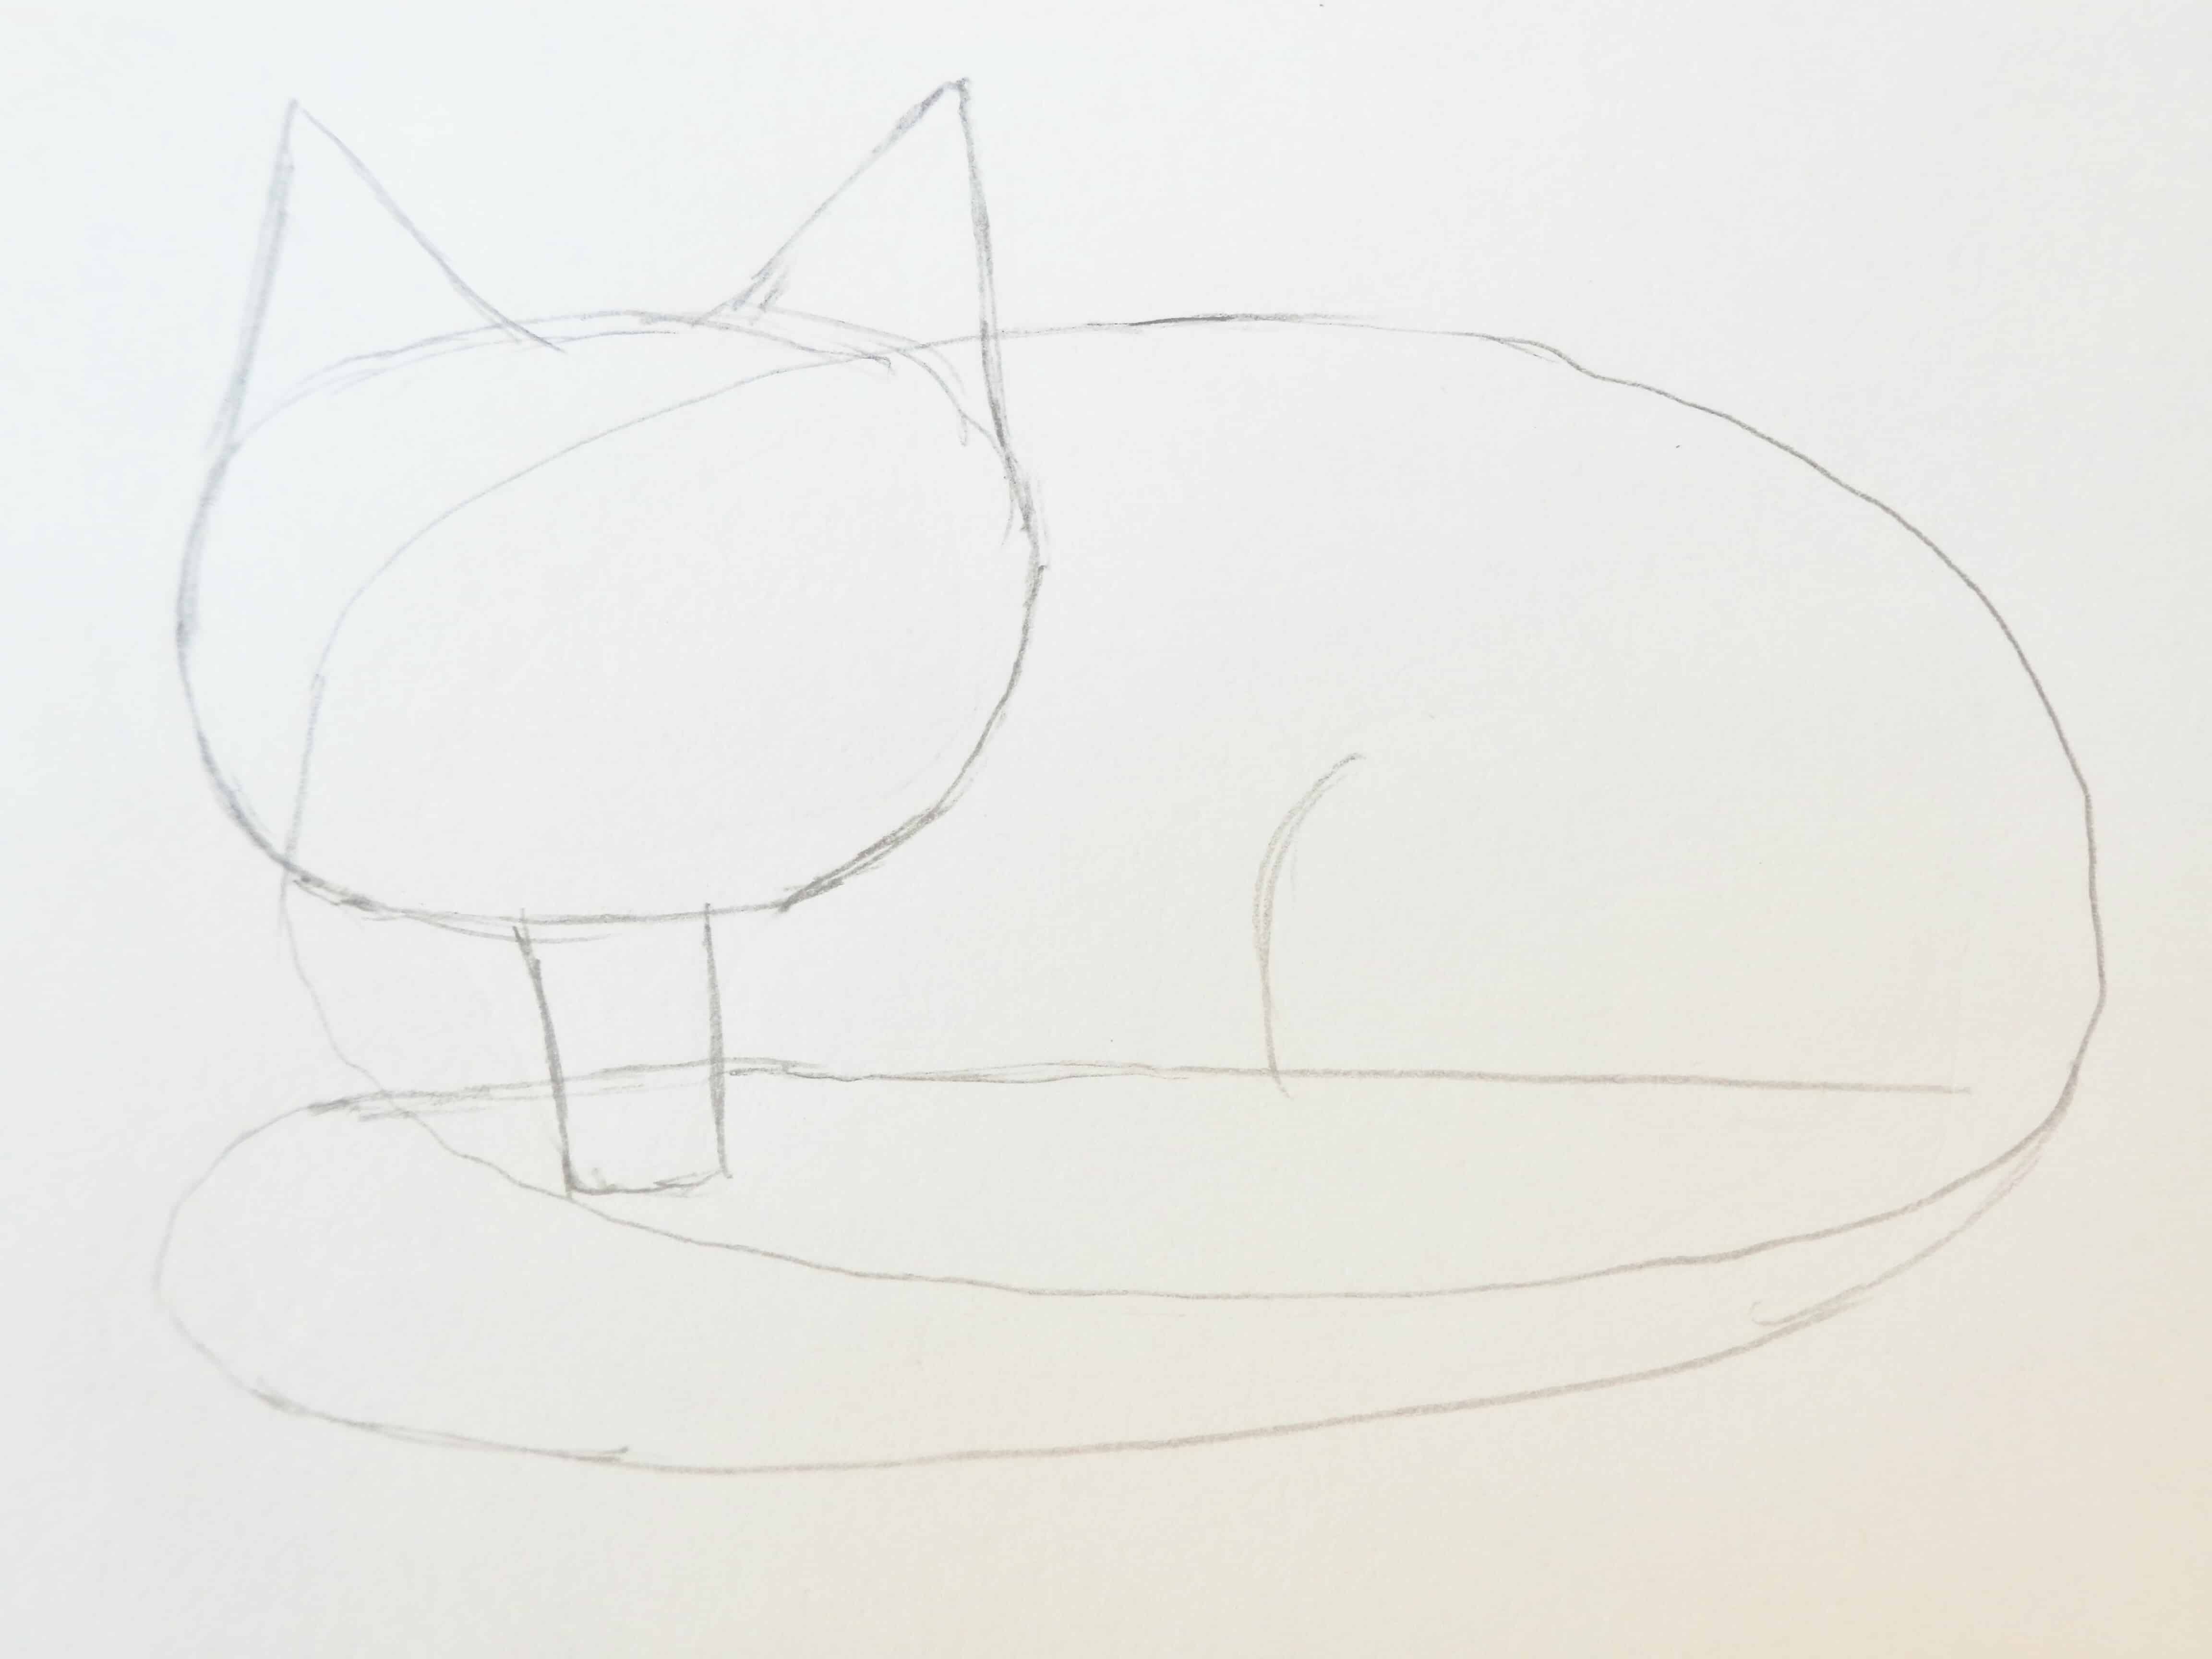
Draw the rough shapes that make up the fox’s body. Here I’ve drawn an elongated oval for the body, with a circle for the head overlapping it slightly.
Then we need a rough sausage shape for the tail, two triangles for ears, and a rectangle for the muzzle.
I also added a curve towards the tail-end of the body to show the haunch of the fox. This really makes it easy to see the shape of the fox beginning to form.
Step two
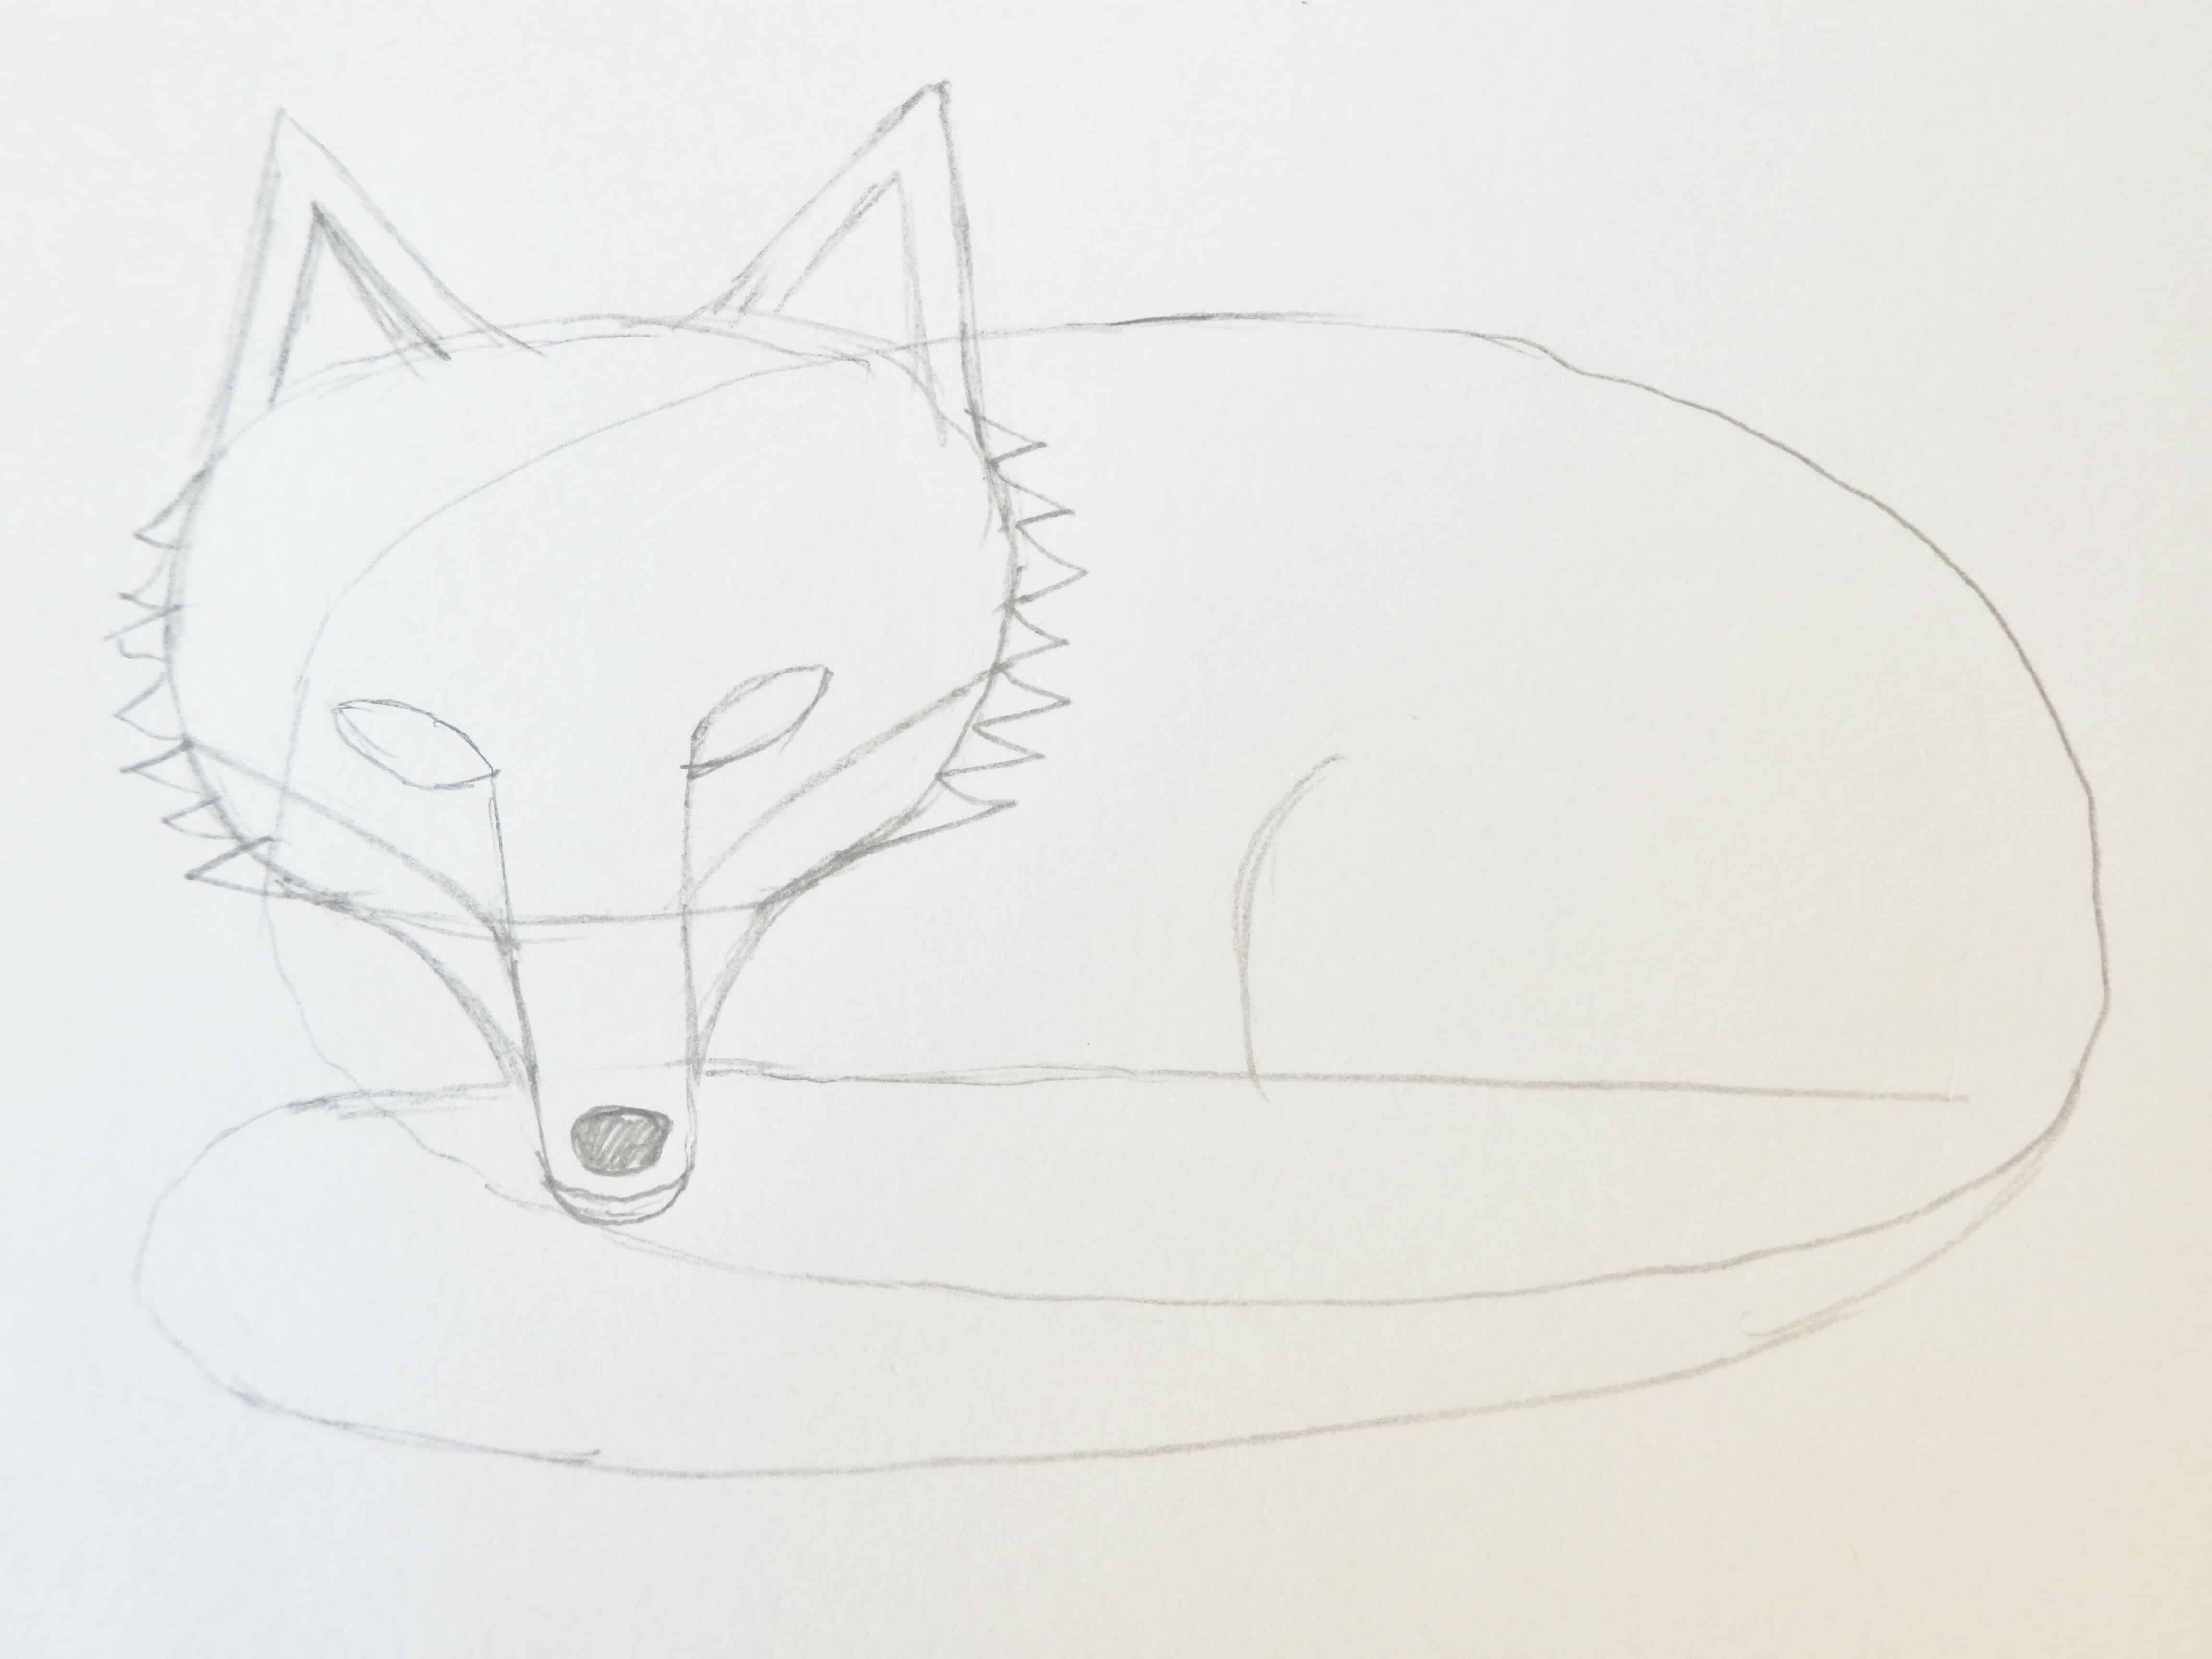
The next step is to make the head a bit more fox-shaped! To do this, extend the straight lines of the muzzle shape up into the fox’s head. Where the lines end, draw a sloping almond-shaped eye.
Give the fox some spiky fur on the sides of its head and draw sloping lines to blend the muzzle into the head. Show the shape of the inner ear with two upside-down Vs.
Draw lines halfway between each eye and the bottom of the head to show where the orange fur ends and the cream fur begins on a real fox. Also add a hint of a bottom jaw, and a black nose on the end of the muzzle.
Step three
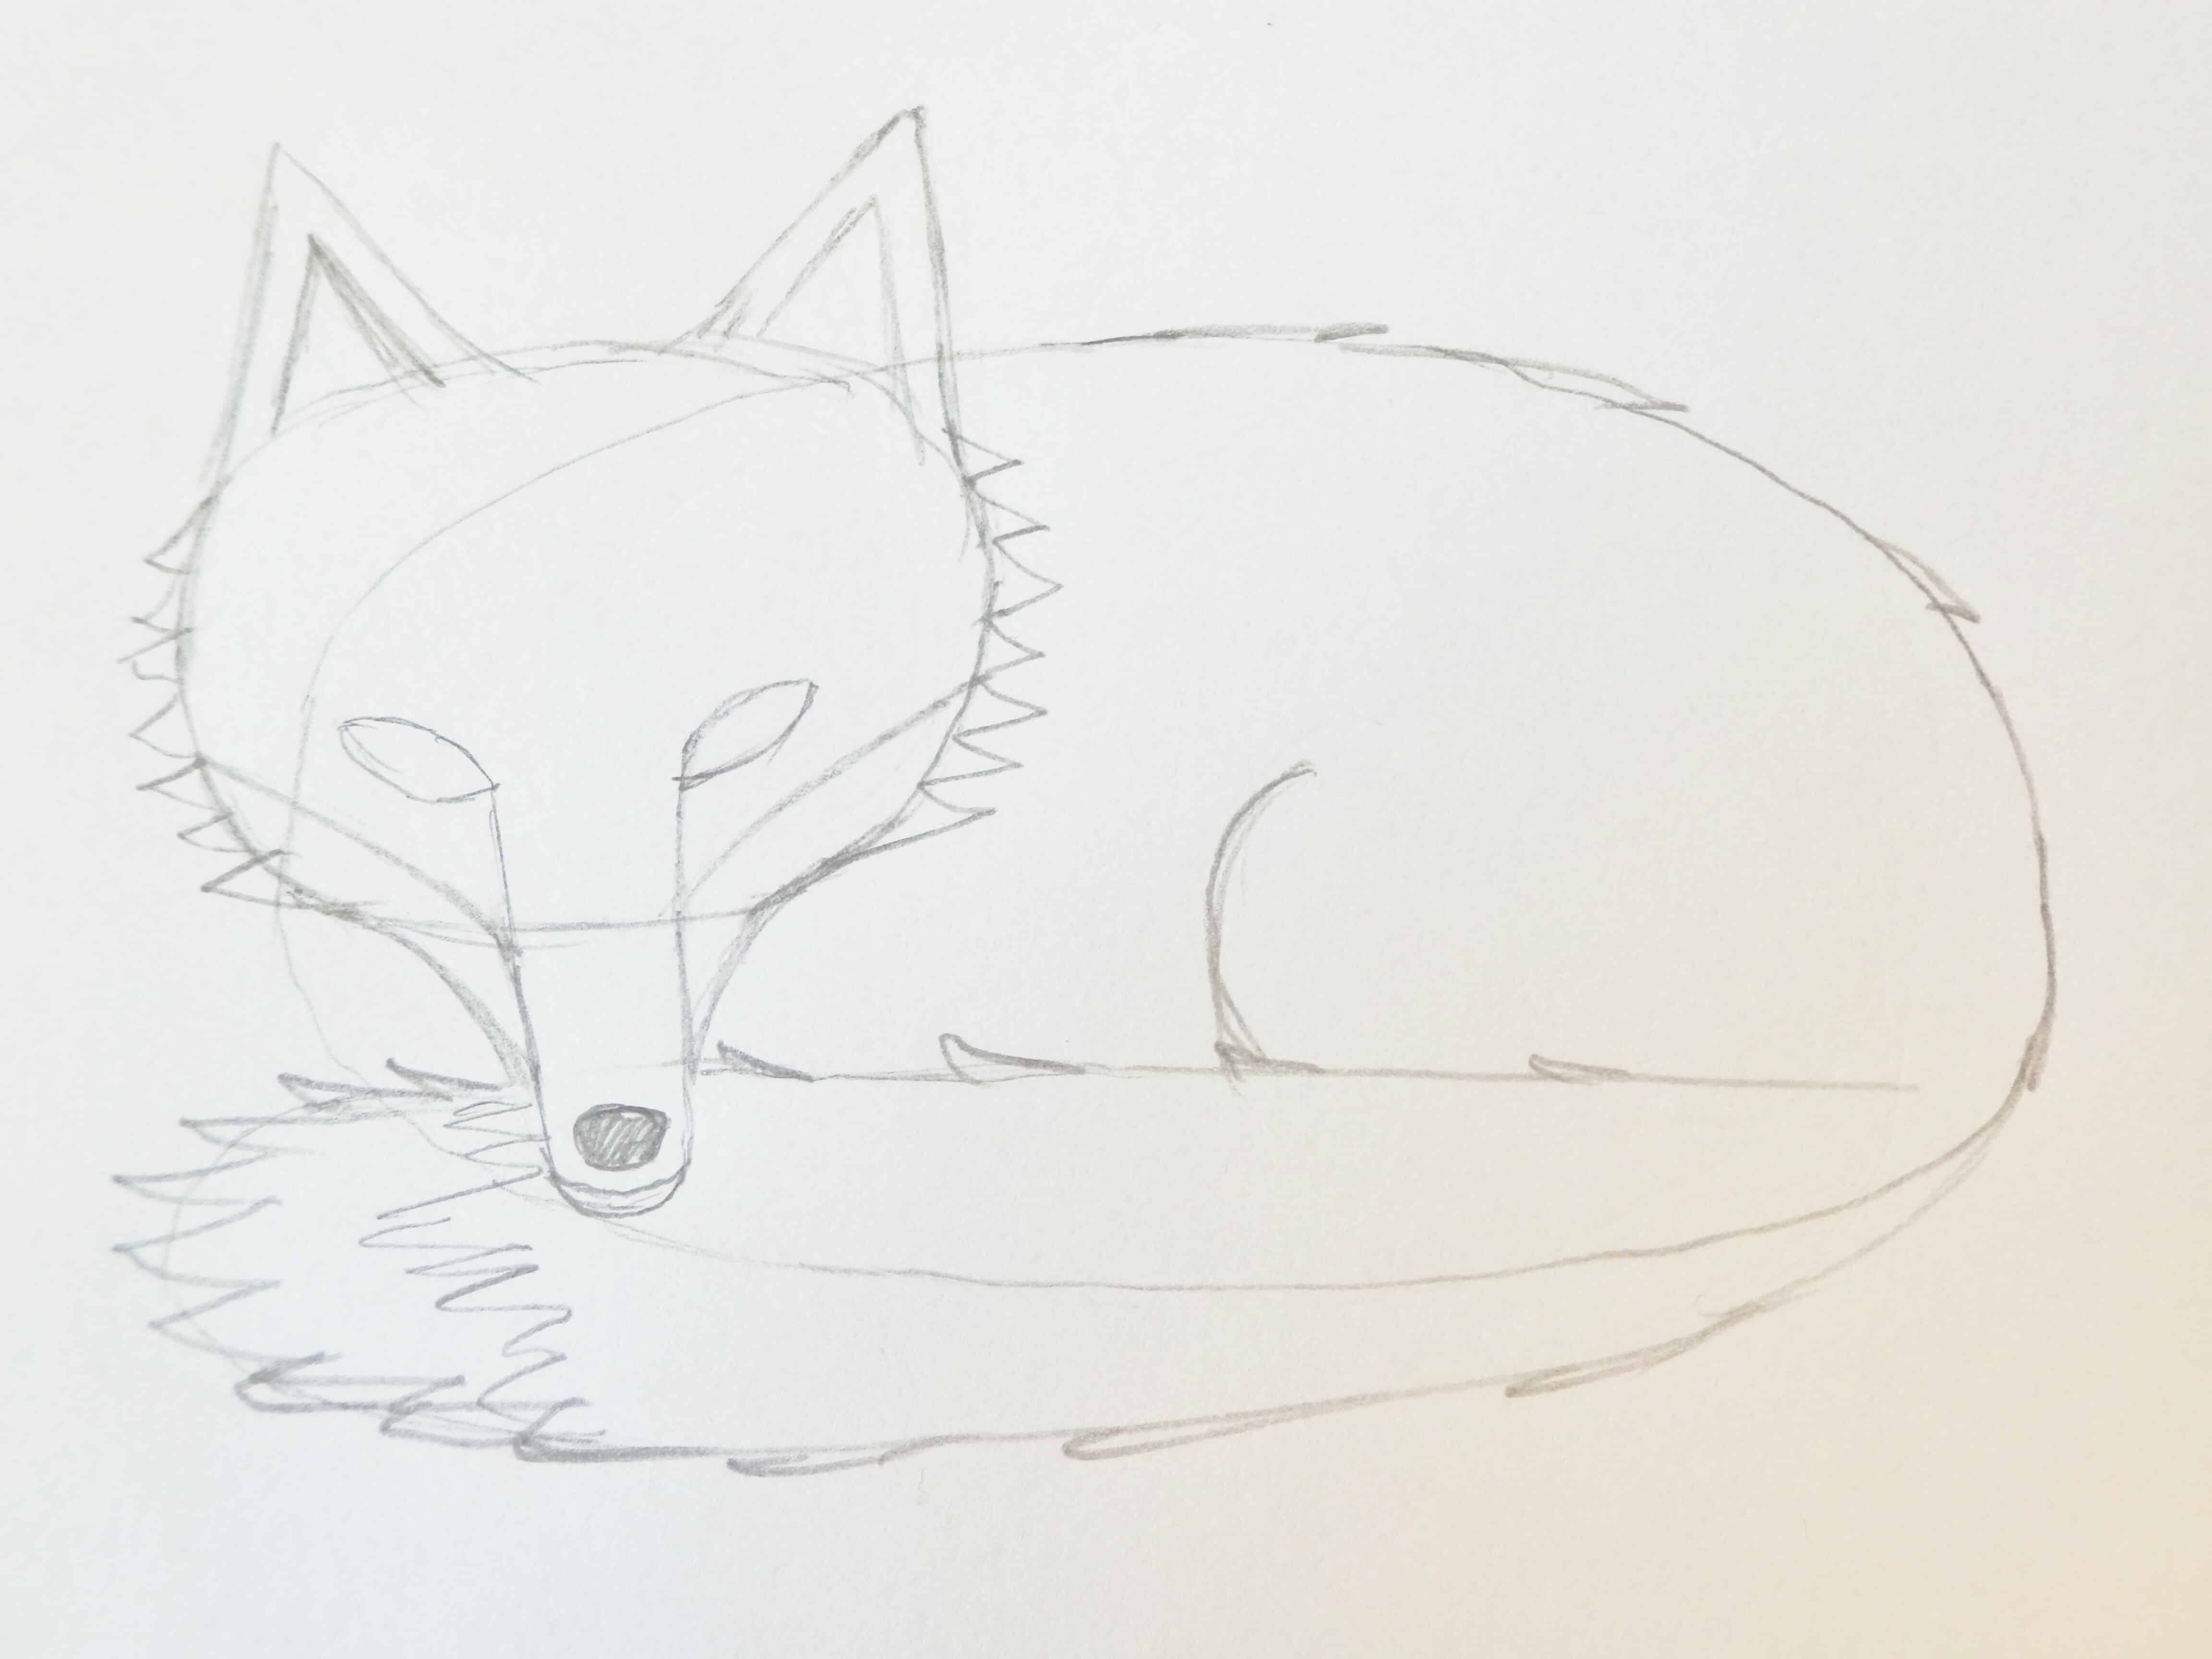
We now need to finish the body shape of the fox. Rather than a smooth outline, I like to add a spike of fur every so often along the body and around the shape of the tail.
I find this the easiest way to show the bushiness of the fur as it means you don’t need to draw each individual hair.
Don’t forget to also draw a jagged line about a quarter of the way along the tail to show where the orangey-black fur on the tail ends and the creamy fur begins.
Step four
The outline of the fox is pretty much done, and the thing I like to do next is to go over it in black pen.
I’ve got a pack of Staedtler Triplus Fineliners which I LOVE and use often. The colours are really intense and the fine tip on the pens makes it easy to draw quite intricate detail, so I love them for outlining drawings.
Go over your final pencil lines ignoring the original rough guideline shapes, then use an eraser to rub out all pencil lines.
And there you have it! An outline of a curled-up fox, ready for you to colour or paint.
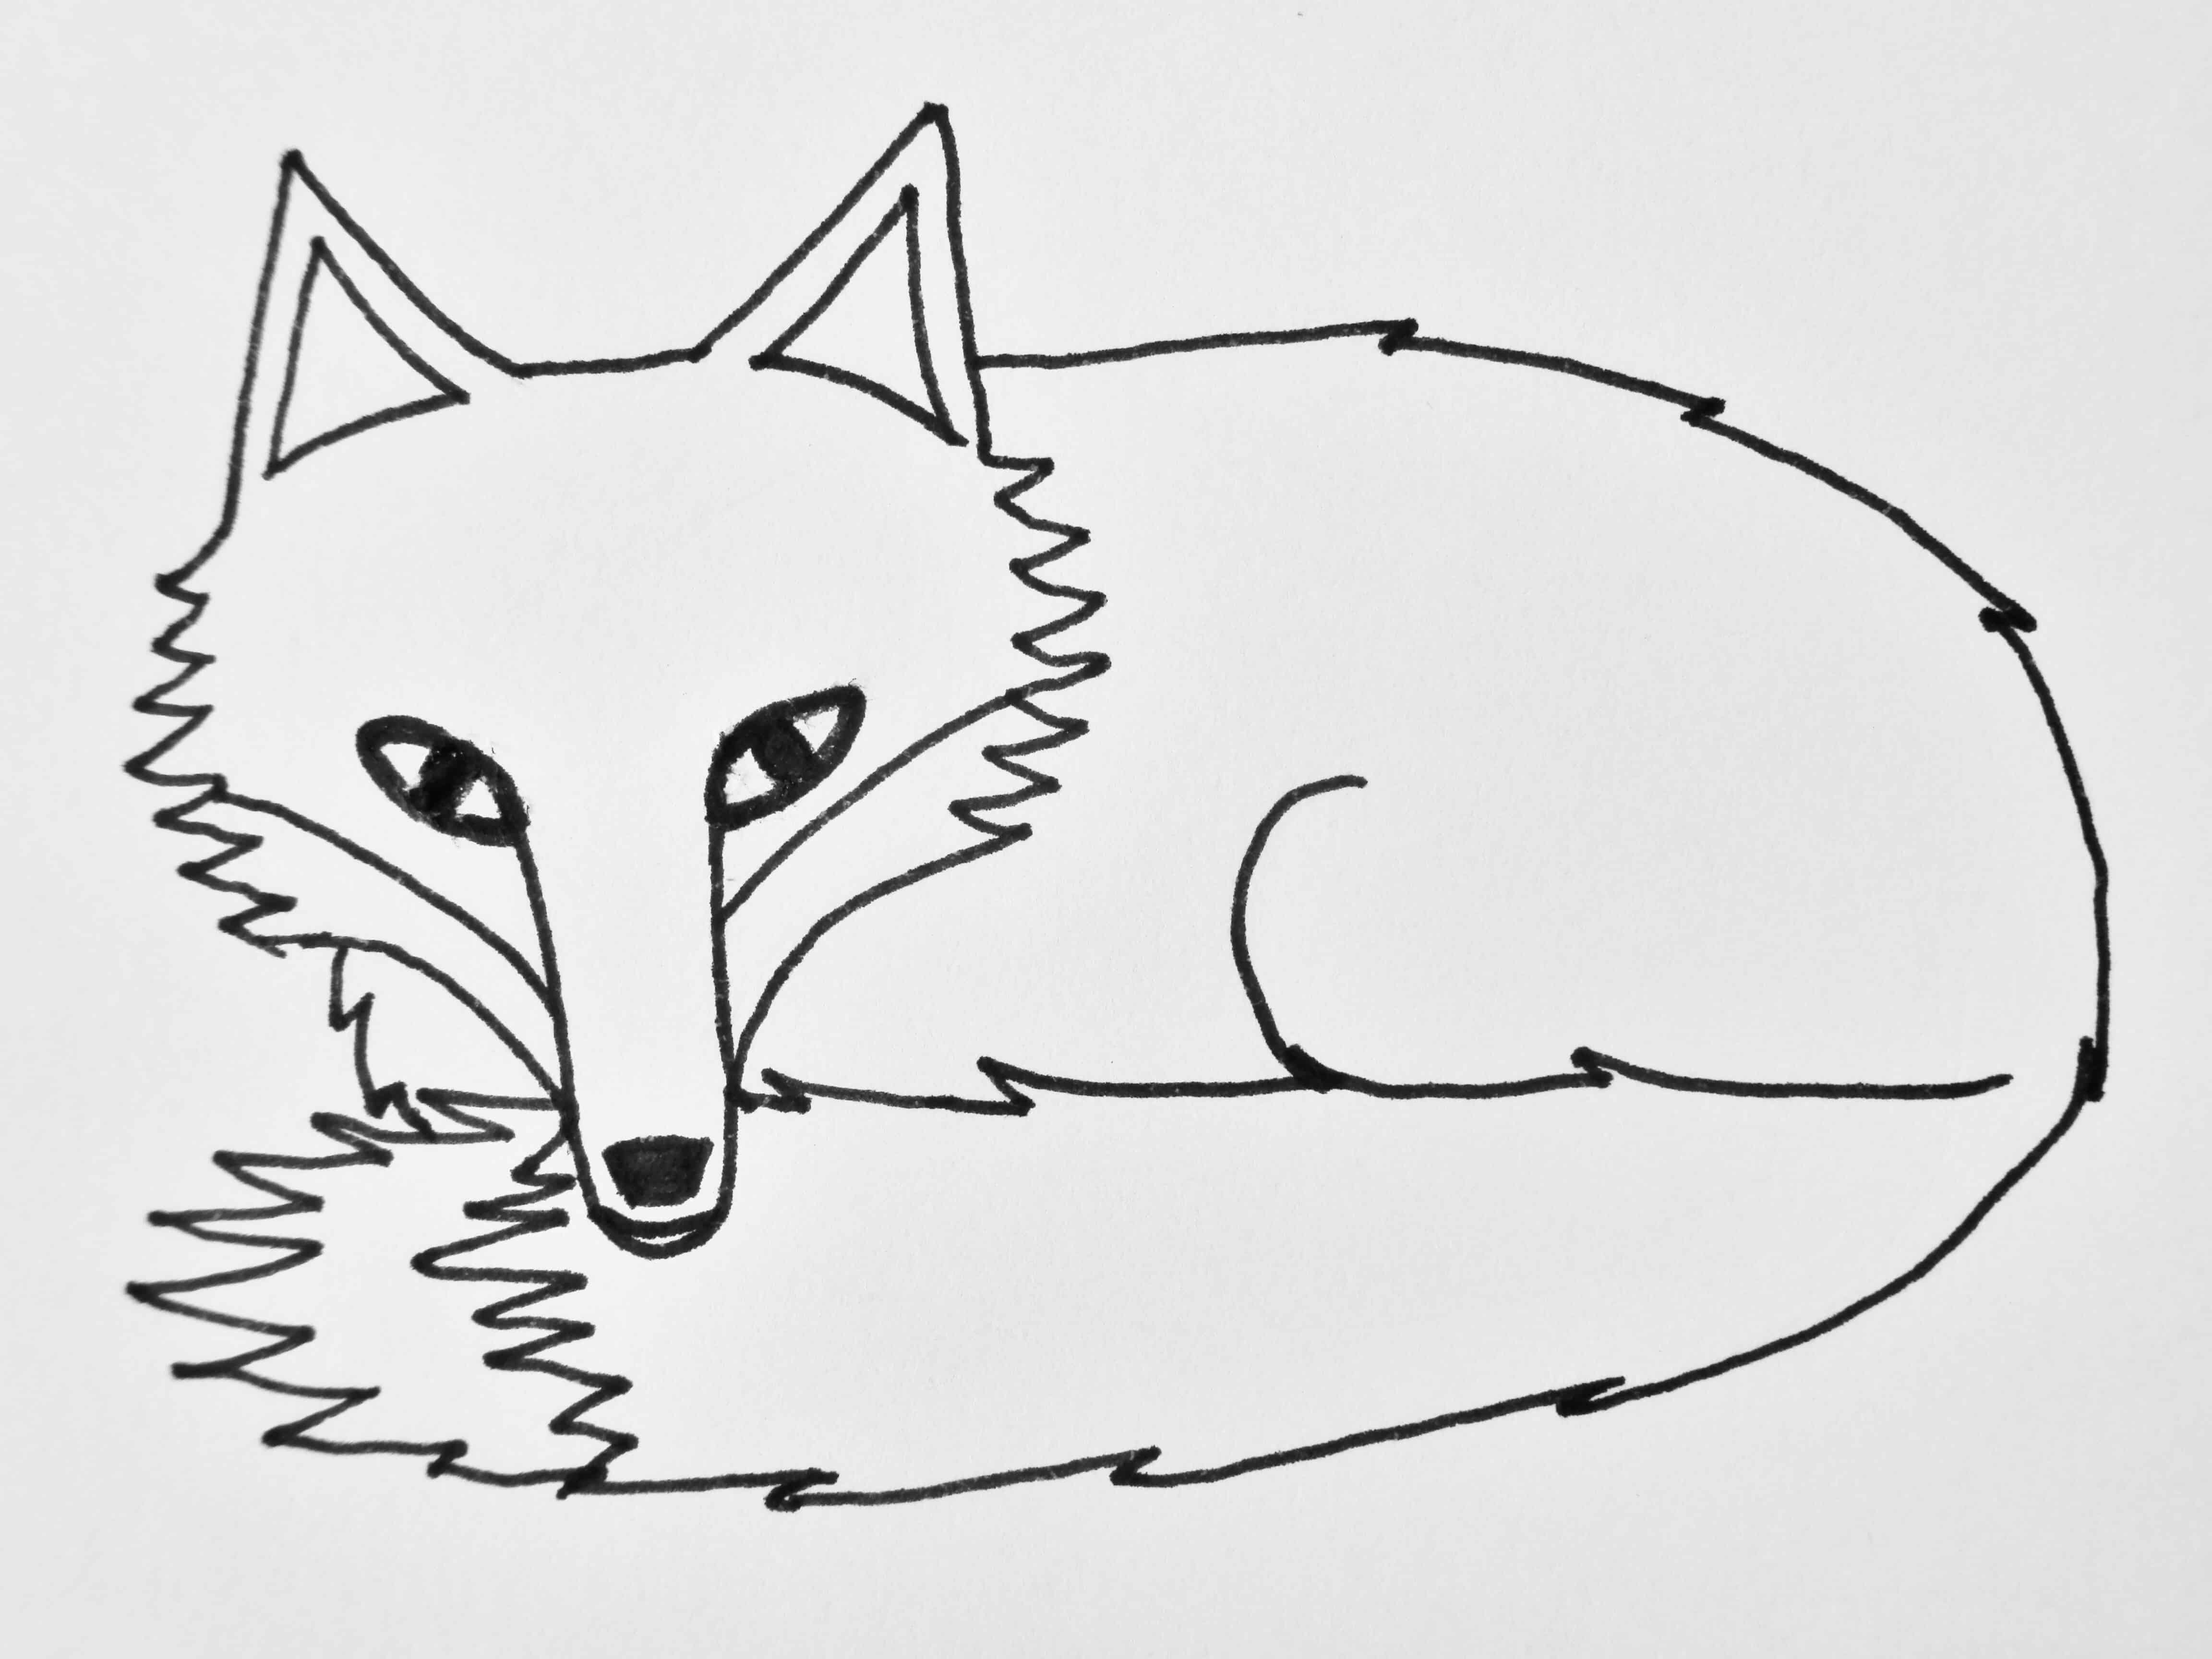
Let me know if you follow this tutorial, as I’d love to see what you come up with. And if you enjoyed this and would like to see more simple drawing tutorials, let me know!
About Stacey

I’m Stacey and I’m a blogger, abstract artist and freelance writer. My aim is to help busy people feel inspired and get more creative with tutorials, hints and tips.
I live in Cardiff with my partner and dog, and in my free time you’ll find me hiking, reading, painting or sampling a craft beer or two.

