
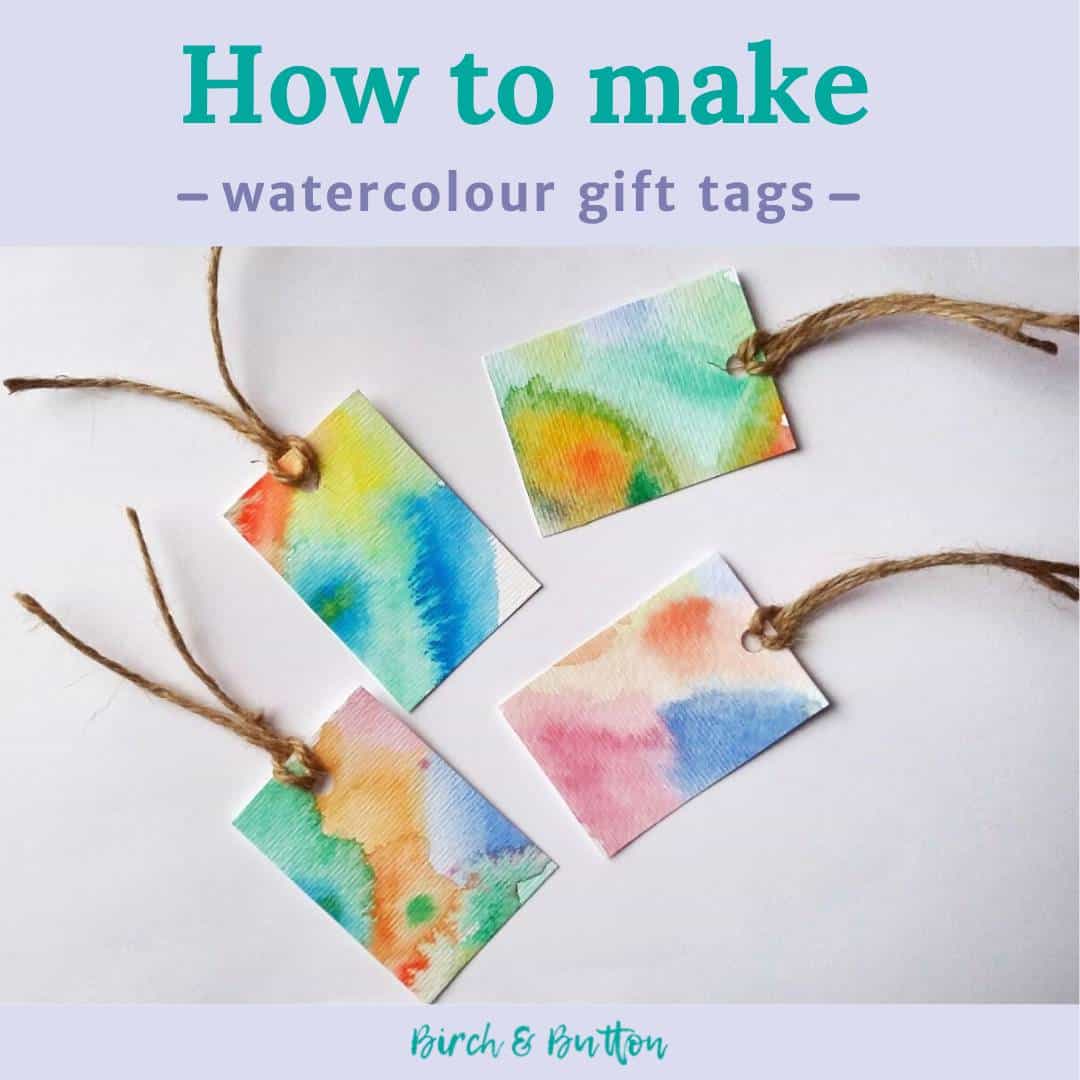
Grab your watercolours and a brush because today we’re making watercolour gift tags! We’ll be creating beautiful gift tags by deliberately letting watercolour paint colours mingle on the page.
Doing this creates what is known as a watercolour bloom or blossom (or you may know it by a different name — it seems like there are a few!).
Although we’re making gift tags with this technique today, you could easily use a piece of this watercolour bloom art to make a gorgeous notecard or greetings card.
The effect is quite romantic, so it would be perfect if you’re planning a Valentine’s gift or card. Otherwise, you could tailor the colours to make something very spring-like, ready for the season ahead.
Sign up for my monthly emails of creative tips, tutorials and DIYs and get 31 free creative prompts!
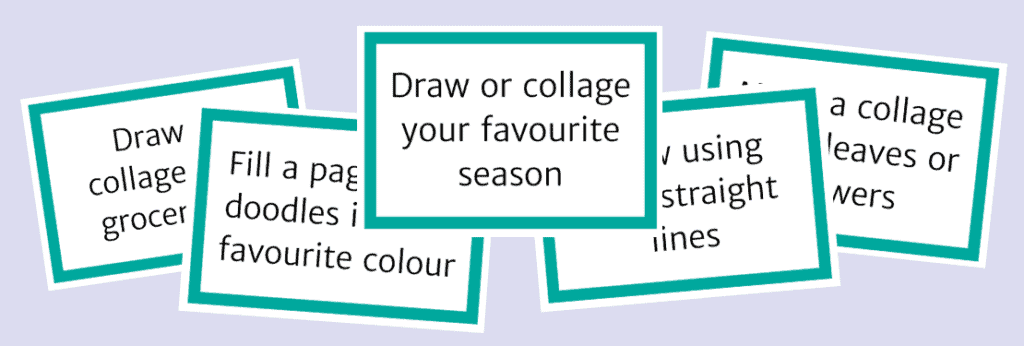
You can unsubscribe at any time
How to make a watercolour bloom effect step-by-step
It’s surprisingly easy to achieve this lovely effect but I have a couple of hints to make it go more smoothly.
Firstly, wet your paintbrush and paint a wash (not too wet) of one colour onto the page. Wash your brush and then pick up another colour, making sure the paint is a bit wetter this time.
Paint another section of the page, allowing the second colour to touch the first while they are both wet. The wetter colour will bleed into the other.
You can experiment with multiple colours, repeat the same two colours, or even work with variations of one colour.
Another thing to try is adding varying amounts of water to the different colours, as the wetness of the paint effects how far it spreads. Generally, the wetter the paint, the further it will travel.
Yet another option is to paint a wash in one colour, allow it to dry slightly, then drop clean water onto it. Each water droplet will create a pretty round bloom.

How To Make Watercolour Gift Tags
Now you know how to make gorgeous blooms, let’s look at how to make the watercolour gift tags step-by-step.
Supplies needed
- Watercolour paper or other very thick paper/thin card
- Watercolour paints (I used my Winsor & Newton Cotman Watercolour Paint set)
- A brush
- A jar of water
- A hole punch
- Ribbon or twine
Step one
Take your sheet of paper and begin to paint patches of watercolour on it.
Make sure you work fairly quickly. The paint still needs to be wet when you add the next colour, as that’s when they’ll bleed together and create that fantastic effect.
When you’re satisfied you’ve added enough colour, leave the page to dry.
Step two
The paper will probably buckle a little due to the amount of water necessary to get the watercolour to bleed.
If this is the case, flatten the dry page under a heavy book before you cut out the tags.
Step three
Cut out rectangles from the page to make your gift tags.
You can either divide the page up to get the most tags out of it, or you can pick and choose your favourite bits. (Keep the rest to use in a collage or in your art journal.)
I left a little of the blank page visible on some of my tags as I quite liked the effect.
Step four
When you’ve cut out all your tags, punch a hole in the top of each one.
Thread some ribbon or twine through the hole, and your watercolour gift tags are finished and ready to use!

About Stacey

I’m Stacey and I’m a blogger, abstract artist and freelance writer. My aim is to help busy people feel inspired and get more creative with tutorials, hints and tips.
I live in Cardiff with my partner and dog, and in my free time you’ll find me hiking, reading, painting or sampling a craft beer or two.