
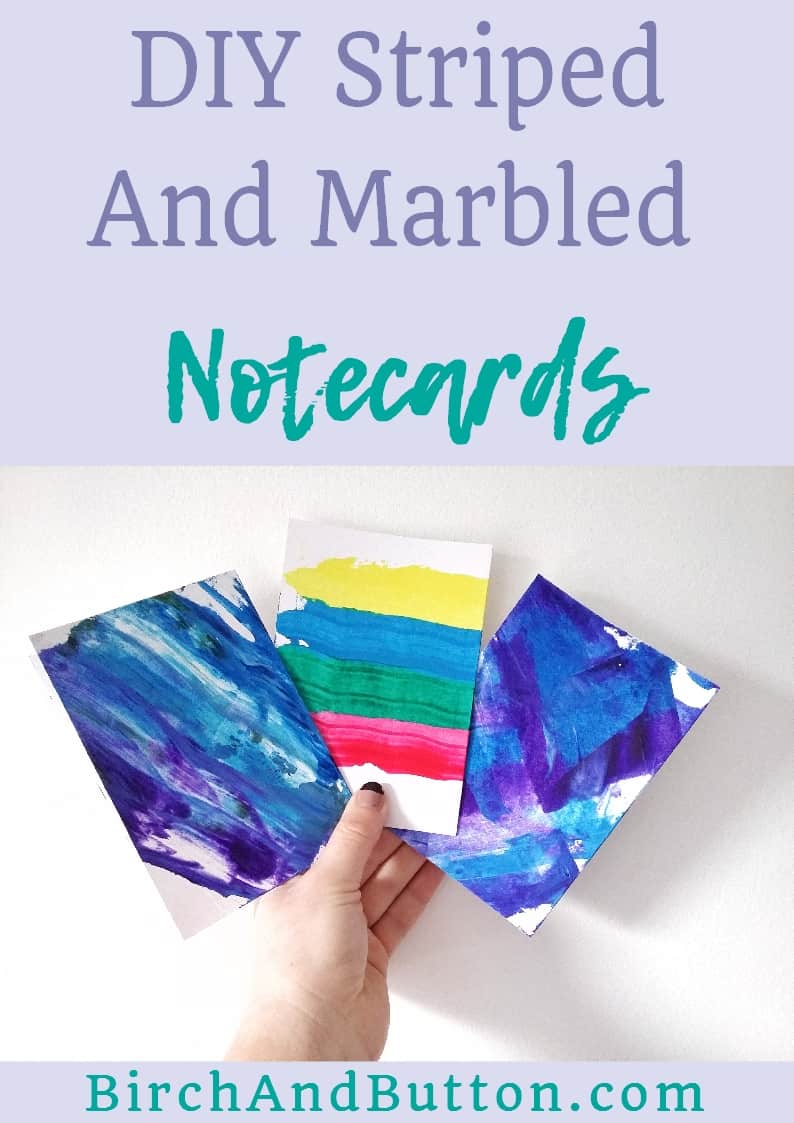
Make these cute striped and marbled notecards with some paint, a plain notecard and an old credit card or piece of cardboard. This is a fun DIY and easy to do, if a little messy! I’ll show you how to make your own in this tutorial.
This tutorial is based on a pin I saw when I was browsing Pinterest recently. Alexis from Persia Lou made some cute notecards by scraping dots of paint with an old credit card.
This is a similar technique to the one I used to make my birch tree painting and since I love a great notecard project, I thought I’d have a go myself! I grabbed some acrylic paints, plain white notecards, and an old plastic loyalty card. I found some cardboard packaging that a toothpaste tube came in to experiment with too.

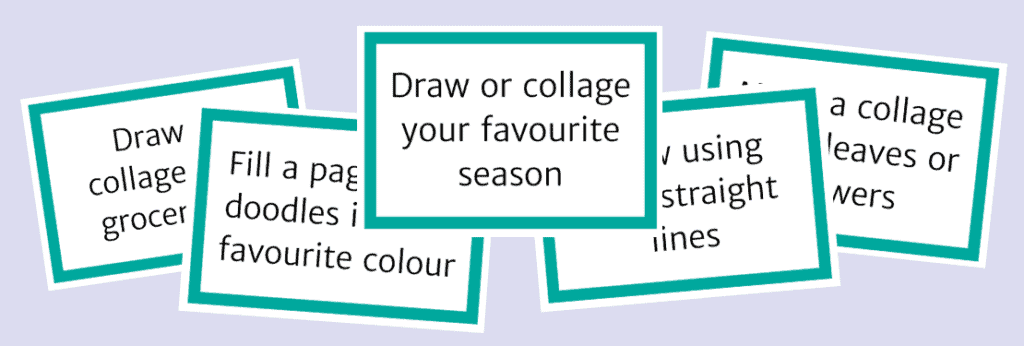
Sign up for my monthly emails of creative tips, tutorials and DIYs and get 31 free creative prompts!
You can unsubscribe at any time
Hints and tips for this project
Here are a few hints and tips I learnt through my experiments…
- It’s really easy to achieve a pretty marbled effect with the paint.
- It’s hard to drag the paint in a perfectly straight line, so this project might not be for you if you’re going to obsess over getting it dead straight.
- The effect probably won’t turn out quite as you expect, so be aware of that and just let it happen as it happens!
- A little paint goes a long way, so you only need to squeeze little dots onto the card.
- …and since a little paint goes a long way, be sure to cover your table!
- Make sure you clean the credit card off before switching paint colours so you keep the colours clean and don’t muddy them.
- Don’t leave the paint sitting on the card for too long before dragging it as it dries really quickly, and you might end up with a little circle where the paint has started drying.
- Adding a bit of white paint into the mix really helps create a marbled effect.
- When the paint has dried, you may need to put the finished notecards under a heavy book to flatten out again. The paint can cause the edges of the cards to curl up a little.
I deliberately left a bit of white space on my notecards as I quite like the effect it gives, but you could cover the entire card if you like.
The important thing to remember is that this is quite an abstract effect. You can make the paint look marbled by going back over it at a different angle once, or twice at the absolute most.
Any more than this and the paint will start to mix to make a solid colour. And depending on the paint colours you are working with, this will probably be a fairly unattractive mud colour!
If you’re worried about messing up and having to throw away notecards that went wrong, you might like to practice on some paper first.
It’s also a great technique to use in an art journal, so your practice runs could go in there or a sketchbook. Then when you have the hang of it, you can break out the notecards!

DIY Striped And Marbled Notecards
Supplies needed
- A few colours of acrylic paint (craft paint is fine)
- Some plain notecards (or thick paper/thin card/watercolour paper to make into notecards)
- An old credit card or a scrap piece of cardboard
- Some kitchen paper
- Something to cover your table (an old sheet or newspaper, maybe)
Step one
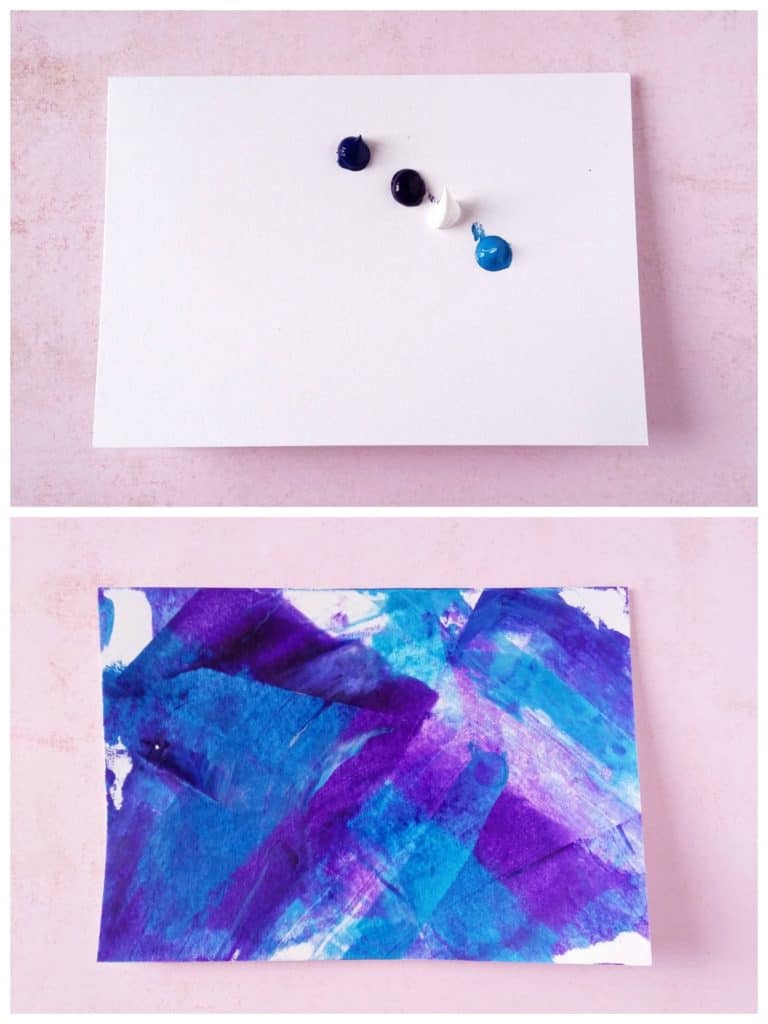
Place some dots of paint randomly over the card. Keep them grouped fairly close together, but try not to overcrowd them.
Step two
Grab your old credit card or piece of scrap cardboard. Put the edge against the page near the dots of paint and drag it down the card.
If you’re happy with a striped card, you can stop here, but if you want a marbled effect, go on to step three!
Step three
If you want a marbled effect, put the credit card against the notecard again and drag it across. The easiest way to marble the paint is to make sure you drag the paint at a different angle.
If it looks like it could do with a bit more marbling, drag the card across one more time. I’d recommend you stop after three strokes, though, or you may end up destroying the effect altogether.
Leave the marbled notecards to dry and they’re ready to write!
About Stacey

I’m Stacey and I’m a blogger, abstract artist and freelance writer. My aim is to help busy people feel inspired and get more creative with tutorials, hints and tips.
I live in Cardiff with my partner and dog, and in my free time you’ll find me hiking, reading, painting or sampling a craft beer or two.