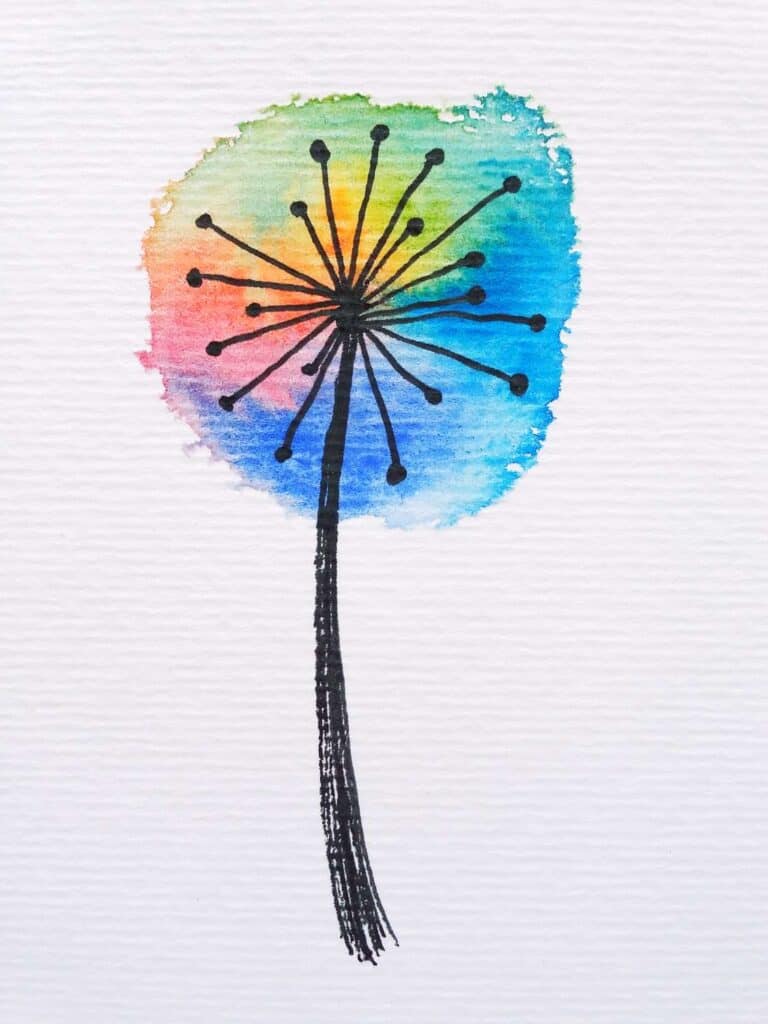
If you want to learn how to create a simple but effective rainbow watercolour dandelion artwork to hang on your wall or put in your art journal, this is the post for you! Read on for the full step-by-step tutorial.
If you’ve been a regular reader of the blog, you’ll know I’m really into my watercolour projects at the moment. I’ve also been experimenting a lot (and I mean A LOT) with the technique of making watercolour blooms.
I just love them! They’re so pretty and really versatile. There are so many ways you can use watercolour blooms in your creative projects.
And you can create a huge range of effects depending on the colour palette you use. Make the colours strong, make them pale, use harmonious colours, use clashing colours… There are so many possibilities.
For this project, I created a couple of different versions, one with stronger, more vibrant colours and the other with pale colours.
I used the same paints in both, but I varied the strength of the colours by using less or more paint. You can see the outcome is quite different in the two examples below.

I also mixed it up a bit when adding the detail to the head of the dandelions. I used a black pen for one and a pencil for the other, just to show a couple of different effects.
You could easily use coloured pencils, watercolour pencils or even markers if you wanted. It’s all down to your personal preference.
Now let’s get into the step-by-step instructions to paint your own rainbow watercolour dandelion!
Sign up for my monthly emails of creative tips, tutorials and DIYs and get 31 free creative prompts!

You can unsubscribe at any time
How To Paint A Rainbow Watercolour Dandelion
Supplies needed
- Watercolour paper
- Watercolour paints in a range of colours (I used the rainbow colours in my Winsor & Newton Cotman Watercolour Paint set)
- A paintbrush (I used a Pentel Aquash water brush — so handy for creating watercolour blooms as you can control the amount of water you use so easily)
- Water
- A pencil or pen
Step one
Wet your paintbrush and paint a circle of water onto the paper. Make it the size you want the head of the dandelion to be.
Step two
Pick up a little of one of the colours on your brush, making the paint quite wet. Touch it onto the damp circle on the page.
If it doesn’t spread enough, drop a tiny bit more water onto the paper. If it spreads too much, absorb a little water with some kitchen paper.
Step three
Repeat step two with the rest of the colours you want in your dandelion. I used a range of rainbow colours.
Leave the paint to dry completely.
Step four
Add the stem and some detail to the head of the dandelion. Draw a couple of curved lines for the stem, making them narrower at the top and slightly wider at the bottom.
Next, draw a dot in the centre of the dandelion head and draw lines radiating out from this. Make sure to vary the length of the lines. Add a little dot at the end of each line.
Now your rainbow watercolour dandelion is all done!

Sign up for my monthly emails of creative tips, tutorials and DIYs and get 31 free creative prompts!

You can unsubscribe at any time
About Stacey

I’m Stacey and I’m a blogger, abstract artist and freelance writer. My aim is to help busy people feel inspired and get more creative with tutorials, hints and tips.
I live in Cardiff with my partner and dog, and in my free time you’ll find me hiking, reading, painting or sampling a craft beer or two.


interesting nice idea, I like rainbows