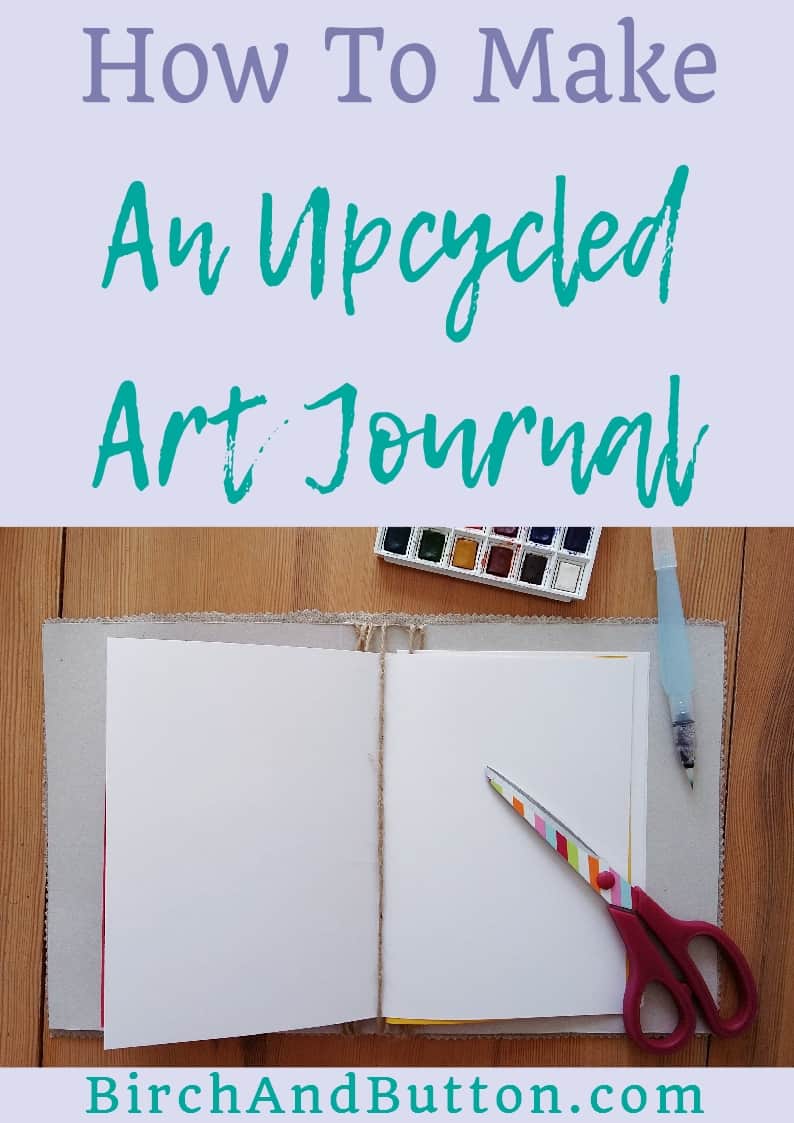
If you have an empty cereal box and a piece of leftover fabric (or even some old clothes you don’t mind cutting up!) you can make a simple upcycled art journal. Use up some of the craft supplies you have in your stash to make this fun project.
If you’ve been reading my blog for a while, you’ll know I’m all about using up what you have. This isn’t because I don’t love a trip to Hobbycraft or the Range (substitute your favourite art/craft/hobby shop here!) because I do. I reaaallllllly do.
And that’s actually the problem. Like most creative people, I buy all the supplies. ALL the supplies. And I buy them at a faster rate than I can use them up…
Or at least, I used to. I’m trying to rein myself in a bit these days, which is why I’ve been trying to come up with more projects that use up what I (and probably most other crafty types) have in my stash.
Sign up for my monthly emails of creative tips, tutorials and DIYs and get 31 free creative prompts!
You can unsubscribe at any time
Choosing your pages and cover
So today we’re making a fun art journal from upcycled stuff. You can really use any cardboard you happen to have to make this journal. I picked a cereal box as it naturally makes a handy book shape when you cut off the flaps and one of the side panels.
When you’re picking out the paper to make the pages of your art journal, the only thing that matters is that it’s the right size to fit inside your new art journal when folded in half. Measure it against the front or back panel of your cereal box. It shouldn’t be any larger than that when it’s folded in half.
Other than that, you can use whatever paper you like since it will be covered up when you make your art journal spread anyway. It can be scrap paper, coloured paper, even old leaflets.
Attaching the pages
I thought about a couple of different ways to attach the pages to the art journal before settling on the way I’ve described in the tutorial.
Basically, we loop a piece of twine over the spine of the journal and over the middle of the page before knotting it to secure the page in place.
I know that this way there’s a length of thread up the centre of the double page spread, but I like the fact that the pages can move a little within the art journal to accommodate anything you decide to glue in. It also allows for pages to be added or removed easily.
So let’s get into the step-by-step tutorial so you can make your own upcycled art journal!
How To Make An Upcycled Art Journal
Supplies needed
- A small cereal box
- An assortment of thick paper or thin card for the pages
- Twine/yarn/thick thread
- Old fabric for the outside (you could even use old clothes, but I used a piece of leftover upholstery fabric)
- Scissors
- Craft glue
- Pinking shears (optional)
Step one
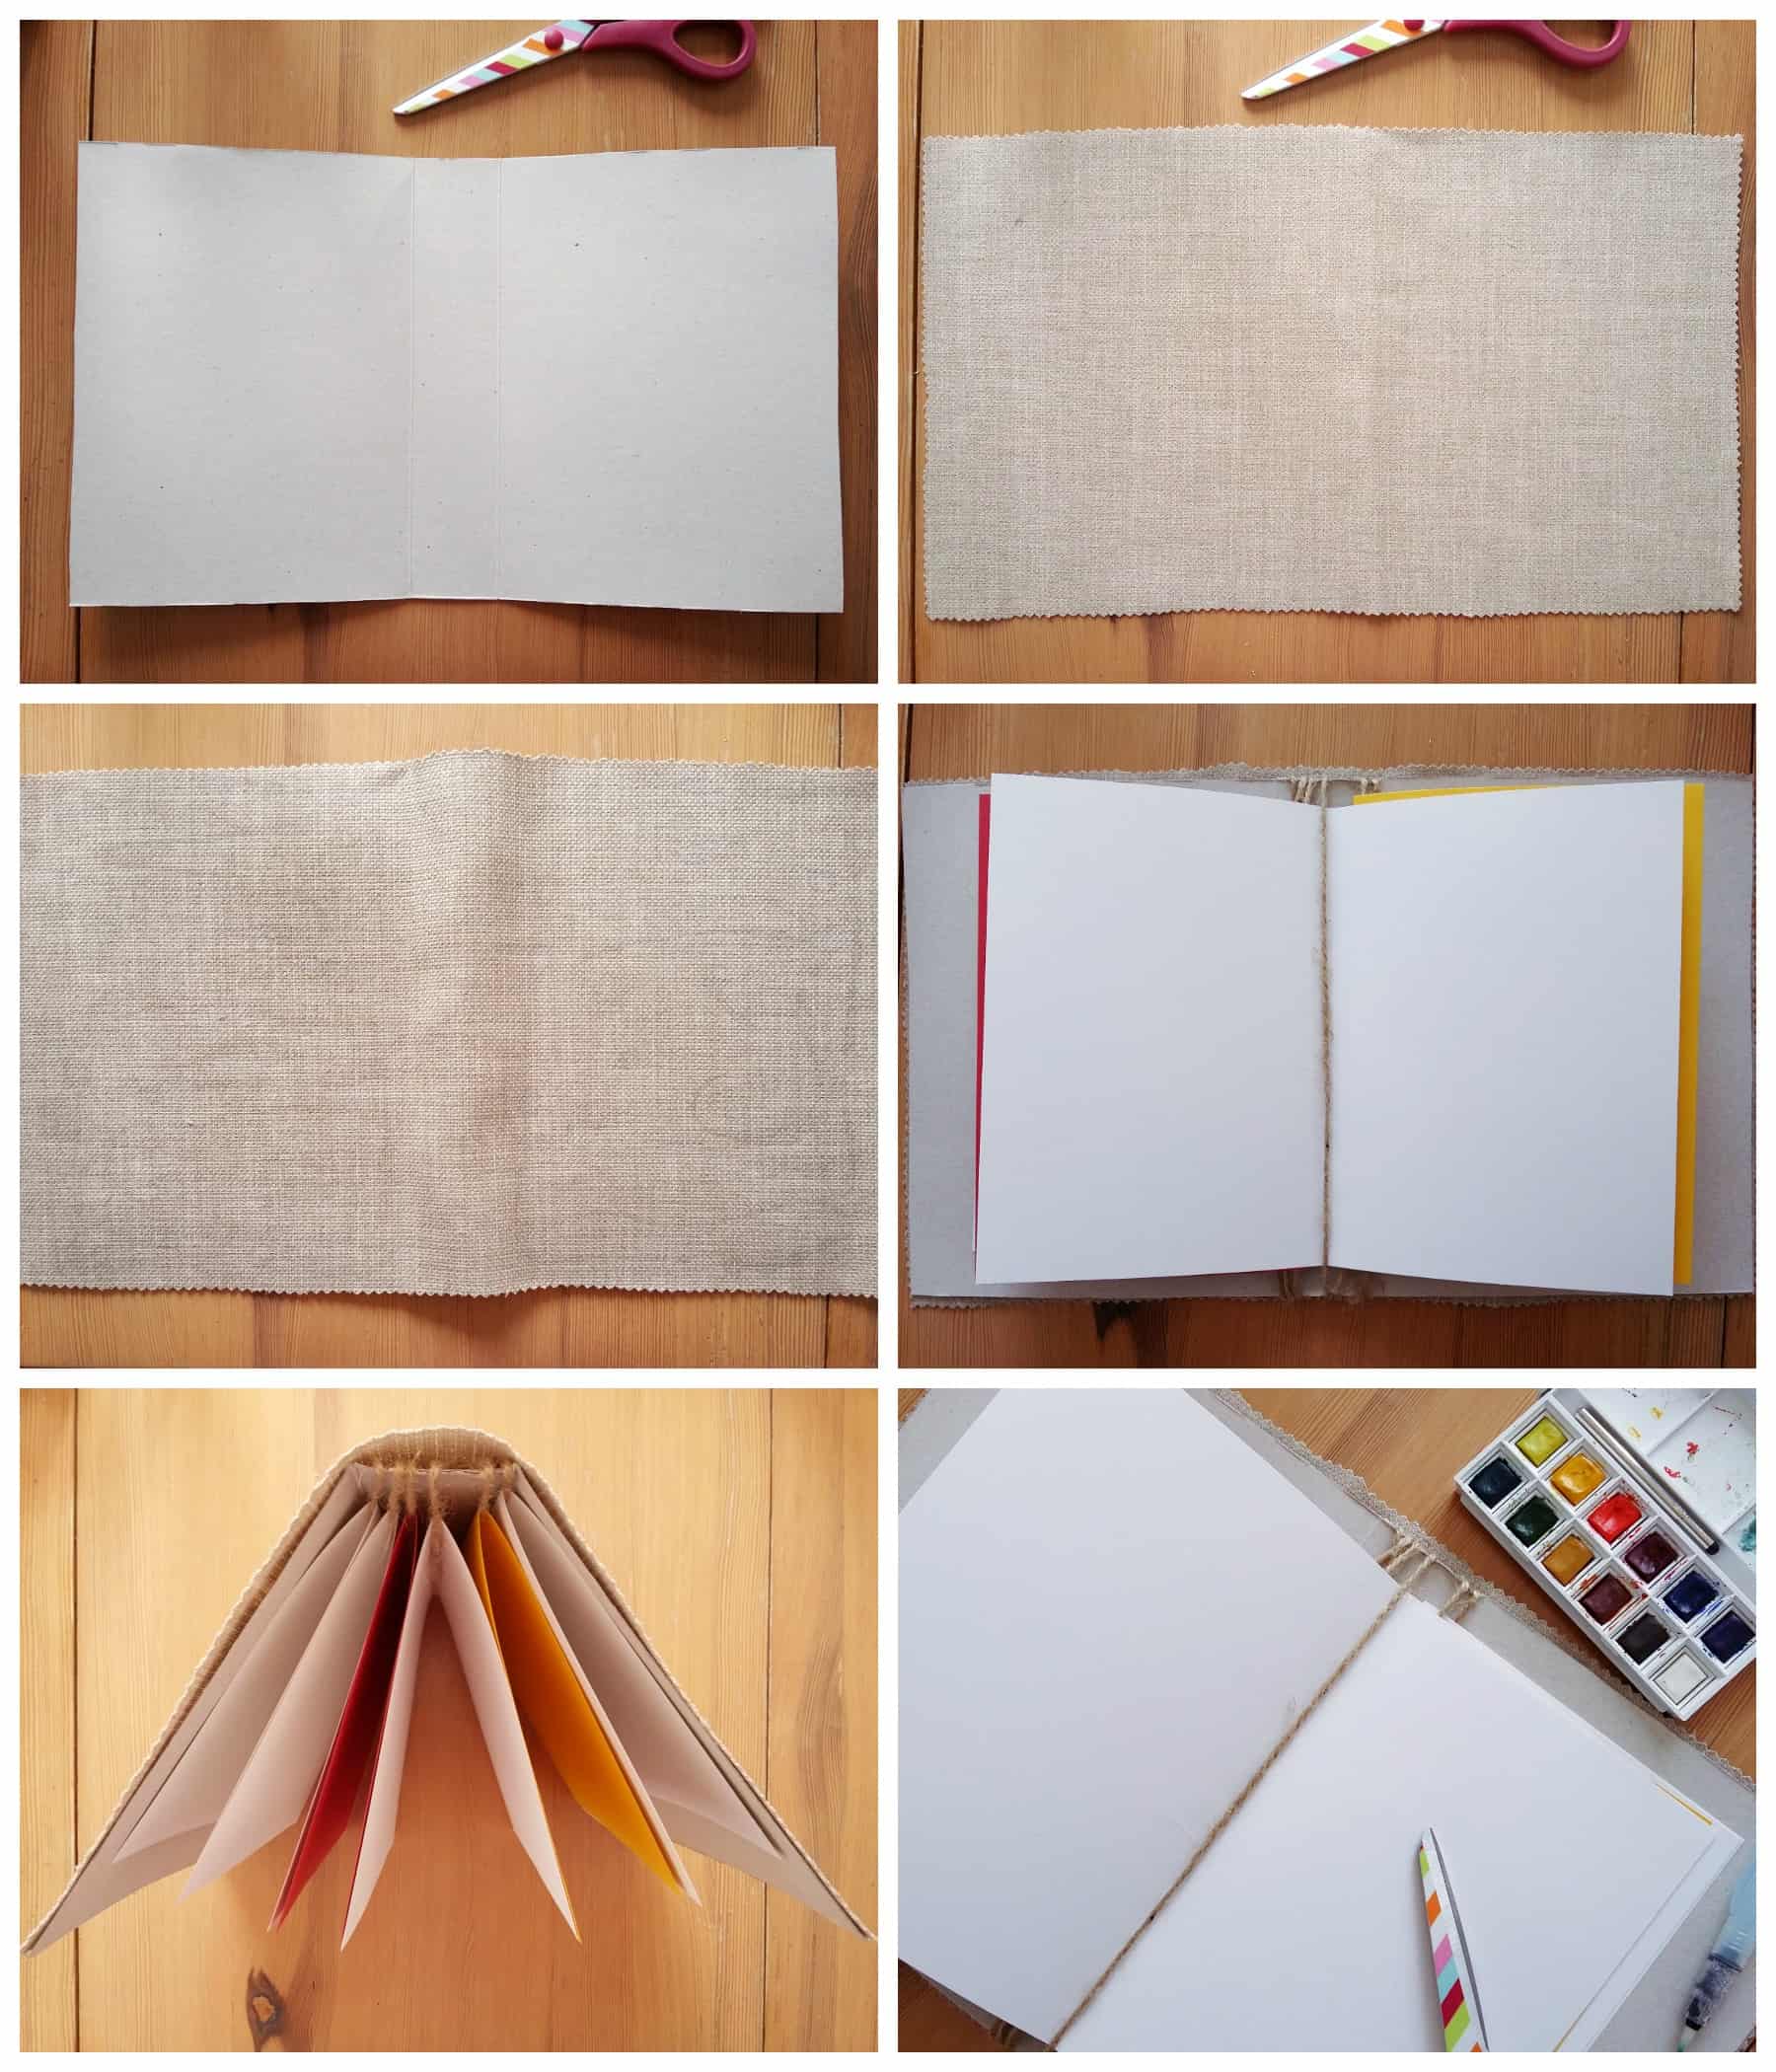
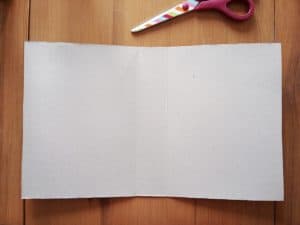
Cut the top and bottom flaps off the cereal box. Cut one of the slim side panels out too.
You should now be left with the front panel and back panel joined by one of the side panels – basically, your box should open out like a book.
Step two
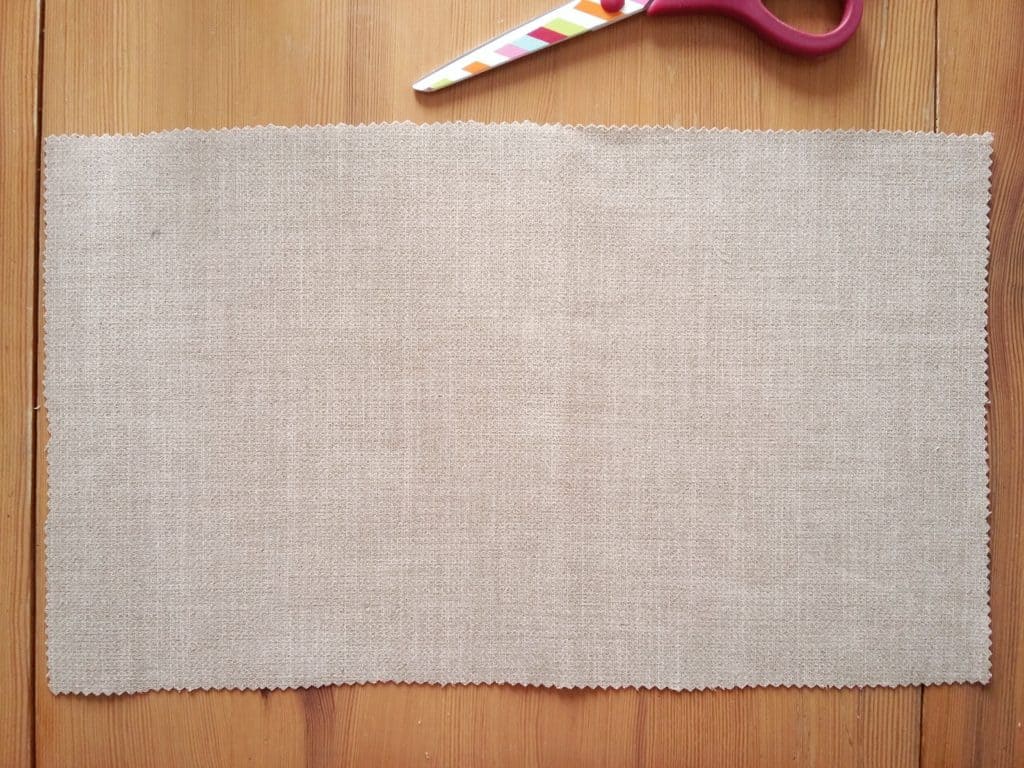
Open out the box and lay it on top of your piece of fabric. Use a pen, pencil or piece of chalk to draw around the box, then cut out the piece of fabric.
It’s best if the piece of fabric is a tiny bit too big for the cardboard as it will be better to trim it down slightly rather than have a strip of cardboard that’s not covered. You’ll also want a tiny bit of extra across the spine so it’s not too tight.
Step three
Measure a piece of twine so it’s long enough to wrap around the spine of your new art journal. This is how we’ll attach the paper, by basically tying it around the spine of the art journal.
Cut a piece of twine for each piece of paper you want to put in your art journal.
Step four
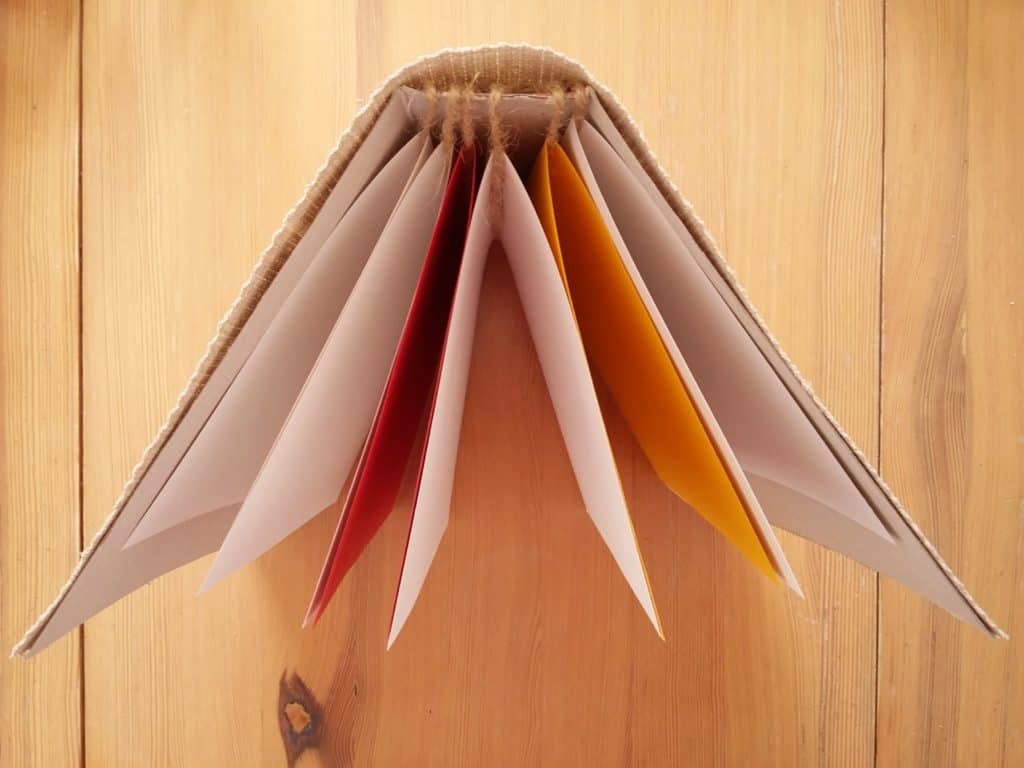
We’re now going to attach the pages. Place a piece of paper flat on top of the journal cover and wrap a piece of the twine around both the journal and the paper.
Pull the twine fairly tight (although not so tight that it crushes the paper or cardboard) and tie a knot. Move the twine round so the knot is along the spine of the journal (where the fabric will hide it).
Repeat this step for all of the pages of your art journal.
Step five
Apply glue to the outside of one of the large panels of the box and place it on the side of the fabric you don’t want visible. Then apply glue to the other large panel and place it down on the fabric.
Don’t put any glue on the spine – we don’t want to stick the fabric down across here.
Before the glue sets, close the art journal up so you can see if the fabric is too taut across the spine. If it is, just adjust it slightly so there’s a little bit of give across the spine.
Leave the glue to dry completely. Trim any excess fabric off around the edge. You might like to use pinking shears like I did to help prevent the raw edges from unravelling.

Step six
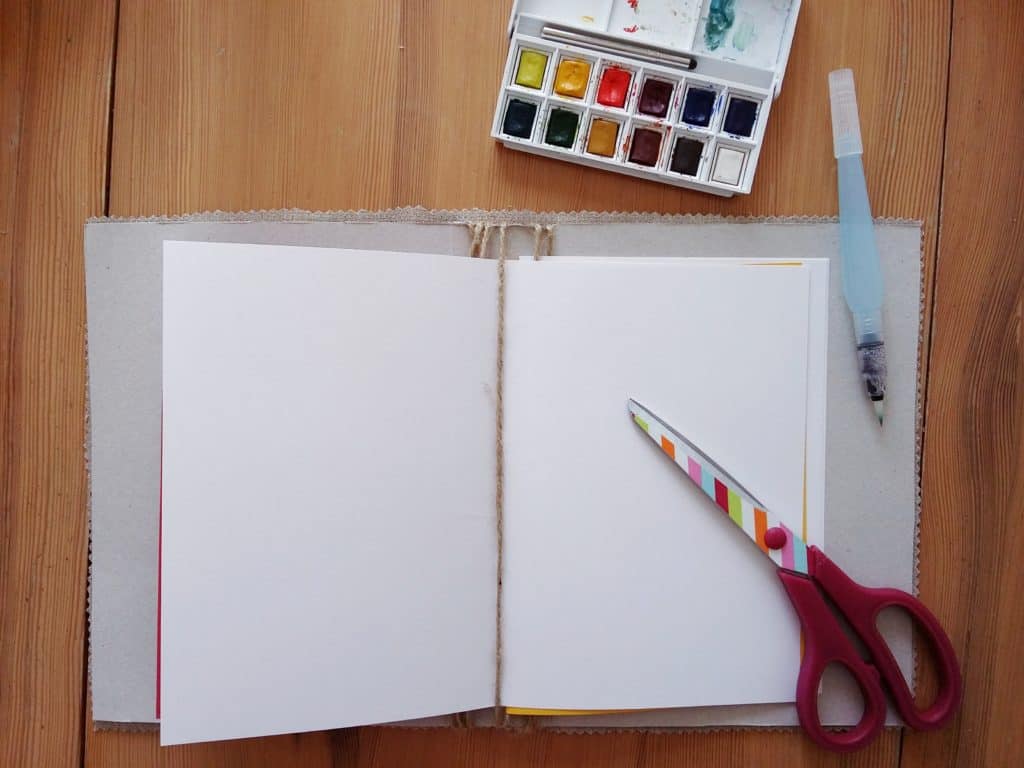
You now have a completed art journal! Depending on the kind of cereal box you’re using, you might want to paint or collage the inside of your art journal’s cover.
I decided to leave mine for now, as it’s just plain grey-ish cardboard. I’ll definitely do something with it, but for now I’m happy.
And there you have it – one upcycled art journal ready for your journaling projects!
- Related: How To Start An Art Journal
About Stacey

I’m Stacey and I’m a blogger, abstract artist and freelance writer. My aim is to help busy people feel inspired and get more creative with tutorials, hints and tips.
I live in Cardiff with my partner and dog, and in my free time you’ll find me hiking, reading, painting or sampling a craft beer or two.

