Have you ever fancied repurposing some card that would otherwise end up in the recycling, and using it to make an art journal? Well if you have, today you’re in luck! Here’s how to make a mini book from scrap card.
This project was randomly inspired by a yummy Chinese meal my OH and I had at the weekend. It was one of those meals that comes in a box and is like a takeaway you cook at home.
After we had eaten the meal, we were left with a box. Not a huge issue, I know, as I could have just stuck it out in the recycling with the other card and paper, but it was just too tempting to try and make something out of it! It was sturdy and yet not so thick that it would be impossible to do anything with…
So I decided to make a mini book, which would be perfect as a mini homemade art journal.
- Related: How To Make An Upcycled Art Journal
- Related: How To Start An Art Journal
This project would be perfect for any kind of scrap card – not the really thick corrugated stuff, but anything like a cereal box, other clean food packaging, or even the box your teabags came in!
You could also save any greetings cards you receive at the next special occasion and use a few of those. It really depends what size book you want to make, but since this is a nice flexible tutorial you can actually make whatever size your materials allow.
Sign up for my monthly emails of creative tips, tutorials and DIYs and get 31 free creative prompts!

You can unsubscribe at any time
Step-by-Step Guide: How To Make A Mini Book

Just for reference, the photo above shows the kind of box I used. A cereal box would be a great alternative, but you could use pretty much any scrap cardboard as long as it’s not too thick.
STEP ONE

Open the box out flat and cut the top and bottom flaps off.
STEP TWO

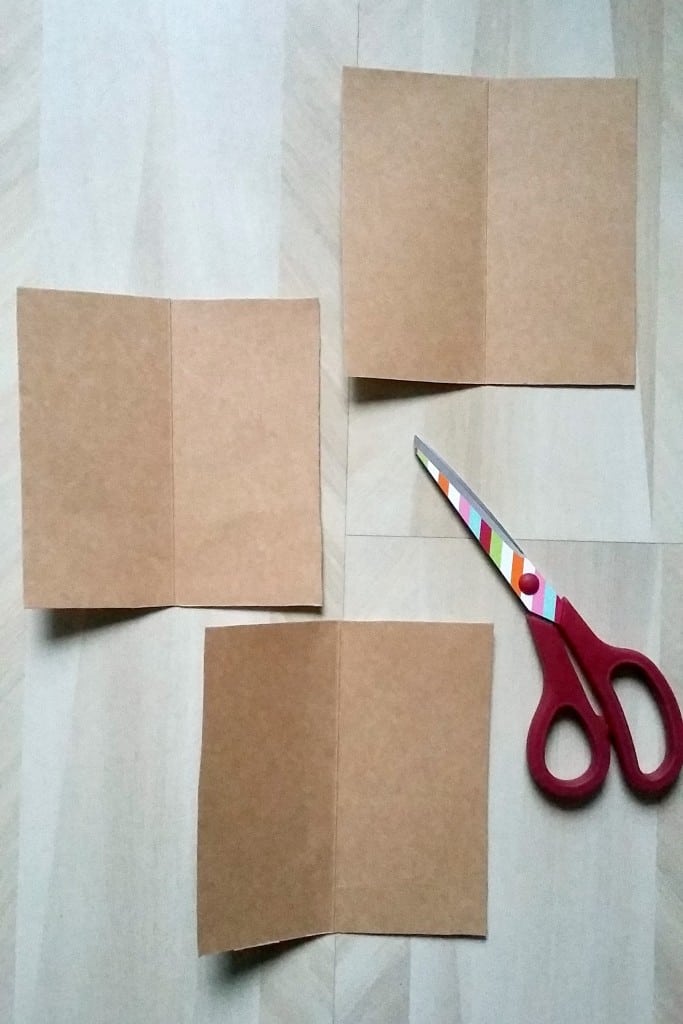
The next step is to figure out how big you can make your pages. I decided I wanted to make use of the creases already in the box. Since the shortest sides of the box were 16cm across, I’ve made each page 8cm to use as much of the box as I could. This gave me three double pages.
Draw guidelines to cut along and then cut out the pages, neatening them up a little after if you like.

STEP THREE
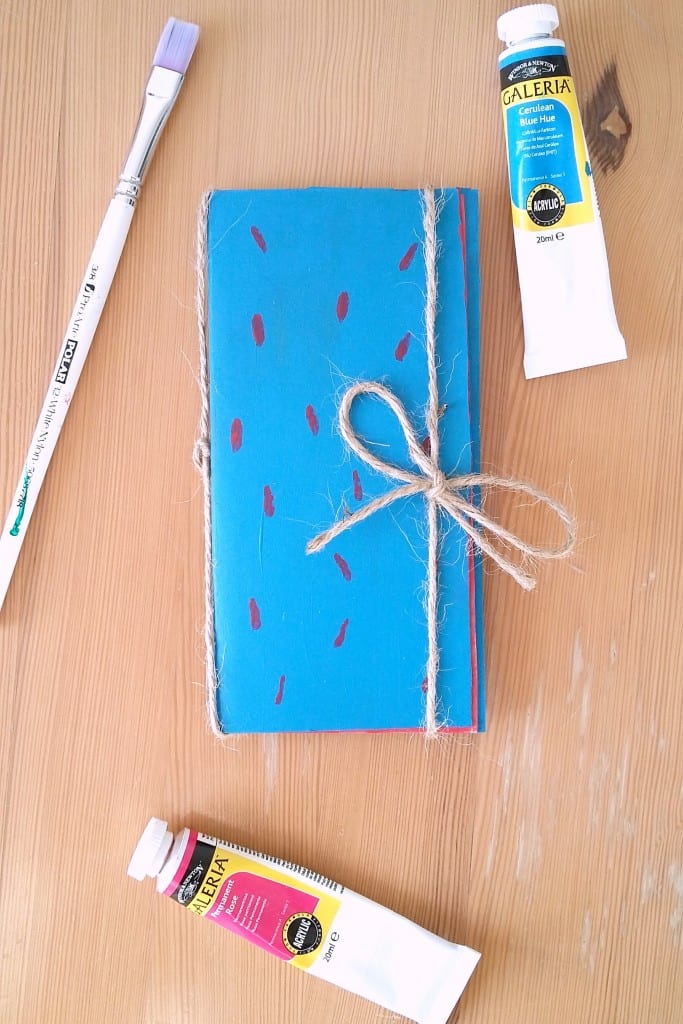
Now it’s time to make the pages beautiful! You could paint them, as I did, or use patterned or coloured paper to cover them. I used bright acrylic paints (cerulean blue hue and permanent rose), which are great as they’re opaque. You may need to do a couple of coats, though.

In a flash of creativity (read: clumsiness), I dropped the brush loaded with blue paint onto one of the pink pages. After a second of panic I realised it looked quite cool, so I painted little daubs of the other colour onto each page. Lesson learnt: embrace your mistakes and figure out how to use them to your advantage!
When that was dry, I painted the other side of the pages with the opposite colour for contrast.
STEP FOUR

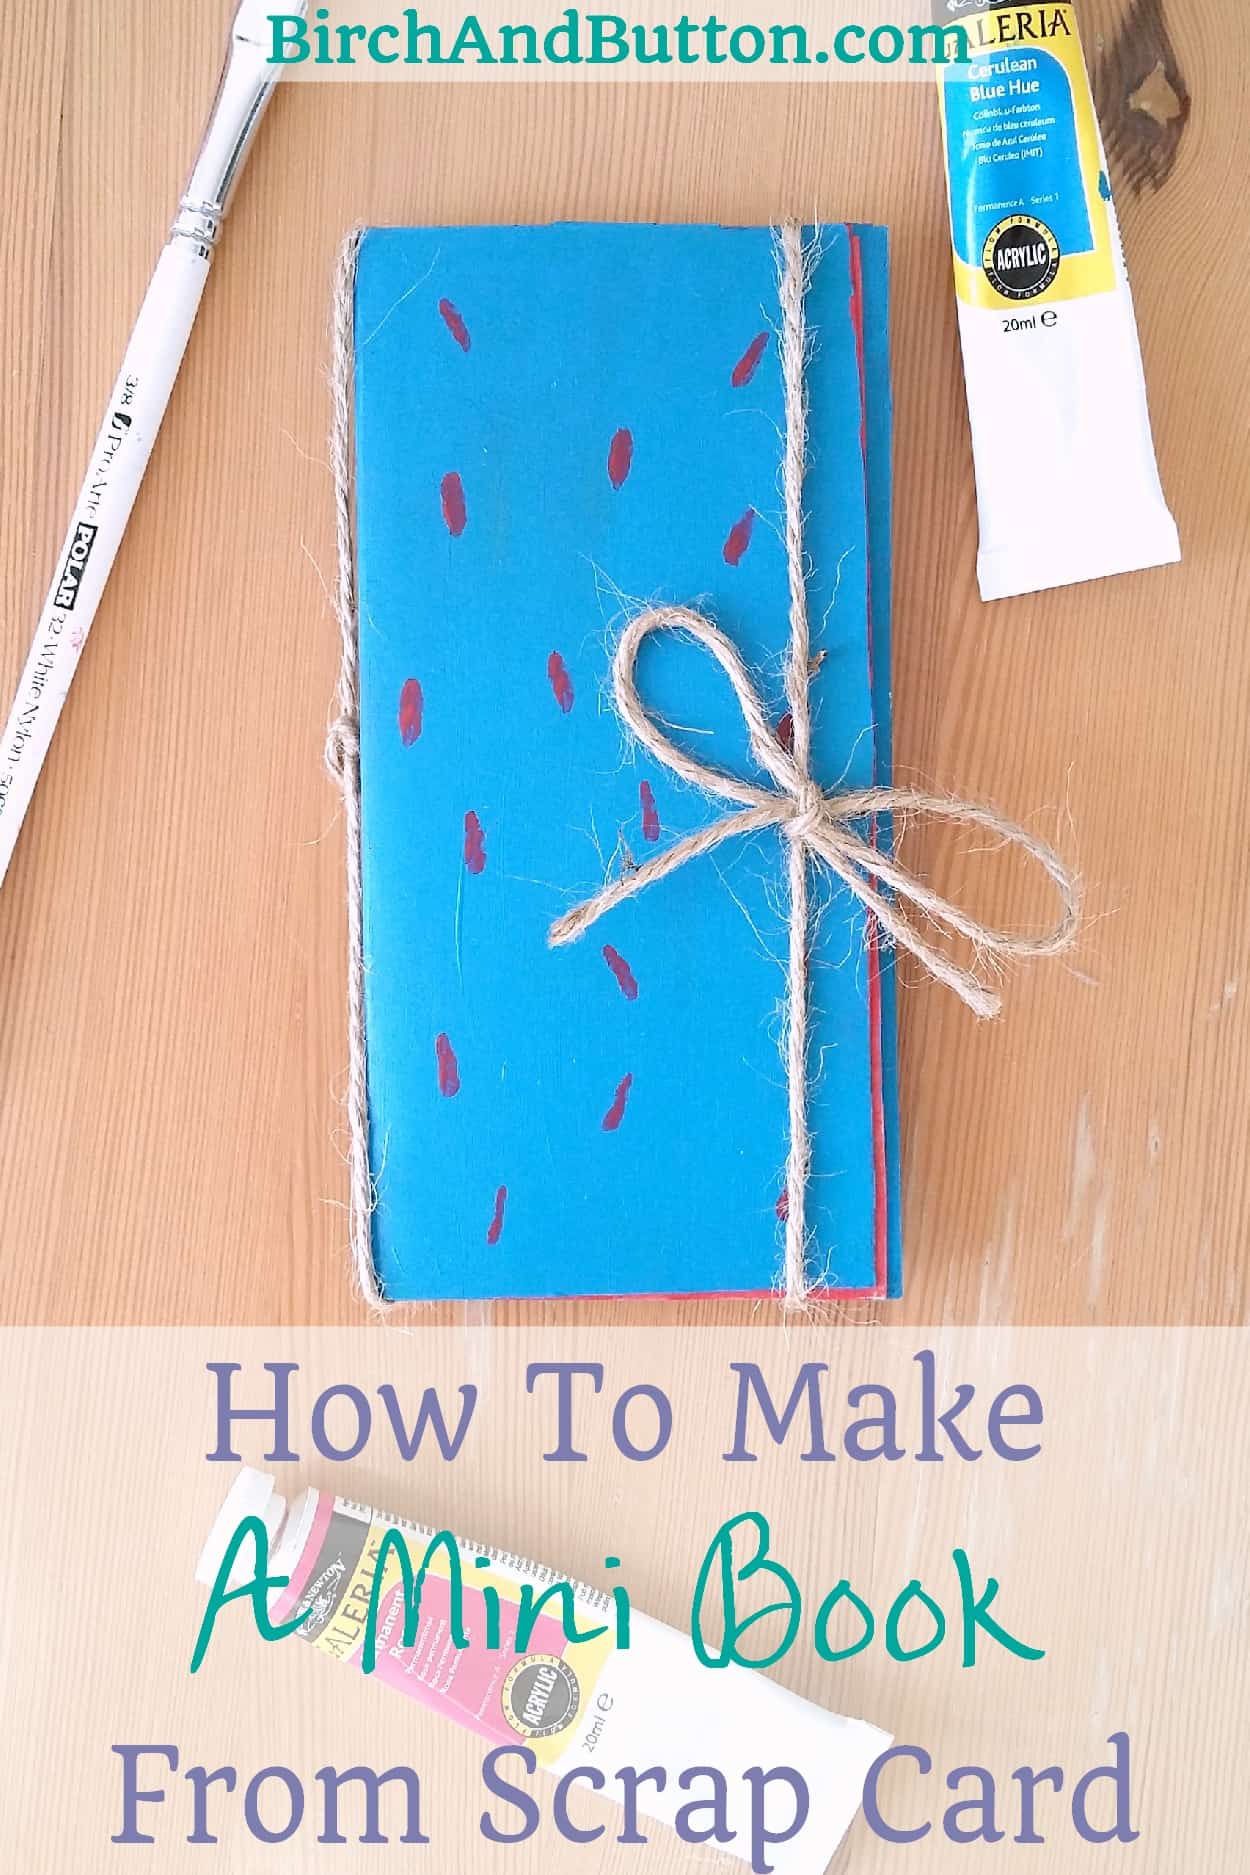
Once you’ve decorated your pages and any paint or glue is dry, it’s time to assemble. As three layers of card is quite thick, I decided to keep the binding simple and just thread a piece of jute twine (you could use yarn or ribbon or whatever else is in your craft stash) around the spine. I then tied it off in a bow to hold the pages in place.
You can now trim up the edges a little if you want your book to be really neat. I liked the rough look, so I left it as it was.
I also made a loop of twine to hold the book closed. It slips on and off easily and can be untied and retied depending on how the book changes in thickness when stuff is added to it.
And there you have it – one mini book made from scrap card that would otherwise have been recycled!


Loved your book cover, and coloured pages.
I do quite a lot of crocheting, and this is just the place to keep a record of all the bits and pieces I’ve made. As I always give away what ever I make!!!
And then when I try to remember what I made and what I gave to whome!!!!! And when…..
Thank you so much.
Serena