
This year I’ve decided to spend more time sketching. Something I’ve also decided to try out is watercolour pencils. This was inspired by time spent drawing with my niece, which reminded me just how much I used to enjoy drawing and painting when I was younger.
I’ve never used watercolour paints much. I’ve always preferred in the past to play around with bright pops of colour from acrylic paints. But recently I’ve been in the mood to try something that will give a gentler effect — like watercolours.
This is where I figure watercolour pencils come in. It strikes me as an easier way to blend colours together, so I decided to give it a go. I’ve decided to post about my experiments and what I’ve learnt along the way, particularly as I’m going to try to learn through doing rather than reading about it first!
I’m definitely guilty of learning too much about a topic rather than just getting on and doing it. This time, I’m mixing it up. Trial and error (with emphasis on the error, ahem) is the way forward! And this way, I can share with you guys what I’ve learnt so you can avoid my mistakes 😉
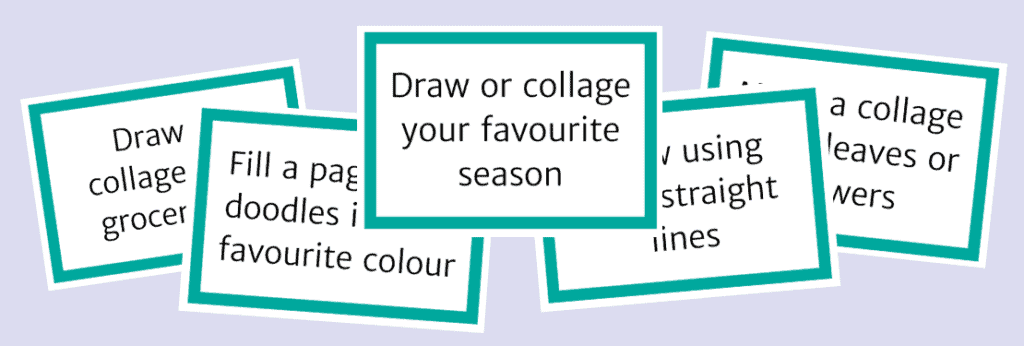
Sign up for my monthly emails of creative tips, tutorials and DIYs and get 31 free creative prompts!
You can unsubscribe at any time
The Supplies I’m Using
These are the supplies I’m using:

As you can see, it’s nothing too fancy. I wanted a sketchbook with heavyweight paper that would stand up to the water being applied to the page without crinkling too much.
Getting Started With Watercolour Pencils
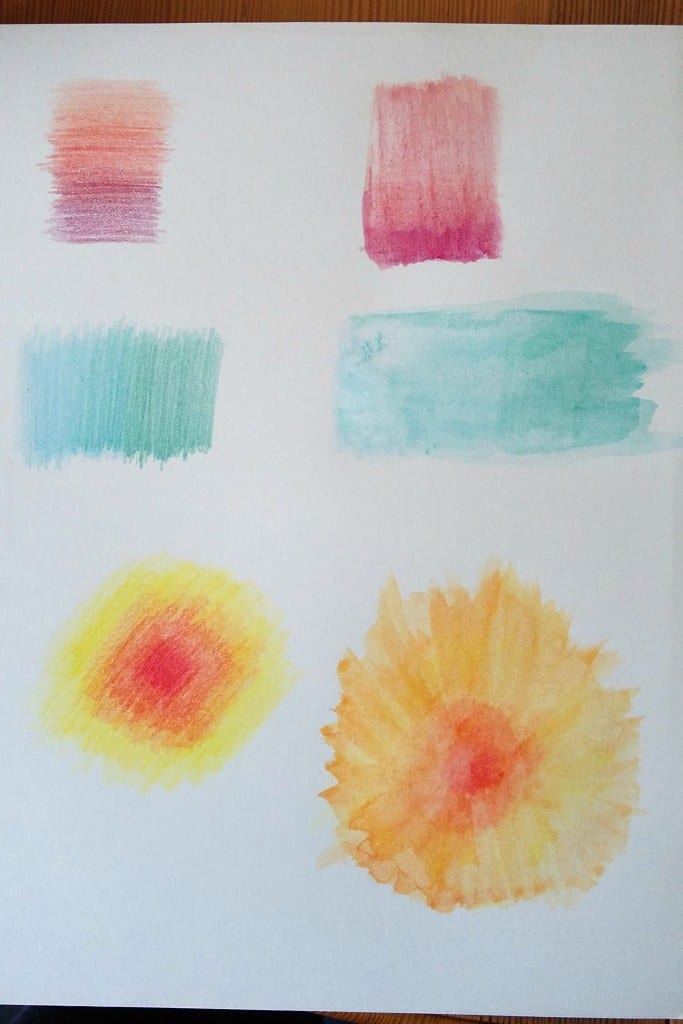
I decided to start by playing around with blending, just to see how easy it would be. The page below shows what I did with the pencils (left column) and how it turned out when I applied water (right column).
As you can see, I was little too meticulous when blending the pencils. The water actually does a lot of the hard work when you apply it.
On the next page I decided to see how well the colour blended when the pencils strokes were more scribbly, with some white space. As you can see in the picture below, the darker colours came out fine, but the pale purple almost completely disappeared when water was applied.
With the rainbow at the bottom of the page, I think I might have been pressing a little too hard with the pencil. Because I was scribbling more quickly than on the previous page, I wasn’t taking care when it came to the pressure I was using. This means that some of the pencil strokes are still visible under the watercolour wash.
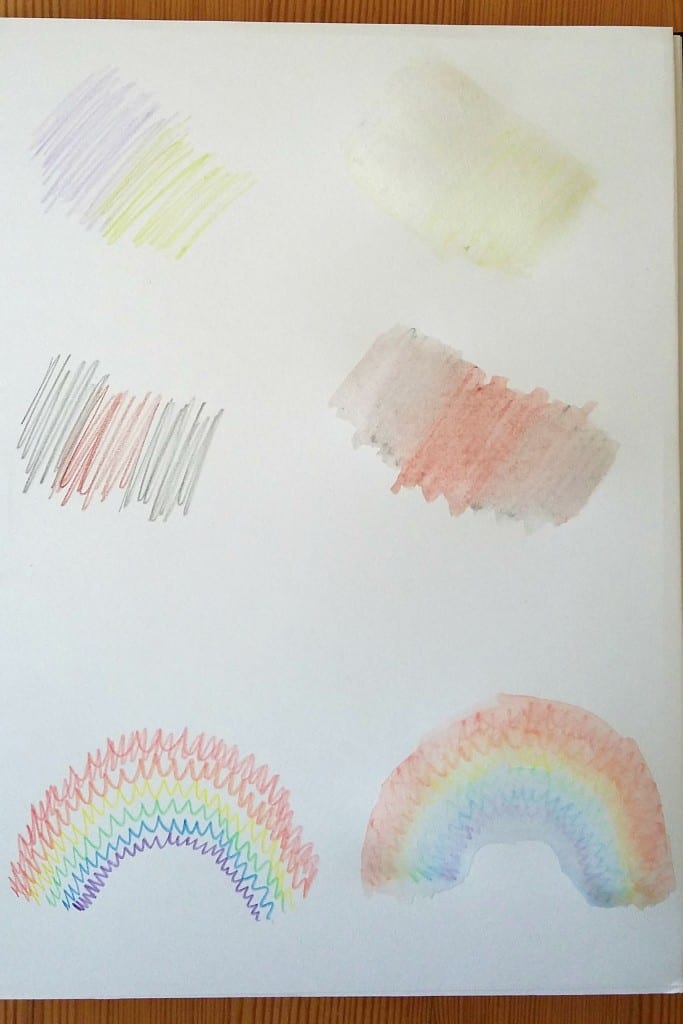
On the third page I was aiming for scribbly pencil strokes combined with lighter pressure. I decided to try a rainbow again, as well as some more lighter colours.

This time, the light purple and light green came out really well, as I layered the colour up a bit before applying the water. I did the same with the peachy-orange and pink at the bottom of the page. I think this is one of my favourite blends.
The rainbow also came out a lot better than last time. As you can see in the one on the left, I didn’t colour particularly carefully, but I made sure that the pencil strokes were even so the colour came out a lot better when the water was applied.
The grey clouds at the base of the rainbow are a result of my over-enthusiasm! I went over the same area too much with the brush and ended up blending all six colours into a muddy grey. Well, you only see a rainbow after rain, right? Ahem.
What Lessons Did I Learn?
So, what lessons did I learn after my first session using watercolour pencils?
- You don’t need to blend too carefully with the pencils as the water takes care of the blending for you.
- Try not to press too hard with the pencils as you can be left with pencil marks under the watercolour wash.
- Don’t go over the same area too many times, particularly if you are blending a number of colours in a small area. (Unless you want a muddy grey colour, of course!)
- Work as quickly as you are able to, as the water dries more quickly than you think it will.
I’ll keep experimenting and be back soon with some more watercolour pencil tips. You might also like to check out:
- Getting Started With Watercolour Pencils: Working With Wet Paper
- Getting Started With Watercolour Pencils: Layering Colours
- How To Draw A Peacock Feather With Watercolour Pencils
In the meantime, tell me: have you used watercolour pencils? What do you think of them? And if you’ve not used them, do you think it’s something you might like to try? Let me know in the comments.
About Stacey

I’m Stacey and I’m a blogger, abstract artist and freelance writer. My aim is to help busy people feel inspired and get more creative with tutorials, hints and tips.
I live in Cardiff with my partner and dog, and in my free time you’ll find me hiking, reading, painting or sampling a craft beer or two.
Thank you! I have tried water color pencils one time. My painting came out much lighter than I wanted. I did not know if you could layer or not, while wet or dry??
Well I’m certainly no expert but I’ve noticed that the darker the colour before you apply water, the darker the colour will be after you apply water. I’m going to be experimenting with layering colours soon (and blogging about it) but I understand that you can layer both wet and dry for different effects.
I’ve been using watercolor pencils for about four years now. Depending on the painting I am doing a effect I need to achieve I will use the pencils dry on top of colors that have been blended with water. The technique I mainly use is to do a line drawing lightly with lead pencil first. I use the rough side of the sheet used to lay out synthetic stained glass lead on, for the product ‘ Gallery Glass ‘, as a pallet to off- load the dry watercolor pencils. I can layer the dry watercolor pencils right on this, then use a damp brush to go into the newly created color. I label swatches of the newly created colors in a small watercolor notebook with the brands and colors used . There are a number of brands of pencils to choose from. A particular color in one may not give the same results as another due to the amount of pigment and wax. I’m particularly fond of Primacolor.
You can also dip the tip of the pencil in the water first to have a more paint like texture. Another tip is have your water and pour about 3 drops of baby oil into the water and use ear buds/ q tips to blend:D makes it shiny brilliant on flowers!
Ive used method to dip pencil in water and q tips.Actually did some that way yesterday.But I love your tip of putting few drops oil in water.Will have to try that one out.
I use the water colour pencild the most.I ve got pastels. Distress crayons and markets and inks but love the pencils.
Still learning but like you experiment.I just find them much easier to get the blending right.