Roses are popular flowers that many people love, but if you’re not a confident painter they might look just a little too complicated to paint. Well, that’s definitely not the case! Check out my method for painting a simple and quick abstract watercolour rose in this blog post.
If you’re a regular reader of the blog, you’ll know how much I like painting with acrylics. I also enjoy watercolours, but I probably don’t paint with them quite as often since I really like the bold, creamy colours of acrylics.
But what I love most about watercolours is something that’s not so easy to achieve with acrylics, and that’s the bloom effect you get when you put wet paint into wet paint.
And if there was any doubt just how much I love watercolour blooms, here are some other blog posts and tutorials I wrote featuring the technique:
- How To Create Blooms With Watercolour Paint
- How To Make Watercolour Gift Tags
- How To Paint A Rainbow Watercolour Dandelion
So today we’re going to be using a similar technique to paint a quick, abstract watercolour rose. What you’ll end up with at the end is a really soft, delicate rose, with colours that blend gently together.
Read on for the step-by-step tutorial…

Sign up for my monthly emails of creative tips, tutorials and DIYs and get 31 free creative prompts!

You can unsubscribe at any time
How To Paint A Simple Abstract Watercolour Rose
Supplies needed
- Watercolour paper
- Watercolour paints (I used my Winsor & Newton Cotman Watercolour Paint set)
- A paintbrush (I actually used a Pentel Aquash water brush — I find them really easy and convenient to use)
- Water
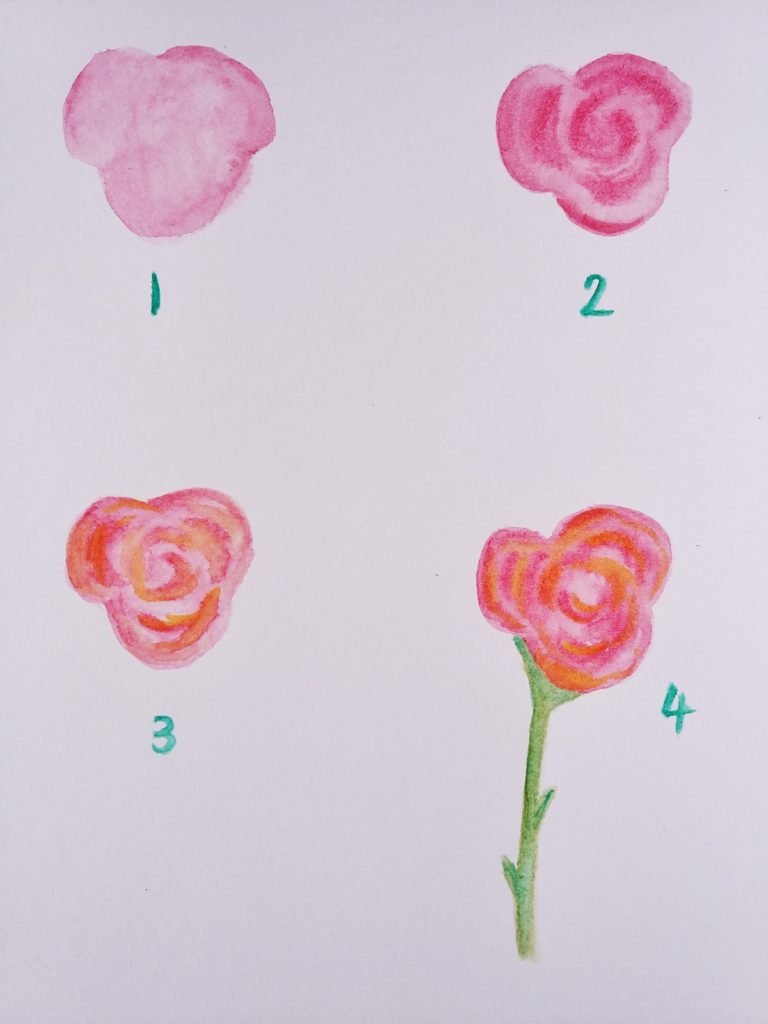
Step one
Pick up some pink or red paint and paint a rounded shape roughly the shape and size you want the rose to be.
I painted mine as three rough semi-circles, then I filled them in and joined them up with the pale pink colour.
Step two
Pick up a little more pigment on your brush to make a stronger colour, then immediately paint some curved lines, some that roughly follow the semi-circles and others that overlap them. These lines help to show the petals of the rose.
Take a step back at this point and see how the rose is starting to look to you. You might want to add a few more curved lines, or you might be happy with what you’ve painted so far.
Step three
Wash your brush, because we’re going to add another colour in now. You could use a little bit of blue, some orange or even some yellow to add a few more curved lines.
Keep it loose and don’t over think what you’re painting – this is meant to be fairly abstract, remember!
Remember to step back every so often so you get the bigger picture of your painting overall.
Step four
Wash your brush and pick up some green. Paint a small amount around the base of the rose, then paint in a stem. You could also add a couple of leaves or thorns if you like.
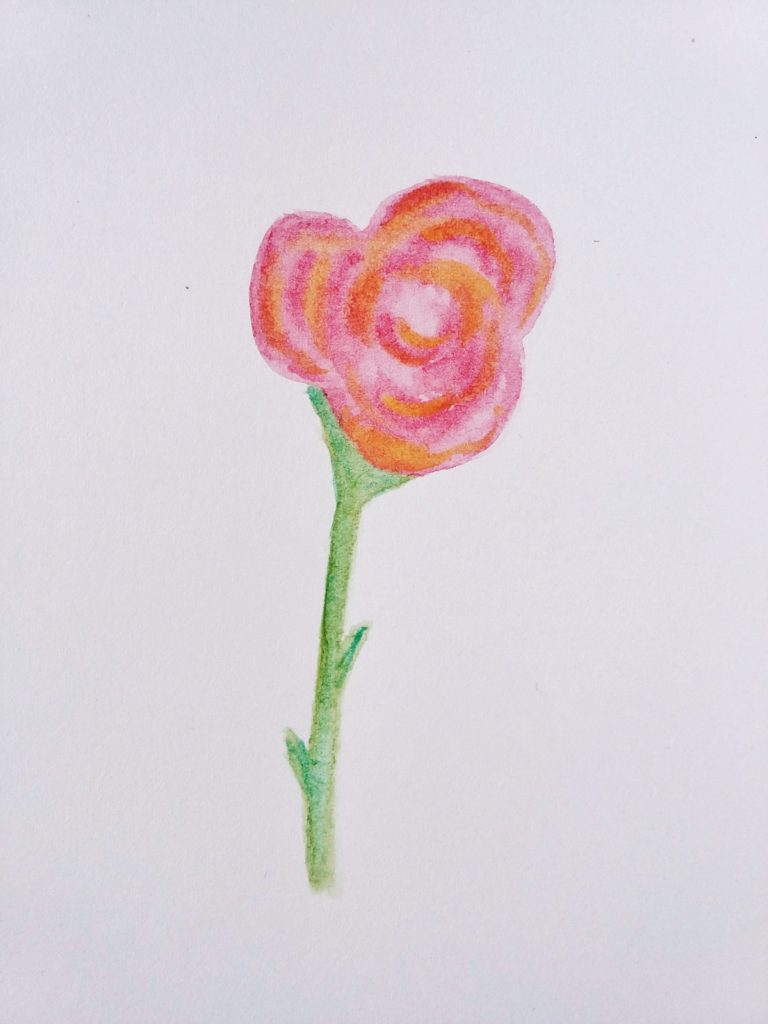
Now your abstract watercolour rose is finished!

I can also help you learn How To Draw A Rose too!
About Stacey

I’m Stacey and I’m a blogger, abstract artist and freelance writer. My aim is to help busy people feel inspired and get more creative with tutorials, hints and tips.
I live in Cardiff with my partner and dog, and in my free time you’ll find me hiking, reading, painting or sampling a craft beer or two.

