
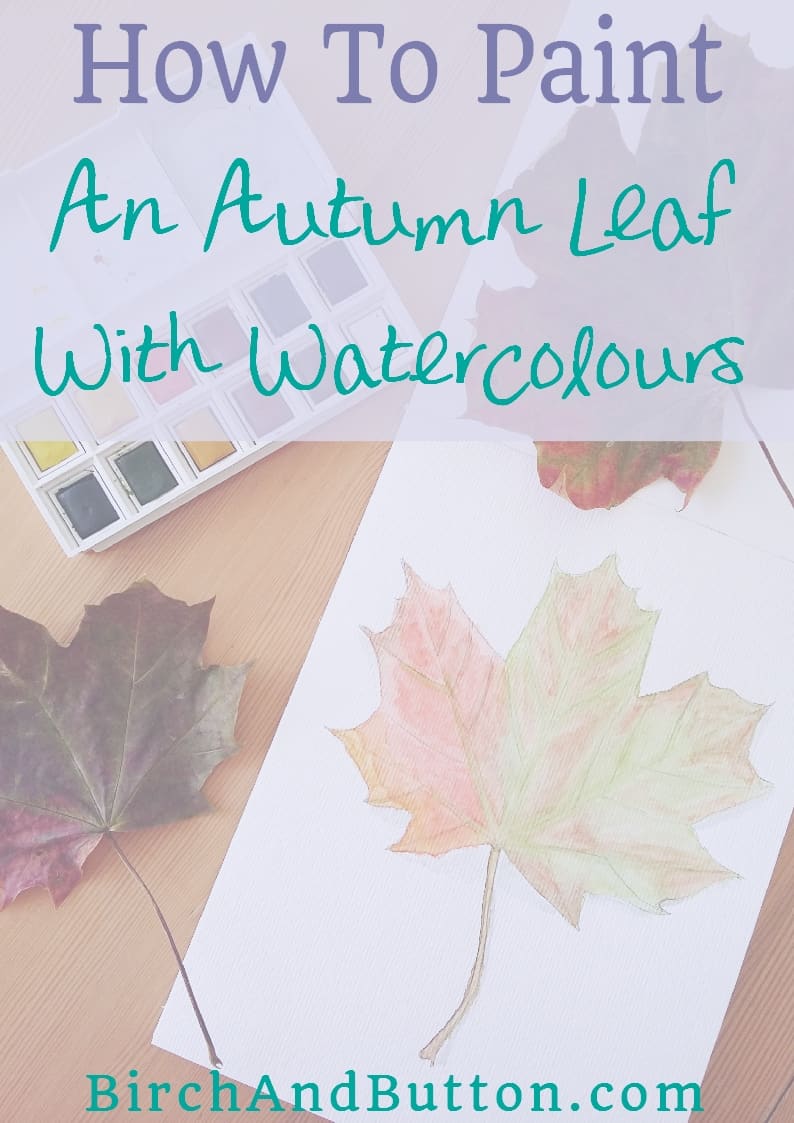
If you’d like to learn how to paint an autumn leaf with watercolours, you’re in the right place. It’s not as difficult as you might think (I’m definitely no expert with watercolours!) and it’s so satisfying if you love the gorgeous colours that come with the fall season.
Hurrah for autumn! I just LOVE it. I love summer, don’t get me wrong, but I really, really love autumn. Actually, I love all the seasons.
Or, more accurately, I love the fact that I live in a country where we have four distinct seasons. I love the change throughout the year.
Anyway, enough gushing. One of the great things about autumn is the colours. There’s still lots of green around, but it’s balanced out with reds, oranges and golds. I just love it.
I was out walking last week when I saw a load of fallen leaves in various gorgeous colours.
The weather had been dry for a while, so the leaves weren’t horrible and squishy. I grabbed a few with a view to painting one.
(And by that I don’t mean actually applying the paint to the leaf, like my boyfriend thought. Although that might be cool too now I think about it…)
When you compare the leaf I painted to the one in the photo that I technically copied, you can see that I took a few liberties with the colours and made them brighter and more vibrant.
I don’t know what tree that leaf is from, but the green is fairly dull – so I thought I’d perk it up a little.
The photos you are seeing in this tutorial are my second attempt at this. My first attempt wasn’t great at all. I had that issue of not knowing when to stop, which is something I’m still battling with in my painting.
My best advice if you’re in this same predicament of not knowing whether your painting is “finished” or not is to stop and walk away for a little while. When you come back to the painting, you will be able to see it through fresh eyes.
Another thing to do is just to take a step back and look at the painting as a whole.
With a leaf it’s not such a big deal as there is only one element to the painting, although we may struggle to feel like we’re getting the colours just right (which was exactly my issue with that first attempt).

Sign up for my monthly emails of creative tips, tutorials and DIYs and get 31 free creative prompts!
You can unsubscribe at any time
How To Paint An Autumn Leaf With Watercolours
Supplies needed
- An autumn leaf to paint (or you could use the photo of the leaf I painted)
- A pencil
- Watercolour paper (thick paper or thin card will also do, but it might crinkle a little)
- Watercolour paints (the colours I used were cadmium red, burnt umber, burnt sienna, ultramarine blue, viridian green, sap green and yellow ochre, from my Winsor & Newton Cotman Watercolour Paint set)
- A small paintbrush
- A jar of water
- Some kitchen paper
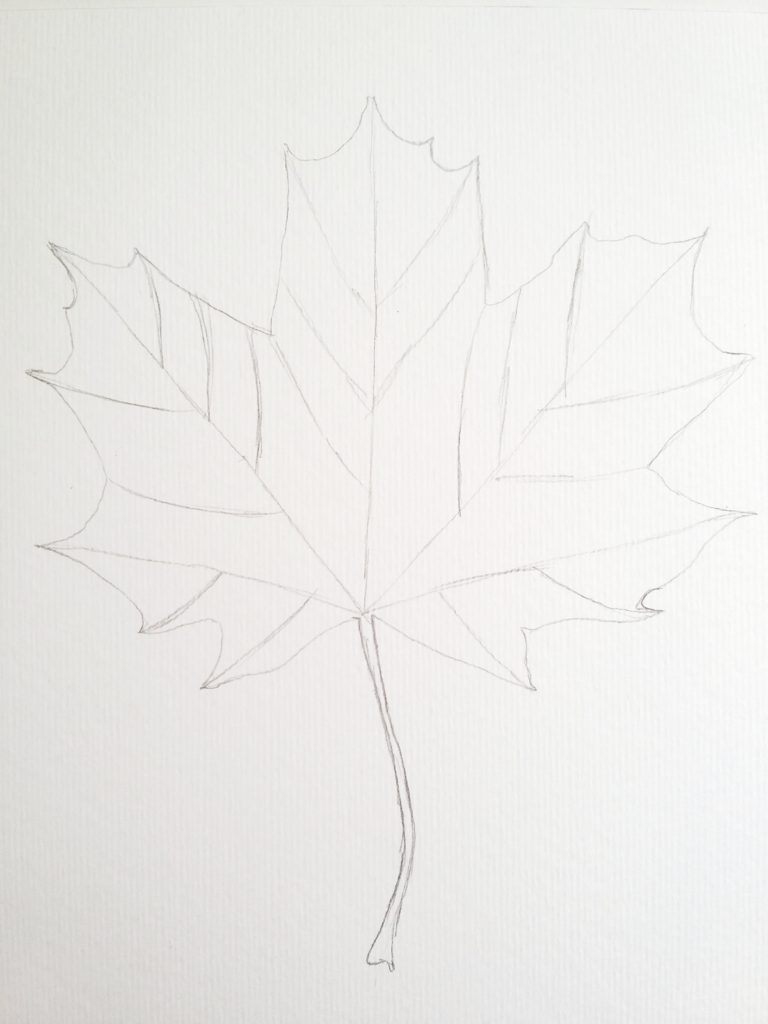
Step One
Use your pencil to sketch the shape of the leaf onto the paper.
It doesn’t matter if it’s not a perfect match for the leaf you have – as long as it’s leaf-shaped, the paint will do the rest of the work!
If you’re really struggling, you could trace around the leaf for the general shape.
Step Two
Take a look at the main colours of the leaf. My leaf is, in its simplest terms, red and greeny-brown.
Also look at where those colours are on the leaf. With mine, you can see that the red is mainly in the left section and the greeny-brown is in the middle and right sections. We’re going to paint a base of these colours first.
Wet your paintbrush and blot it on a piece of kitchen paper so that it’s not soaking wet. Go over the entire shape of the leaf so that it’s wet.
Step Three
Start applying your lightest colours. We’ll build them up later.
I went with sap green in the centre and right sections, with a little burnt umber to blend into the wet green paint.
Then I painted the left section with a little dilute cadmium red with a touch of yellow ochre at the very bottom and a little burnt umber towards the top.
Then I painted the stalk with a mix of burnt umber, sap green and yellow ochre.
Leave this to dry.

Step Four
When the first layer of colour is dry, it’s time to add another layer to make it really vibrant.
Add more cadmium red to the red section of the leaf, along with a little more yellow ochre towards the bottom. I also mixed in a little burnt sienna.
Work some burnt umber, burnt sienna and a tiny bit of cadmium red into the other two sections, blending them with a damp brush so there aren’t any hard edges.
Blend some sap green along the veins of the leaf. You might be able to see in the photo that these are the greenest parts of the leaf I was using for reference.
Finally, mix a pale grey colour from a mixture of ultramarine blue, viridian green and cadmium red. I used this to paint the shadow of the leaf.
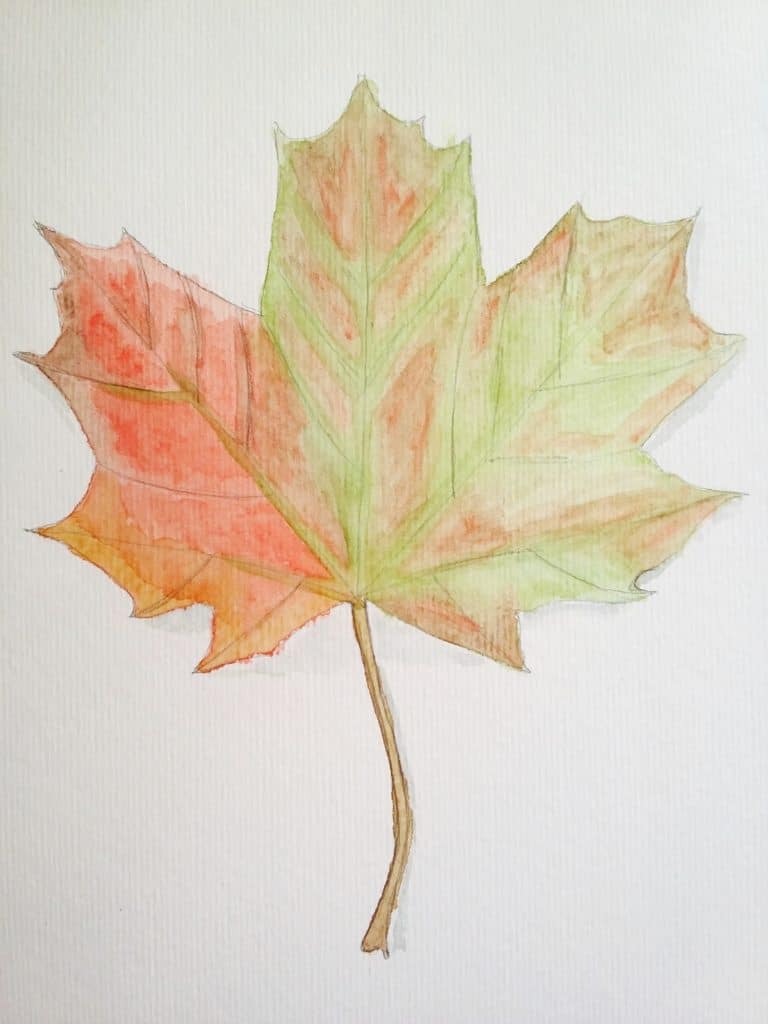
Step Five
Allow the painting to dry, then come back to it later and check that you’re happy with it.
Remember what I said earlier about not overworking it, but make sure you’re happy and don’t want to add any more colour at all.
About Stacey

I’m Stacey and I’m a blogger, abstract artist and freelance writer. My aim is to help busy people feel inspired and get more creative with tutorials, hints and tips.
I live in Cardiff with my partner and dog, and in my free time you’ll find me hiking, reading, painting or sampling a craft beer or two.